Bumper time!

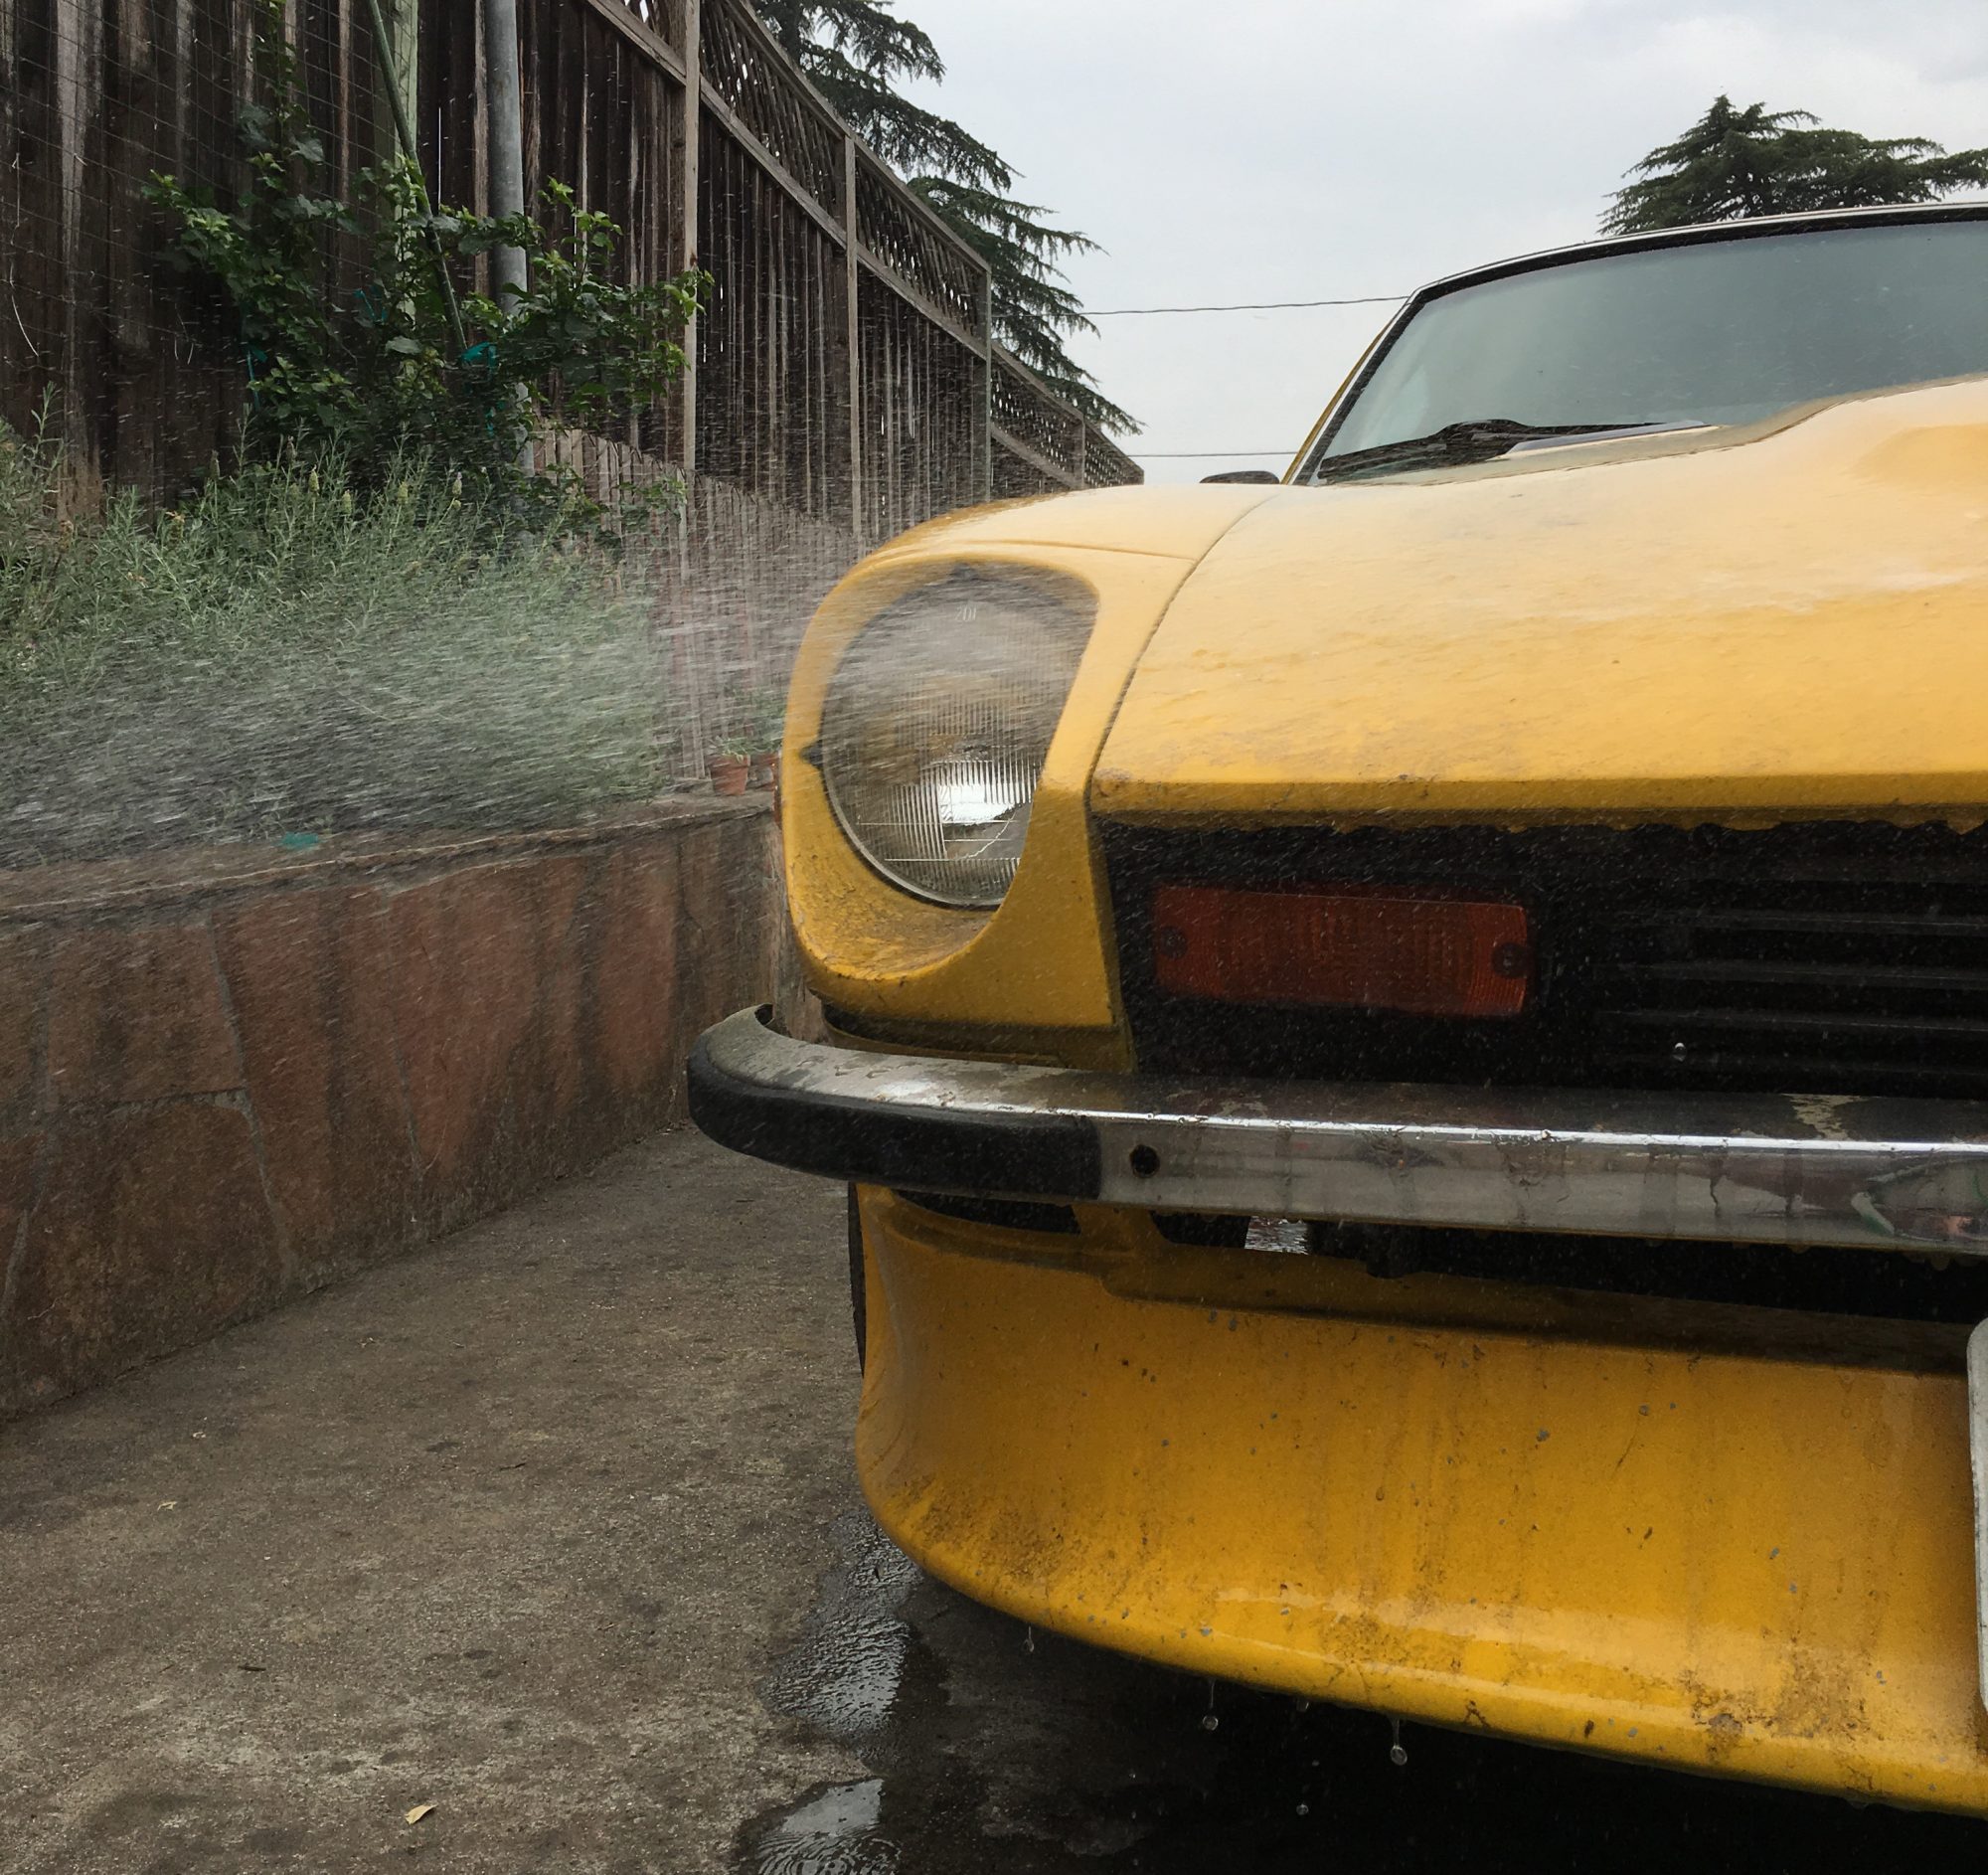
One of the visual drawback to the 280z, in my opinion, are the bumpers.

They’re big, thick, and heavy. We have rising safety standards of the late 70’s to thank for that.
A very popular change up is to put on the thinner, more attractive 240z / early 260z bumpers.

There are a few options here:
1) Fiberglass / Carbon fiber bumper (new) – For those who like bright and shiny, there are several options in materials you can get for a brand new bumper. Motorsport Auto has replacement bumpers in both fiberglass and carbon fiber – $160 – $300. Fiberglass / carbon fiber is great, because it’s lightweight, but unfortunately not that strong in case of a crash. Like most modern cars, fiberglass is used as just a cover to look nice. Unlike modern cars, there’s nothing underneath here: no bar, no frame, nothing.

2) Stainless steel bumper (new) – Hop on eBay and you’ll find a company selling stainless steel reproductions of the thin 240z / 260z bumper. They’re supposedly exact matches to the original, and since it’s stainless, it’ll be at its best for corrosion protection.  But not without costing a pretty penny: at $1000 – $1400, is it really worth it?

3) Original steel bumper (used) – Every now and again people are selling their original steel bumpers from the 240z / 260z, $130 – $200 a piece. Whether on Craigslist or eBay, this is truly the best option in my opinion. Not only will you be using something more durable / original than fiberglass or carbon fiber, but also re-using instead of helping the cycle of re-producing.

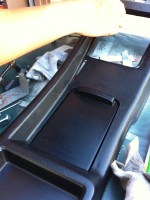
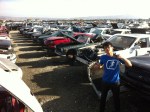
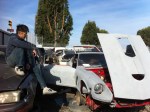
So i picked me up a used steel front bumper!

Straight outta Fremont, and guy was selling his slightly dented 240z bumper for $80. A sweet grab on Craigslist if i may say so. Actually it was originally $120 if I remember correctly, and it dropped down during the course of the week. Snagged!

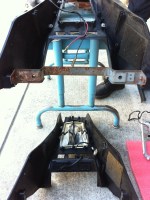
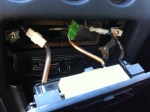
Safety / Mounting – These two topics go hand in hand, and rightfully deserve a new post, but i’d like to just briefly touch on the topic. Of course the Datsun 240z / 260z bumper won’t mount directly to the 280z without some modifications. Long story short, I’d like to maximize safety (and reduce extra cost) by utilizing the current bumper shocks on the car. Many people would opt to go for aftermarket brackets, but those just hold the bumper in place and offer minimal safety.

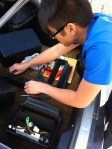
Enough talk, time to pound it out!

240z bumper - DailyDatsun.com

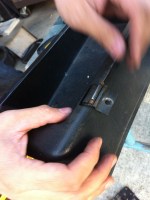
there’s a slight bend on the left side, where supposedly an old lady back into it

240z bumper - DailyDatsun.com

the resulting gash / dent needs to be pounded out

240z bumper - DailyDatsun.com

Just take the wheel and steer!

Guess what just popped in recently? A new steering wheel!

Well, of course not a new one, but a original 240z series 1 steering wheel from a ’70 240z.

My current wheel is the stock 280z type, foam padded (as most foam of 35 yrs, it’s deteriorating) with a vinyl aftermarket cover… nice.
But that’s all about to change.

The 240z steering wheel has a thinner handle, slotted spokes and yes.. wood grain!
I haven’t deciphered yet whether it’s REAL wood, but it’s gonna look great regardless.
I’ll certainly re-spray the spokes in black, but I’d really like to re-finishing the handle in a dark black stain (but light enough to show off that grain).

240z steering wheel - DailyDatsun.com

And to top it off, I was able to find this on eBay for 1/2 the normal price of a used 240z wheel!

240z steering wheel close up - DailyDatsun.com


Now to make a shift knob to match..


Elephant Oil Cap!

The elusive Elephant oil cap!

Kris gave this to me for Christmas and I couldn’t wait to put it on!
I remember first seeing one of these – Kris mentioned this little gem when he had the 510.
There it sat atop the L20 valve cover. Proud.
But is it about the Elephant oil cap that makes it so.. special?!

A few tidbits:

– These caps weren’t used on the US models, but on the Japanese / Aussie models.
– So supposedly it text translates something to the tune of: “Please pour Elephant Oil” – haha that’s cute
– Elephant branded oil and lubricants from Nissan pre-dates the 240z.
– The elephant was used as a symbol to commemorate successes in the East African Safari Rally.


Scuff and rubber

Any natural material or substance has a tendency to crack and wear over time – rubber and glue is no exception.

So yesterday’s gorgeous morning resulted in replacing the rubber hood bumpers on both the top and sides of the engine bay…

As well as attacking the scuff plates – all the glue was cracked / too old, and the vinyl covering was just peeling off. And just check out all that rust!

Now don’t get alarmed – the rust is localized to the scuff plate only. There seems to have been a white plastic barrier placed in between the carpet and scuff plate.. though, not really sure of the logic in that.

Kris and i figured out a great method for removing the old vinyl covering from the scuff plates – a heat gun! At 450F, that’s hot enough to soften the glue, but unfortunately also hot enough to melt the vinyl. So the trick is to heat the scuff plate from the BACK side, and slowly peel off the vinyl.

And as a minor addition, got a replacement escutcheon (door handle well) cover for the driver side door handle from Black Dragon Automotive. Quality is adequate – looks the same as original, feels a bit lighter and cheaper plastic-like, but fit is only “okay”. It doesn’t sit square with the metal escutcheon, but though there’s a slight angle to it, it not really noticeable.


Center Console Sunday!


Yesterday Kris and I spent the whole day mulling over the 280z!

First, it was off the the Pick n’ Pull in Newark. They have a 260z there, which at the time was unknown as to what condition it was in, or what parts were left… well, now we know – PICKED OVER! Some nice parts still left (temp / fuel gauges, tach, blue 240z drivers seat, a few interior panels, tail lights / bezels). I picked up a center console air-controls bezel, and two seat belts… for which the seat belts were incomplete.. so.. gotta figure that one out.

Pick n’ Pull is great – i met two other Z enthusiasts who’s whole family had Z cars (dad, son, daughter, uncle); and you get to spot a whole history of cars (datsun trucks, MGs, Ford Maverick). But the prices.. ugh.. why do they have to be so pricey, they’re used!

Kris and I got back, worked on the center console I got from whale-tail Andrew. The replacement console also had some micro cracking in the plastic in the same area as the original (must be a common failure point). Kris fixed it up w/ some epoxy and used fabric as a sub-straight for increased strength.

Ah shoot – exposing my unsightly garage…

Sanded / spray painted the ashtray – looked so nice the lady in the paper was smiling at it

Cleaned the switches – the original ones (right) were just as caked w/ 35 year old grim as the ones from the replacement console (left). Toothbrush and pointy cotton swabs (good thinking Kris!) did the trick for all the crevices.

The whole console looked like it hasn’t been cleaned… that’s where Armor-All came in – fantastic.

The air control bezel is very easy to take off – 4 screws, 3 wiring connectors. 2 screws hold in the air vents, and everything else is easy to disassemble.

A few things I didn’t notice before – the replacement console has a slot for the choke lever… and the rear defroster / seat belt light panel was cut out! So I made my own out of a computer case side i had laying around.

Spaces for the Rear Defogger / Fasten Seat Belt lights are 1.125″ x 2.75″, while the radio i measured out for 2″ x 7″.

Kris installing the cleaned up console