Windshield Washer Fluid Reservoir install

Shortly after getting the windshield wipers to work on the 280z, it was only natural that I test the washer fluid. It wasn’t any surprise that after pressing that button, nothing happened – not even the hum of its motor. I thought maybe it was a bad contact like the wipers…and turn signals…and everything else.

But popping the hood revealed:

Daily-Datsun-280z-windshield-washer-reservoir-motor (18)

huh – no windshield washer reservoir AT ALL!

I tussled with a guy on CL wanting $300 (then dropping to $100) for a used one… and then decided to go with a new one from eBay, $52 shipped. Of course it wasn’t OEM for the 280z and required a bit of modification. Here we go!

The Mitsuba Electric model came with a bunch of goodies needed for a full install, but since I already had the jets and T-junctions in place, i just needed the reservoir, motor and hose.

Daily-Datsun-280z-windshield-washer-reservoir-motor (19)

Daily-Datsun-280z-windshield-washer-reservoir-motor (17)

Here’s a pic of the placement. Notice the original washer tank would have slid into the metal bracket. The Mitsuba also has a slot of its own.

Daily-Datsun-280z-windshield-washer-reservoir-motor (1)

So I made a bracket out of some spare metal i had around – measured twice, cut once.

Daily-Datsun-280z-windshield-washer-reservoir-motor (4)

Daily-Datsun-280z-windshield-washer-reservoir-motor (14)

Viola! It tapers so that the narrow end fits in the car slot, and the wider end fits into the washer reservoir.

Daily-Datsun-280z-windshield-washer-reservoir-motor (2)

Bending into shape

Daily-Datsun-280z-windshield-washer-reservoir-motor (3)

And it kinda came out like the drawing!

Daily-Datsun-280z-windshield-washer-reservoir-motor (5)

Test fit on the car chassis. You’ll notice in this pic that the gaps are smaller than above to prevent sliding while in either slots. Side view:

Daily-Datsun-280z-windshield-washer-reservoir-motor (6)

Top view:

Daily-Datsun-280z-windshield-washer-reservoir-motor (13)

Test fit on the bottle. Not too bad here.

Daily-Datsun-280z-windshield-washer-reservoir-motor (7)

Test fit with both in the car.

Daily-Datsun-280z-windshield-washer-reservoir-motor (8)

The 280z has a special connector for the washer motor that doesn’t coincide with the Mitsuba’s. Fortunately, the blue/red wires correspond, and I assumed that the other was the ground.

Daily-Datsun-280z-windshield-washer-reservoir-motor (15)

Quick electric test before making any wiring commitments… haha! We have squirting! This was fun; it was like a mini-water gun.

 Daily-Datsun-280z-windshield-washer-reservoir-motor (9) Daily-Datsun-280z-windshield-washer-reservoir-motor (10)

Hooked up the hose, tucked it alongside the other wires, and it install is completed.

Daily-Datsun-280z-windshield-washer-reservoir-motor (12)

Now when the windshield gets dusty, there’s no more need to hang out the window to wipe it off with a little spit (j/k!).

IMG_4206

240z bumper brackets on a 280z

I love the look of the simple, streamlined bumpers of the 240z (and used on 1/2 of the series of 260z’s) over the heavy and thick bumpers of the 280z. Just check those out!

As the mid-70’s emission standards crushed down on the carburetor’d engines of the day and gave way to fuel efficiency (see, not all change is bad), safety standards tightened it’s seat belt and created a war on unsafe aesthetics. Thus, Datsun had to change it’s more or less cosmetically thin bumper for a safe, unwieldy hunk of steel that people today still loathe. Nearly 20lbs of loathing.

If you remember back in March, my brother and I removed the bumpers and increased gas mileage.

Well they’ve been off ever since because the brackets I got from ebay..were less than satisfactory. I’ve already mentioned that correspondence with their maker, v8-240z, was non-existent. But even worse, when I finally got around to test mounting the brackets… the bolts didn’t fit in the holes.

Wait, what? Yep, the original bolts do not fit in ANY of the mangled, burred, half-ass hand-drilled holes. Awesome.

Time to break out that Dremel. The grinding stone attachment worked wonders and allowed me to clean up those unsightly edges to something relatively straight.

Daily-Datsun-240z-bracket-3

You can see the top slot is the one currently being widened / cleaned up. The bottom slot is actually 1/2 cleaned up by me and doesn’t really show the maker’s work in all its wavy glory, but you get the idea.

Daily-Datsun-240z-bracket-1

Had them done in 10 mins. Now to mount…

Datsun Dealership Parts Bin

Whoa, not every day you hear of a Datsun dealership being bought…who would’ve thought they still even existed?!

Supposedly they do, and luckily for us, there’s a guy on the ClassicZCar forums that just bought one out. Dave or ‘Nismo Silvia’, who is also a 240z owner, just bought a Datsun Dealership that closed in the 80’s and left behind a 25′ trailer FULL of parts. YES! Can anyone say, “NOS”? :] Yep, that probably means a treasure chest of ‘new old stock’ parts just waiting to mate with Z’s, 510’s and all other Datsuns for a refresh party. A pure NOS-fest, for sure!

Wow. exciting. it’s not even my trailer and i’m getting excited. It’s like watching Storage Wars…but this time, you KNOW it has Datsun parts in it. haha!


New Digs – Part 3: New Shoes: Final

Well it’s the end of the year and i best wrap this segment up!

Back in January (whoa), i was talkin about some new wheels, which would ultimately mean new tires. Well, I’ve decided to keep the Nissan 280zx Iron Cross wheels on, and just go w/ new rubber. It was certainly the right timing because the two fronts were going bald like racing slicks, rain is coming down, and…it was Christmas. Yep, Mom and Dad got me new tires! woohoo! :]

Daily-Datsun-Falken-Sincera-SN-828We went with a nice set of Falken Sincera SN-828 (195/70R-14). It’ll be the first time having Falkens on anything as we’ve been pretty loyal to Yokohamas on all our toys. But they’ve been great so far – handling has been so much better, lighter steering (especially for non-powered steering), great in the rain, and quiet. So yep, two thumbs up and happy!

Maybe later when we’ve cruised out the 50,000 mile warranty on these puppies I’ll think about getting some new wheels – till then, I’m happy the car is on the road, safer and better.


Daily-Datsun-Falken-Sincera-SN-828-2

Review: Motorsport Auto (MSA) Floor Mats

Swiftly got a package in from Motorsport Auto (MSA) – my new floor mats!

With summer ending and rain just around the corner, it’s always been on my mind to get some floor mats since putting in the carpet kit. Question was, which one?

Could go with a logo’d version, a $50 – $70 ebay one-size-fits-most specials, or even one those Weathertech versions you always see ads for in car magazines. Since the MSA floor mats weren’t that much more, I decided to go with simple. And coming from them, it’ll probably have the best fit. Check them out:

Pros:
1) Great solid looped carpet top
2) Very well stitched binding all the way around
3) Excellent fit, perfectly sized

While the above images show otherwise, the actual color matches quite well with their molded carpet kit. It’s nice when things match. The carpets feel solid and we’ll see how well they last through the rain.

Cons:
1) No heel pad on the driver’s side. So that heel pad that’s on the carpet kit.. covered…and i’m going to wear a hole in these.
2) No clear markings on which side was which. Yeah yeah, they’re only floor mats, but actually it took me a few trys to figure out which one was which. It’s odd there’s an undulating side that runs along the transmission tunnel which is straight… sorry, maybe i’m nit-picking.
3) Foam backing…can’t wait to see how these hold up after a year as it’s been my experience that this type of foam doesn’t last too long. Especially in such a high traffic, elements exposed area. It seems to work for non-slip against the carpet floor, but let’s see how long the foam backings last before making any more comments. I would have thought they used rubber backings.

Other than that, I’m currently satisfied with the floor mats, but the upcoming rain should prove it’s real worth.

280z Body Side Molding – Inserting the rubber molding

Finally found some time to start inserting the 280z body side molding!

Last time I riveted the 280z side molding channels onto the body. Now it’s all about inserting the rubber molding. I ordered the 5/8″ rubber molding from CustomAutoTrim.com, and it came to my door in decent time. The size, perfect. The installation? Prepare to take some time to insert the rubber molding. It took a good 30mins to put on just one rubber molding!

280z rubber molding - Daily Datsun

What you’ll need to install:
1) 5/8″ Vinyl / Rubber molding (see previous post about 280z body side molding for sizes)
2) Razor
3) Something thin / plastic like a spatula or a guitar pick
4) Tape measure

First, making sure it’s sized correctly! Last time, I ordered in the incorrect one… This one from CustomAutoTrim – perfect.

280z rubber molding fit - Daily Datsun

“Measure twice, cut once” – no no, measure three times. Whenever my mom was showing us how to cook, she’d always say, ‘you can always add, but you can’t take away’. The methodology is still true here, but reversed – you can always take away, but you can’t add. So measure w/ a little excess, you can always trim the molding later. And since I ordered 16ft of molding, I should have some excess…but only for trimming, not enough to complete another channel if i completely screw up.

The vinyl / rubber molding is a tight fit, and getting in that channel can take some time. Here i’m using a guitar pick to help feed the vinyl / rubber molding into the 280z body side molding channel.

280z rubber molding install- Daily Datsun


Another technique i found to work really well in getting the molding on was to bend the molding like the picture below. This actually allowed me to use the molding itself to help press fit it into the channel.

Inserting 280z rubber molding - Daily Datsun

At the end, i was only left w/ a 1/4″ excess.  A razor helped create a clean edge to butt up against the molding darts ends. Don’t mind the dirty car… after giving a nice wash and wax last sunday, i parked it in lot that ended up getting “cleaned”… meaning leaf blowers. ugh.

Trimming 280z rubber molding - Daily Datsun


280z side molding completed! It’s a super clean installation that takes some time / effort, but really completes the period look.

Finished 280z rubber molding - Daily Datsun

Body Side Molding – Rubber Molding

My last post was about putting on the aluminum side molding channels with rivets, so now it’s time to pop in the rubber molding. However… it looks like the molding I purchased is NOT the right one.

Unfortunately, I ordered the incorrect rubber molding from BlackDragonAuto.com. I must have missed that the ‘Body Side Molding’ section was for a 280zx (1979-83), and just looked at the description for part# 97-650 “Adhesive Molding-Black, 16ft roll, cut to fit 280”. Oh well, we’ll try to get that returned if possible.

Adhesive molding from BlackDragonAuto catalog

So I did a little research this morning, and found the CORRECT rubber molding is actually hard to find (neither MSA nor BlackDragonAuto sell it). The proper rubber molding for the 280z can be found at CustomAutoTrim.com. 

[Update, 9/12/24: CustomAutoTrim no longer sells this type of rubber moulding (hence the broken link), but have updated their stock to a slightly different shaped (round) albeit more flexible vinyl insert] updated link


Rubber molding for the 280z from CustomAutoTrim.com

This is the correct version because it locks into the side molding “stick” or channel, rather than be affixed by adhesive. CustomAutoTrim also sells the ends of the side molding channels, however the “bullet” and “chisel” ends used on the 280z seem to be discontinued at the time of this post.

If you’re looking for side molding for your 280z you’ll need (at least) the following lengths:

front fender: 23″ per side
door: 32 3/8″ per side
rear fender: 37 1/2″ per side

Total:  185.75″ = 15.48 ft = 16ft (since they sell by the foot) @ $2.25/ft = $36

(Lengths serve as a guide only. Measure your Z for rubber moulding lengths)

[update, 9/12/24: prices haven’t changed that much! Price above was back in 2012. As of this writing it’s available in 7.5ft sections for $24 ($3.20/ft). Not bad!]

PART III – WE MADE IT! – DailyDatsun’s Wedding 280z Complete

WE MADE IT – we did it! What started as a daily driver project, transformed into a serious restoration and finished as our wedding chariot. My fiancee and i tied the knot on Sunday, May 27th with a wedding nothing short of amazing. And getting this car completed on time was definitely a part of that weekend. 4 days and 10 people later, the 280z barreled it’s way over to our hotel and drove us to our wedding.

DailyDatsun 280z - Just Married

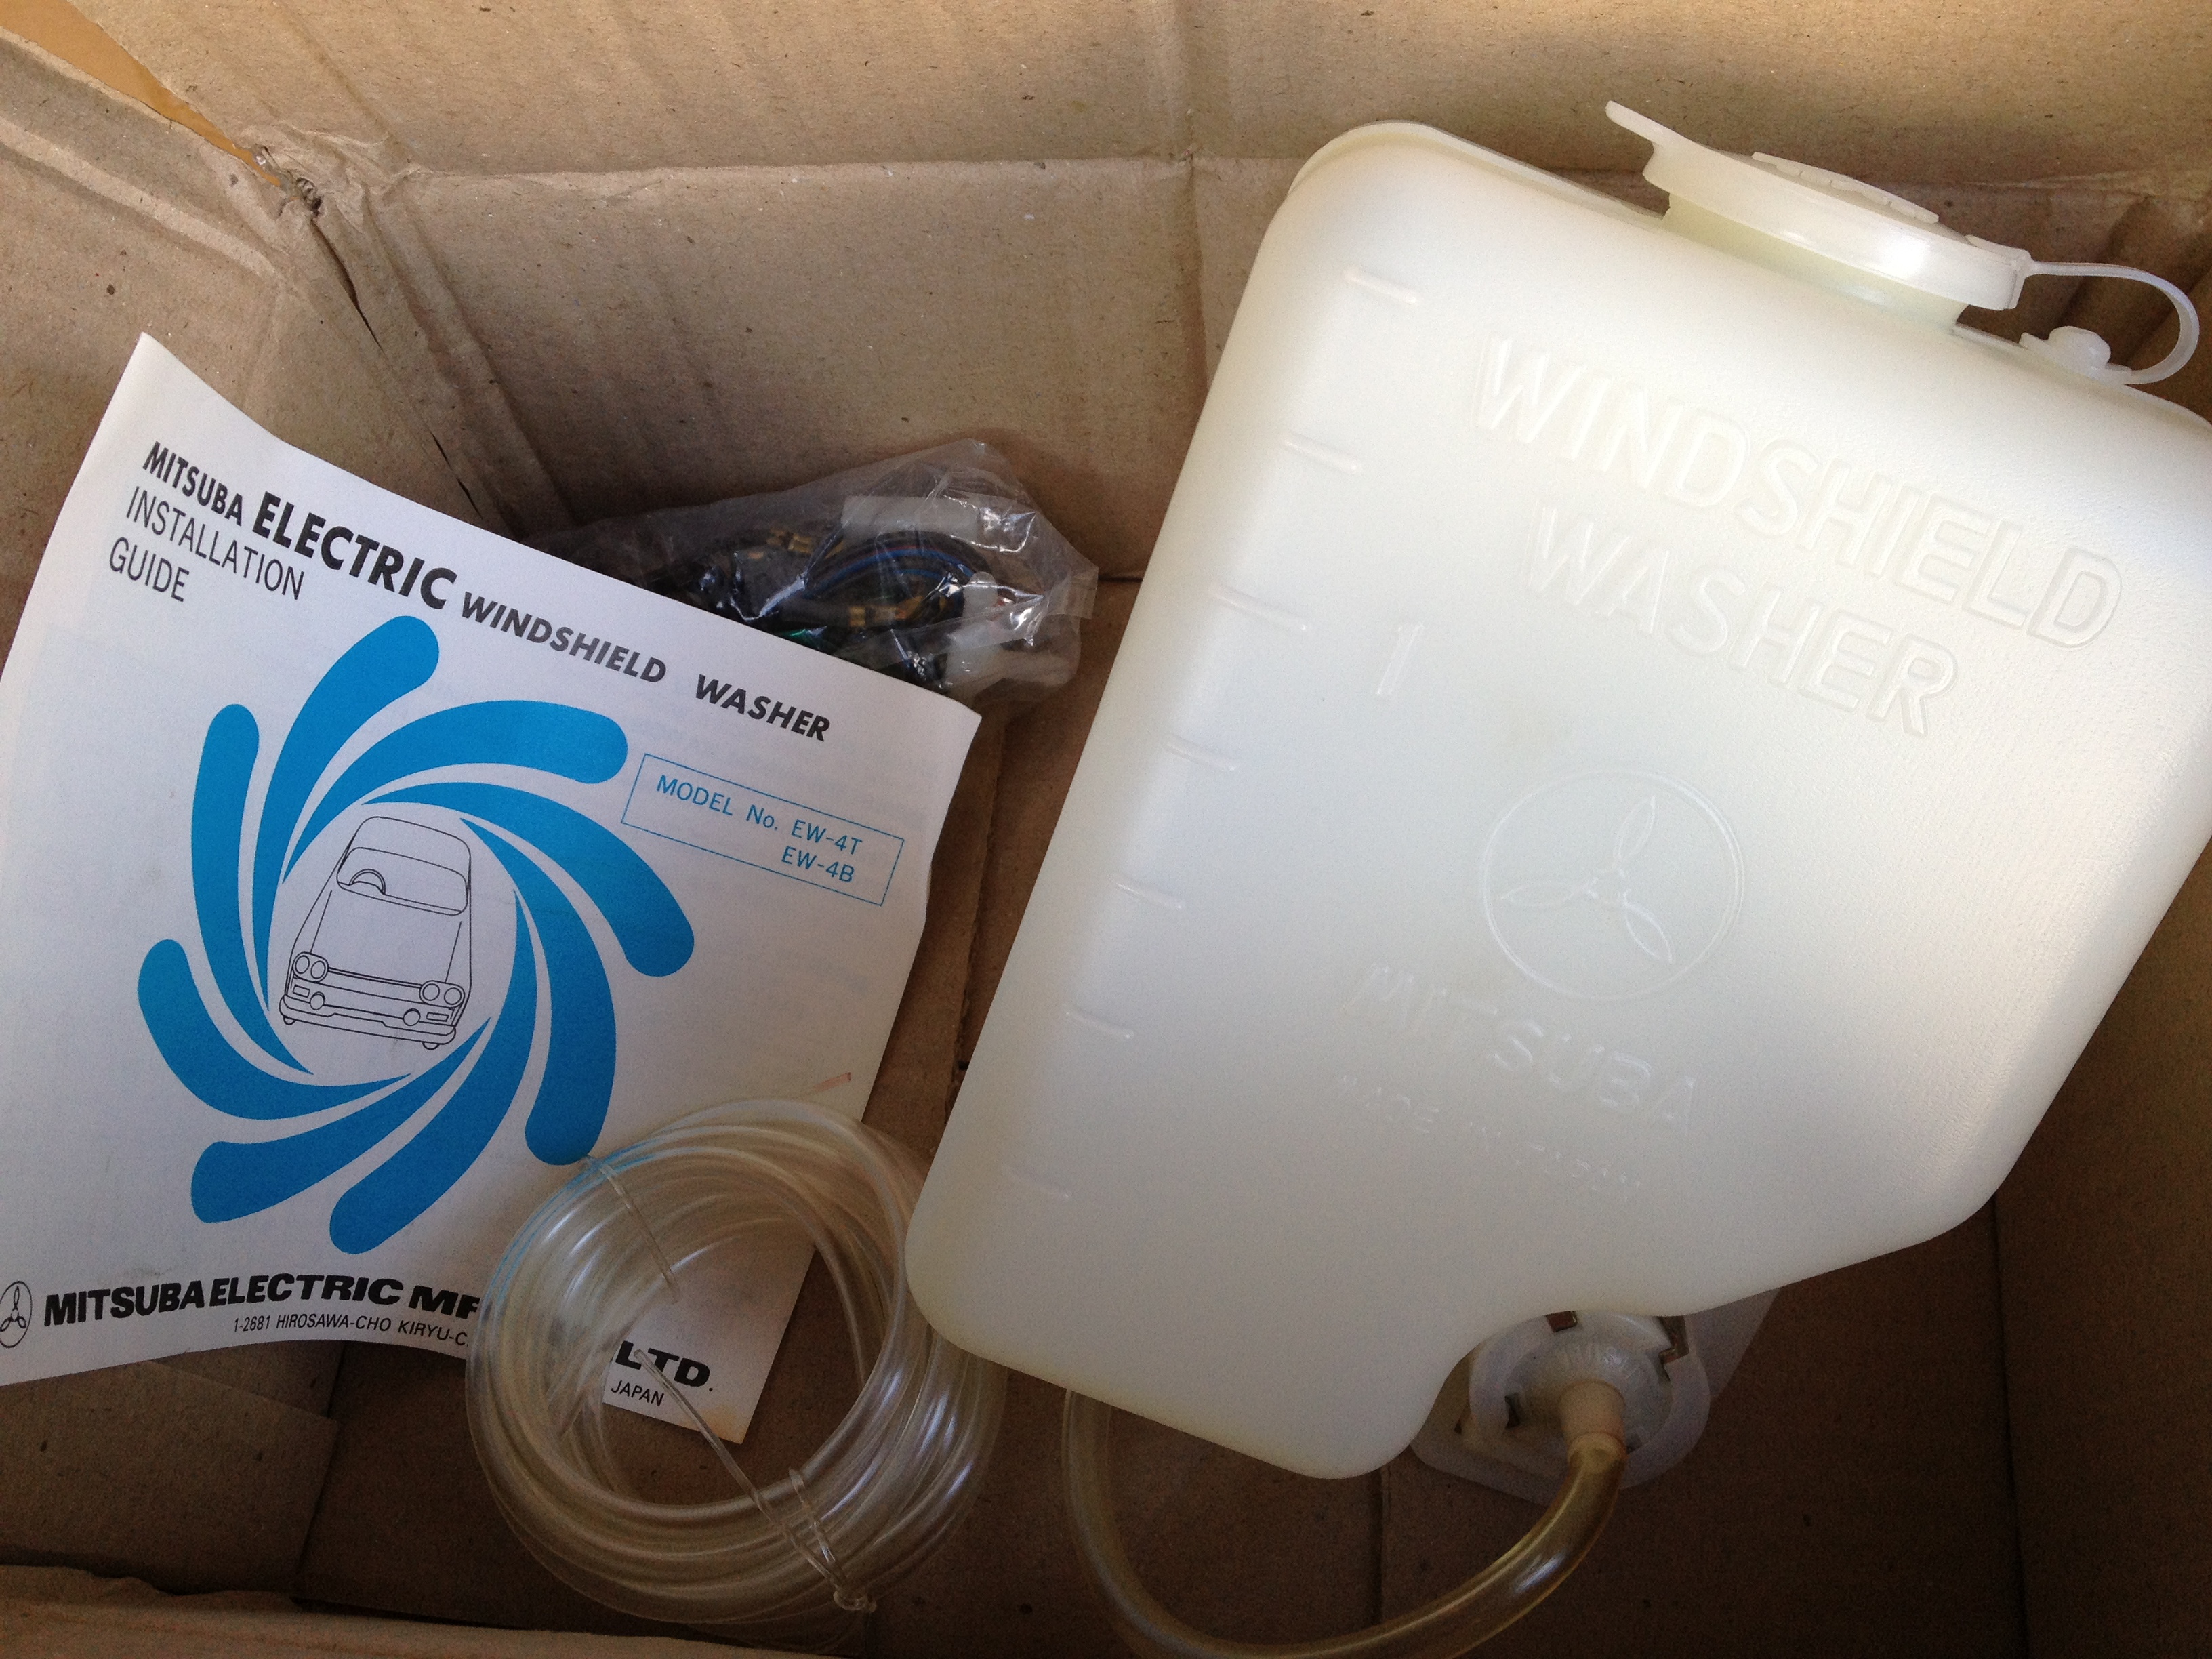
Truly starting the week before, I had already ordered the parts i had needed for the final assembly – window seals, weatherstripping, carpet, seat covers, and a front windshield (more on that later). I needed to those parts ordered quick to be ready as soon as the car came back. Once the car rolled out of the painters garage it was already Tuesday evening – literally only 4 days and 5 nights remaining. That night i got straight to it, sorting out the pieces getting it ready for a full attack the next day.  We quickly got into full swing with my brother Kris and a groomsman Erik helping hammer it’s way back to road-worthiness.

DailyDatsun 280z - instagram

We were able to complete the rear tail lights, some trim repaint, side marker lights, headlights, hood louvers, hood rubbers, floorboard prepping, and the front feet area of the carpet.

Thursday rolls around for another big day. During the afternoon I had the neighbors install the front and rear windows – truly a blessing to have a family who owns an auto glass repair company live next door to you! Late afternoon, brother brought over another groomsman Jerry and his girl Kennie (who had just both come over from Hong Kong) to lend a hand, helping clean windows and tackle the carpet. Carpet continued to dominate our time because of the measuring / cutting required for all the interior fittings: both sides of the seat belts, shifter, e-brake, and seat rail holes among other things. Carpet needs to go in first because it instantly transforms the visual impact of the car. Additionally, once that’s in, seats, center console, door trim, all that can go back in.

Later that evening, I had three more sets of hands arrive: my future sister-in-law Dana, my sister Kathryn and her boyfriend Jake! It was great, we all had our hands on this thing! Jake and Jerry tackled doors, Kennie and Dana helped clean parts, Kathryn helped me assemble the last seat, while Kris had the dreadful task of installing the rear driver-side interior quarter panel trim. Imagine having so many people who, for the majority, have never worked on cars (let alone re-assemble one) all help out at the same time – yes, it was a circus. Yes, you’ve gotta make sure all the correct bolts were used. But truly it was such a fun experience. I love working on projects with friends, more so with my brother and sister!

DailyDatsun 280z - Seat and sister

To top off the night, even LATER that evening, my parents flew into town, and they too dropped by to check out how things were going. I wish i got it on video / photo, but both my mom and dad would later return the next day to help out to complete the re-assemble.

Friday, My dad and i put in the seats, dash and door trims; while my mom cleaned parts, and even tackled the biggest task: clean / organized the storm of parts and trash that my garage was left in the previous night. Yes, I definitely should have gotten photos of my mom and dad helping out but we were just so focused on getting this done. Wipers went on, the last three pieces of chrome front windshield trim were found and installed. I got to say the whole project has been amazing, but there’s nothing like working on a car with your dad. More over, he’ll be driving it while we’re away on our honeymoon. It’ll be 40 years since he last drove a Z, and I can’t wait to hear what he’s got to say!

I had a two hour window to install the final touches late Saturday afternoon – front grill, front parking lights and their trim, horn, side-view mirrors, and of course, the c-pillar ‘Z’ markers. I took it off the battery tender attached the night before, and started him up. Perfect – solid and strong. Looks – amazing and fast. I’m proud and thankful that my friends and family helped get car back on the road, and ready in time for the wedding.

Sunday night we drove it back from the reception only to be stopped by a police officer 1/4 mile from our hotel. Doh. Were parts falling off? Lack of rear bumper? Nope. No tail lights. Brake lights were working but the car was “invisible out there” with no running tail lights. Luckily the officer was more concerned about our safety, and with the ‘Just Married’ sign and us still being in our wedding get-up we were let go with a congrats rather than a ticket. :] Sigh! now this rebuild story is complete!

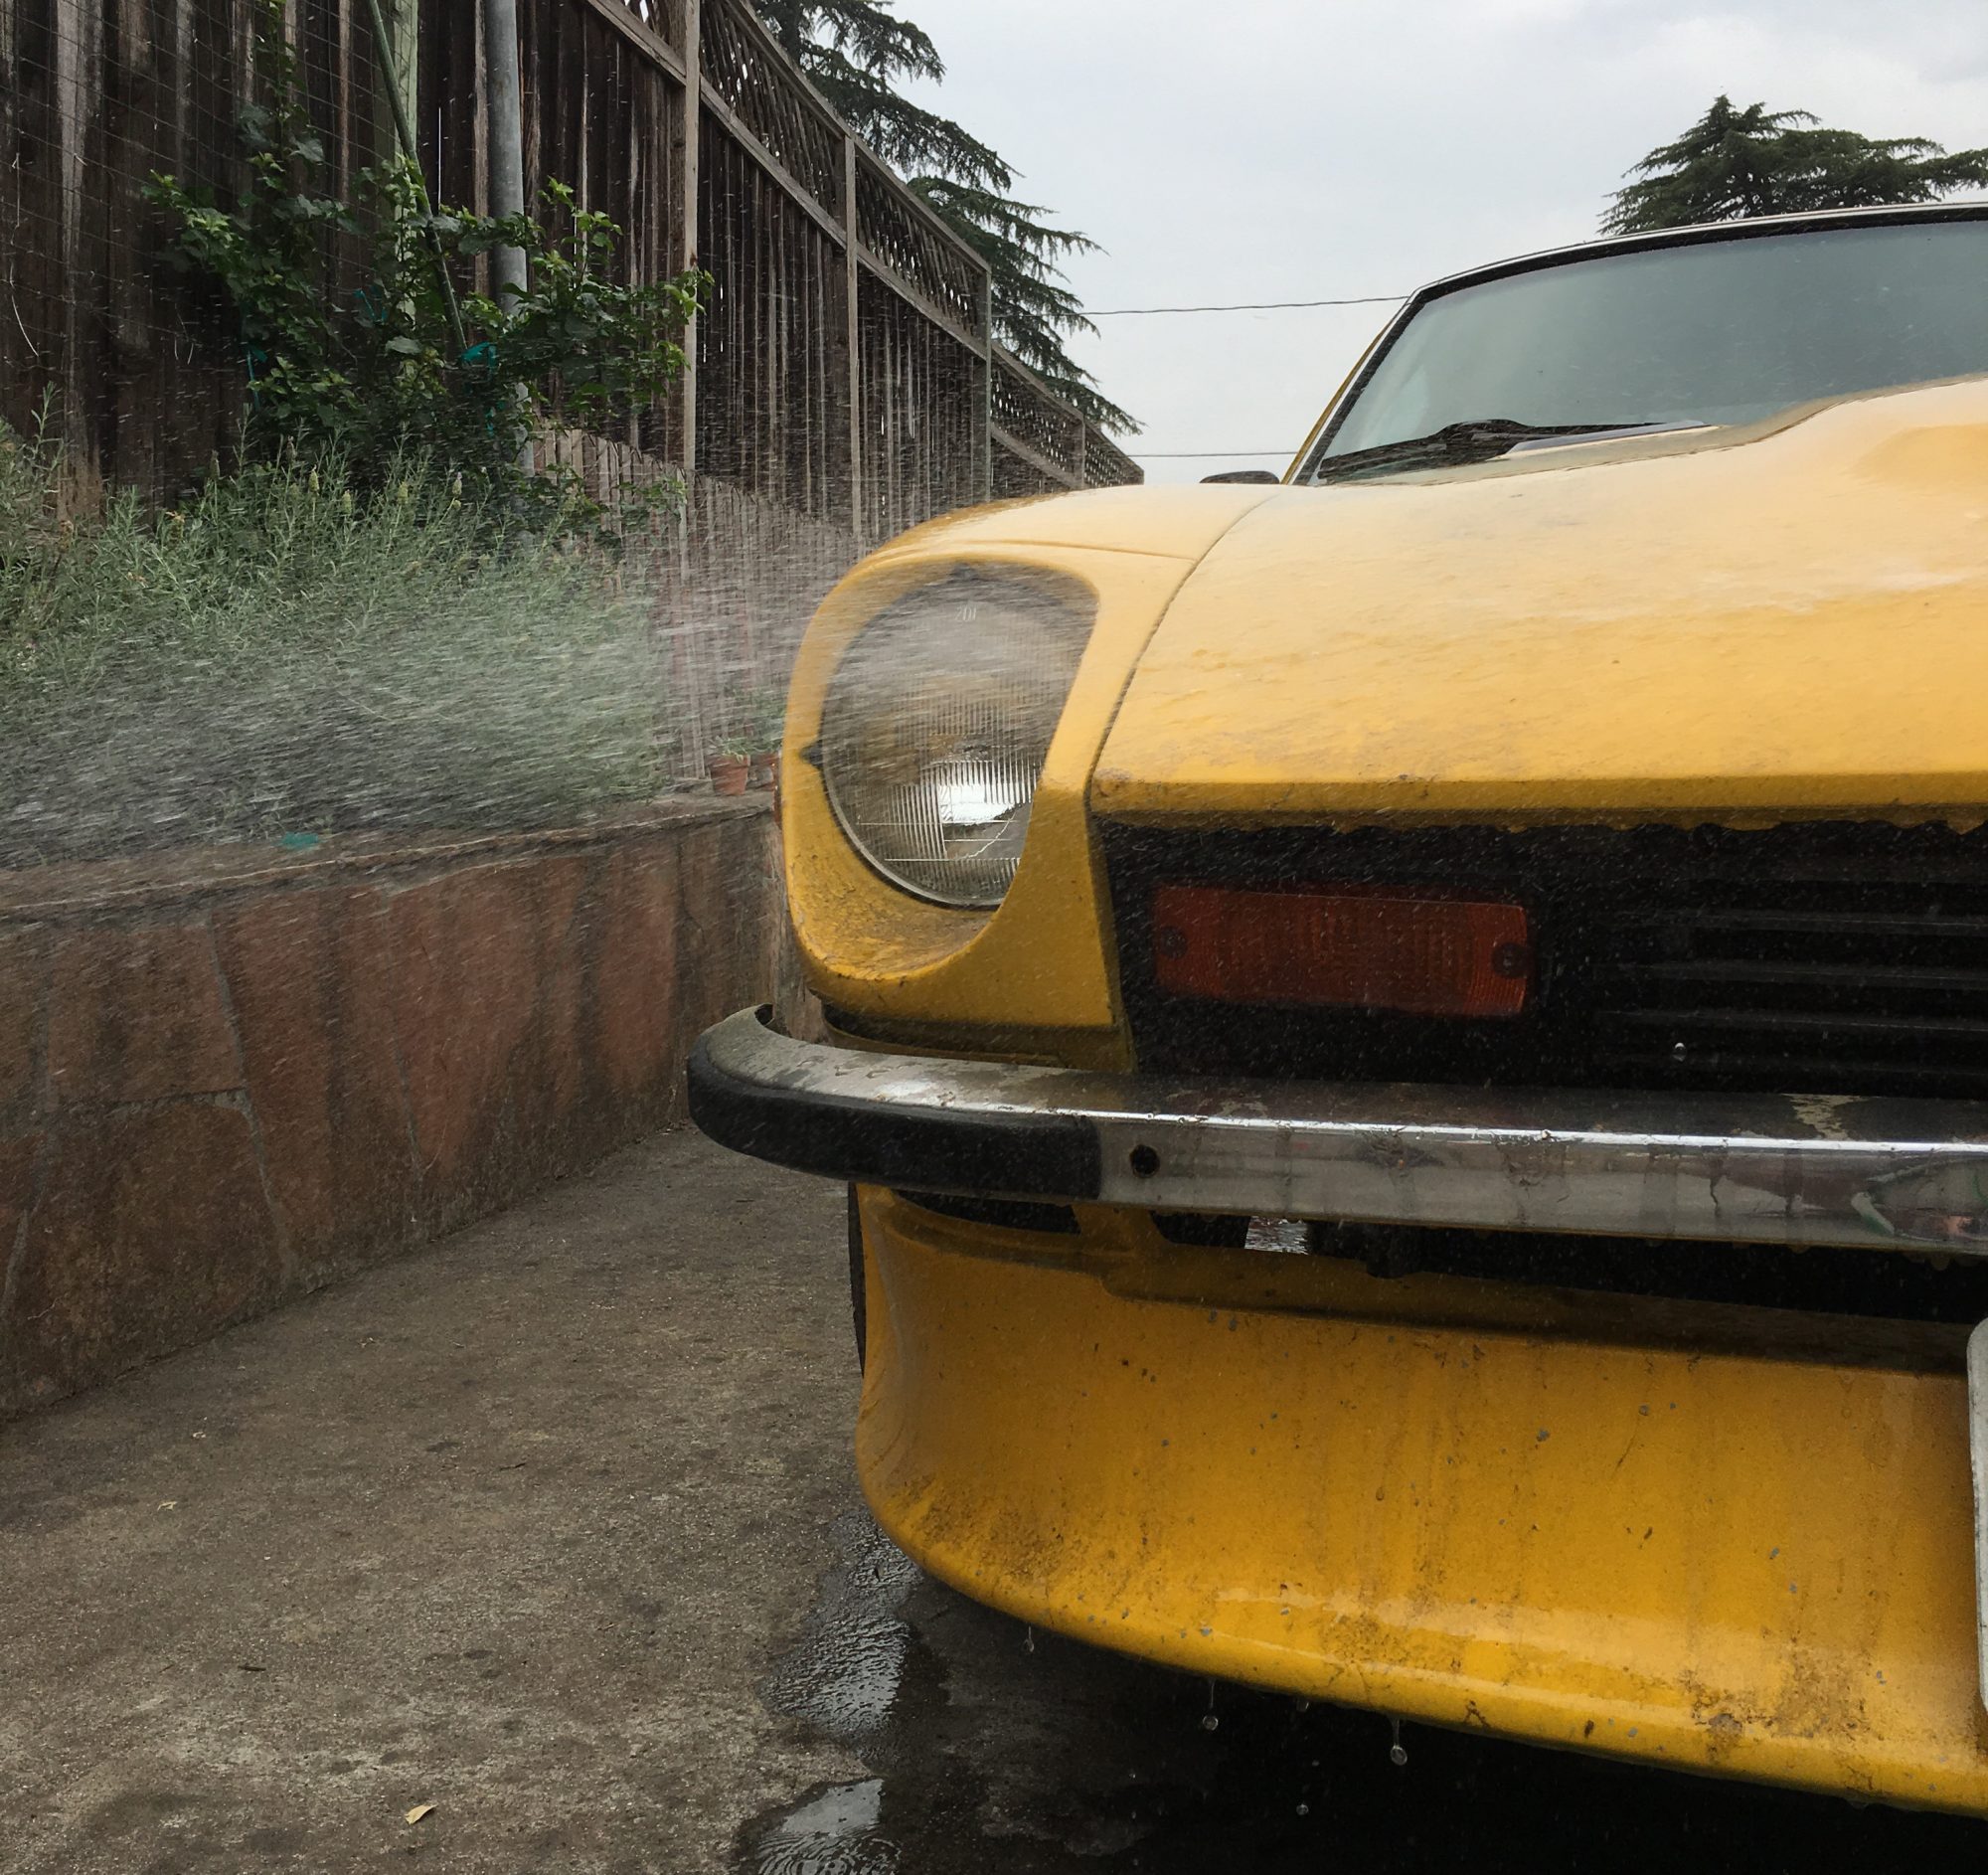
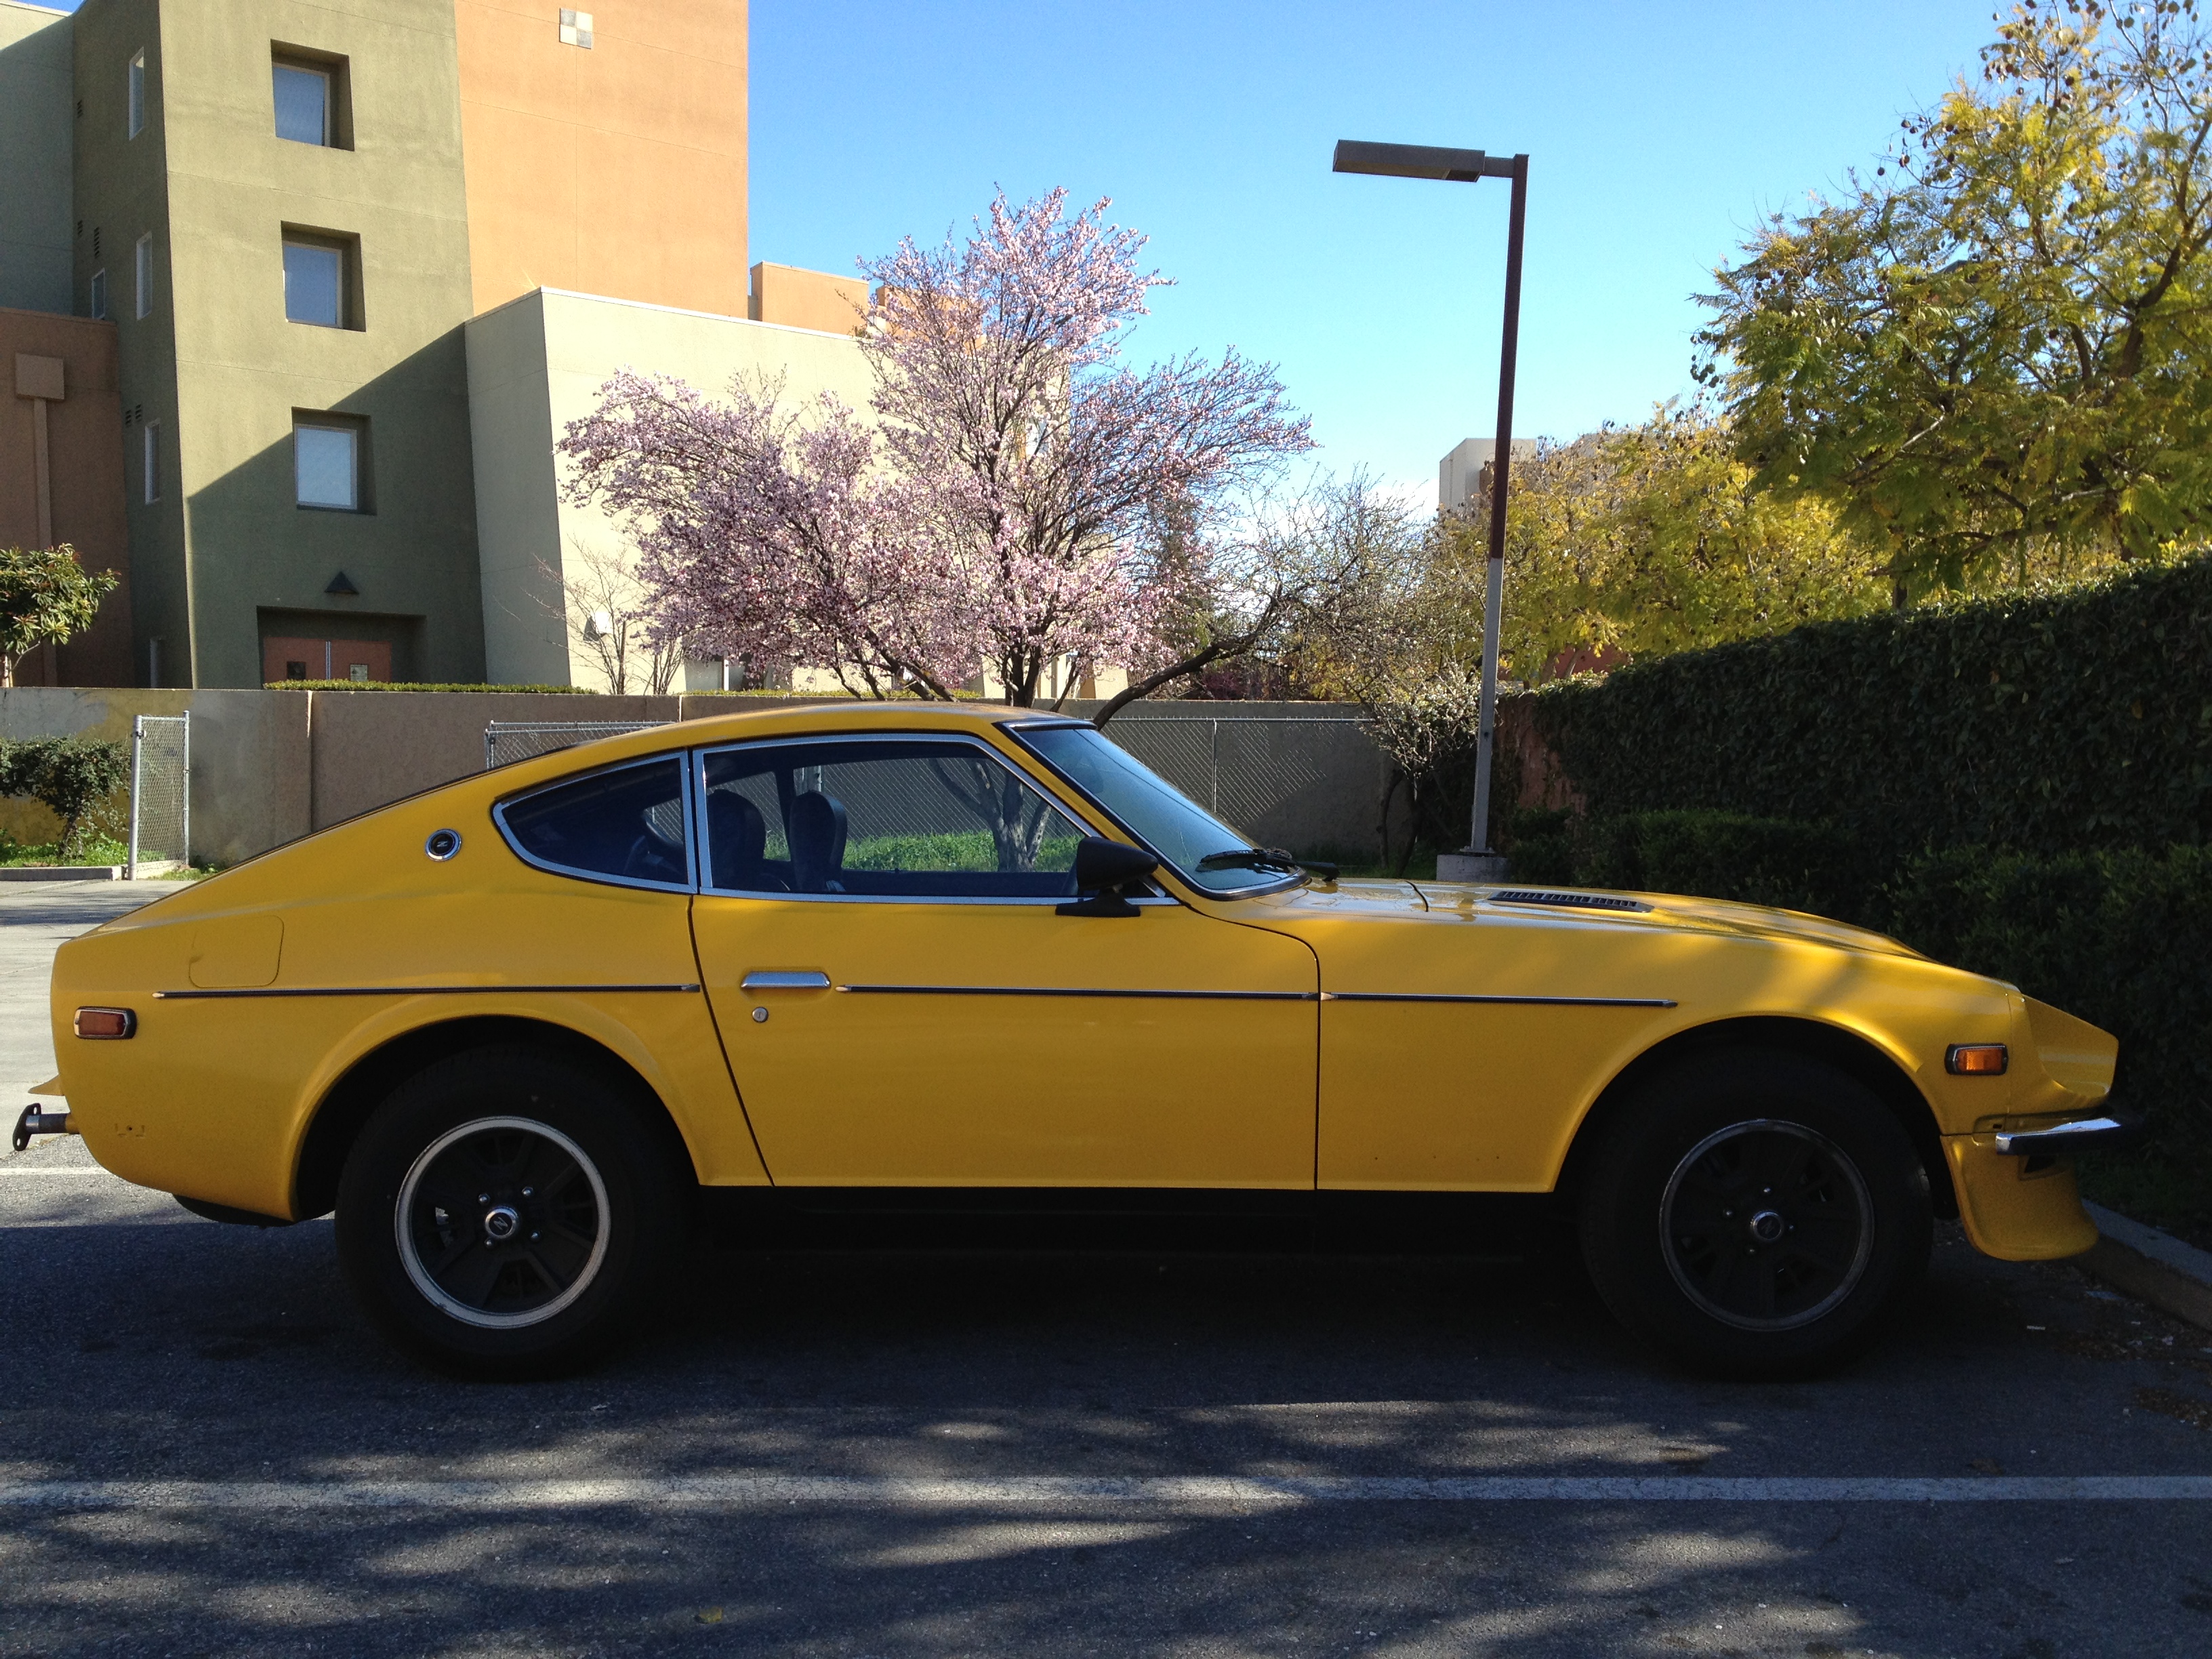
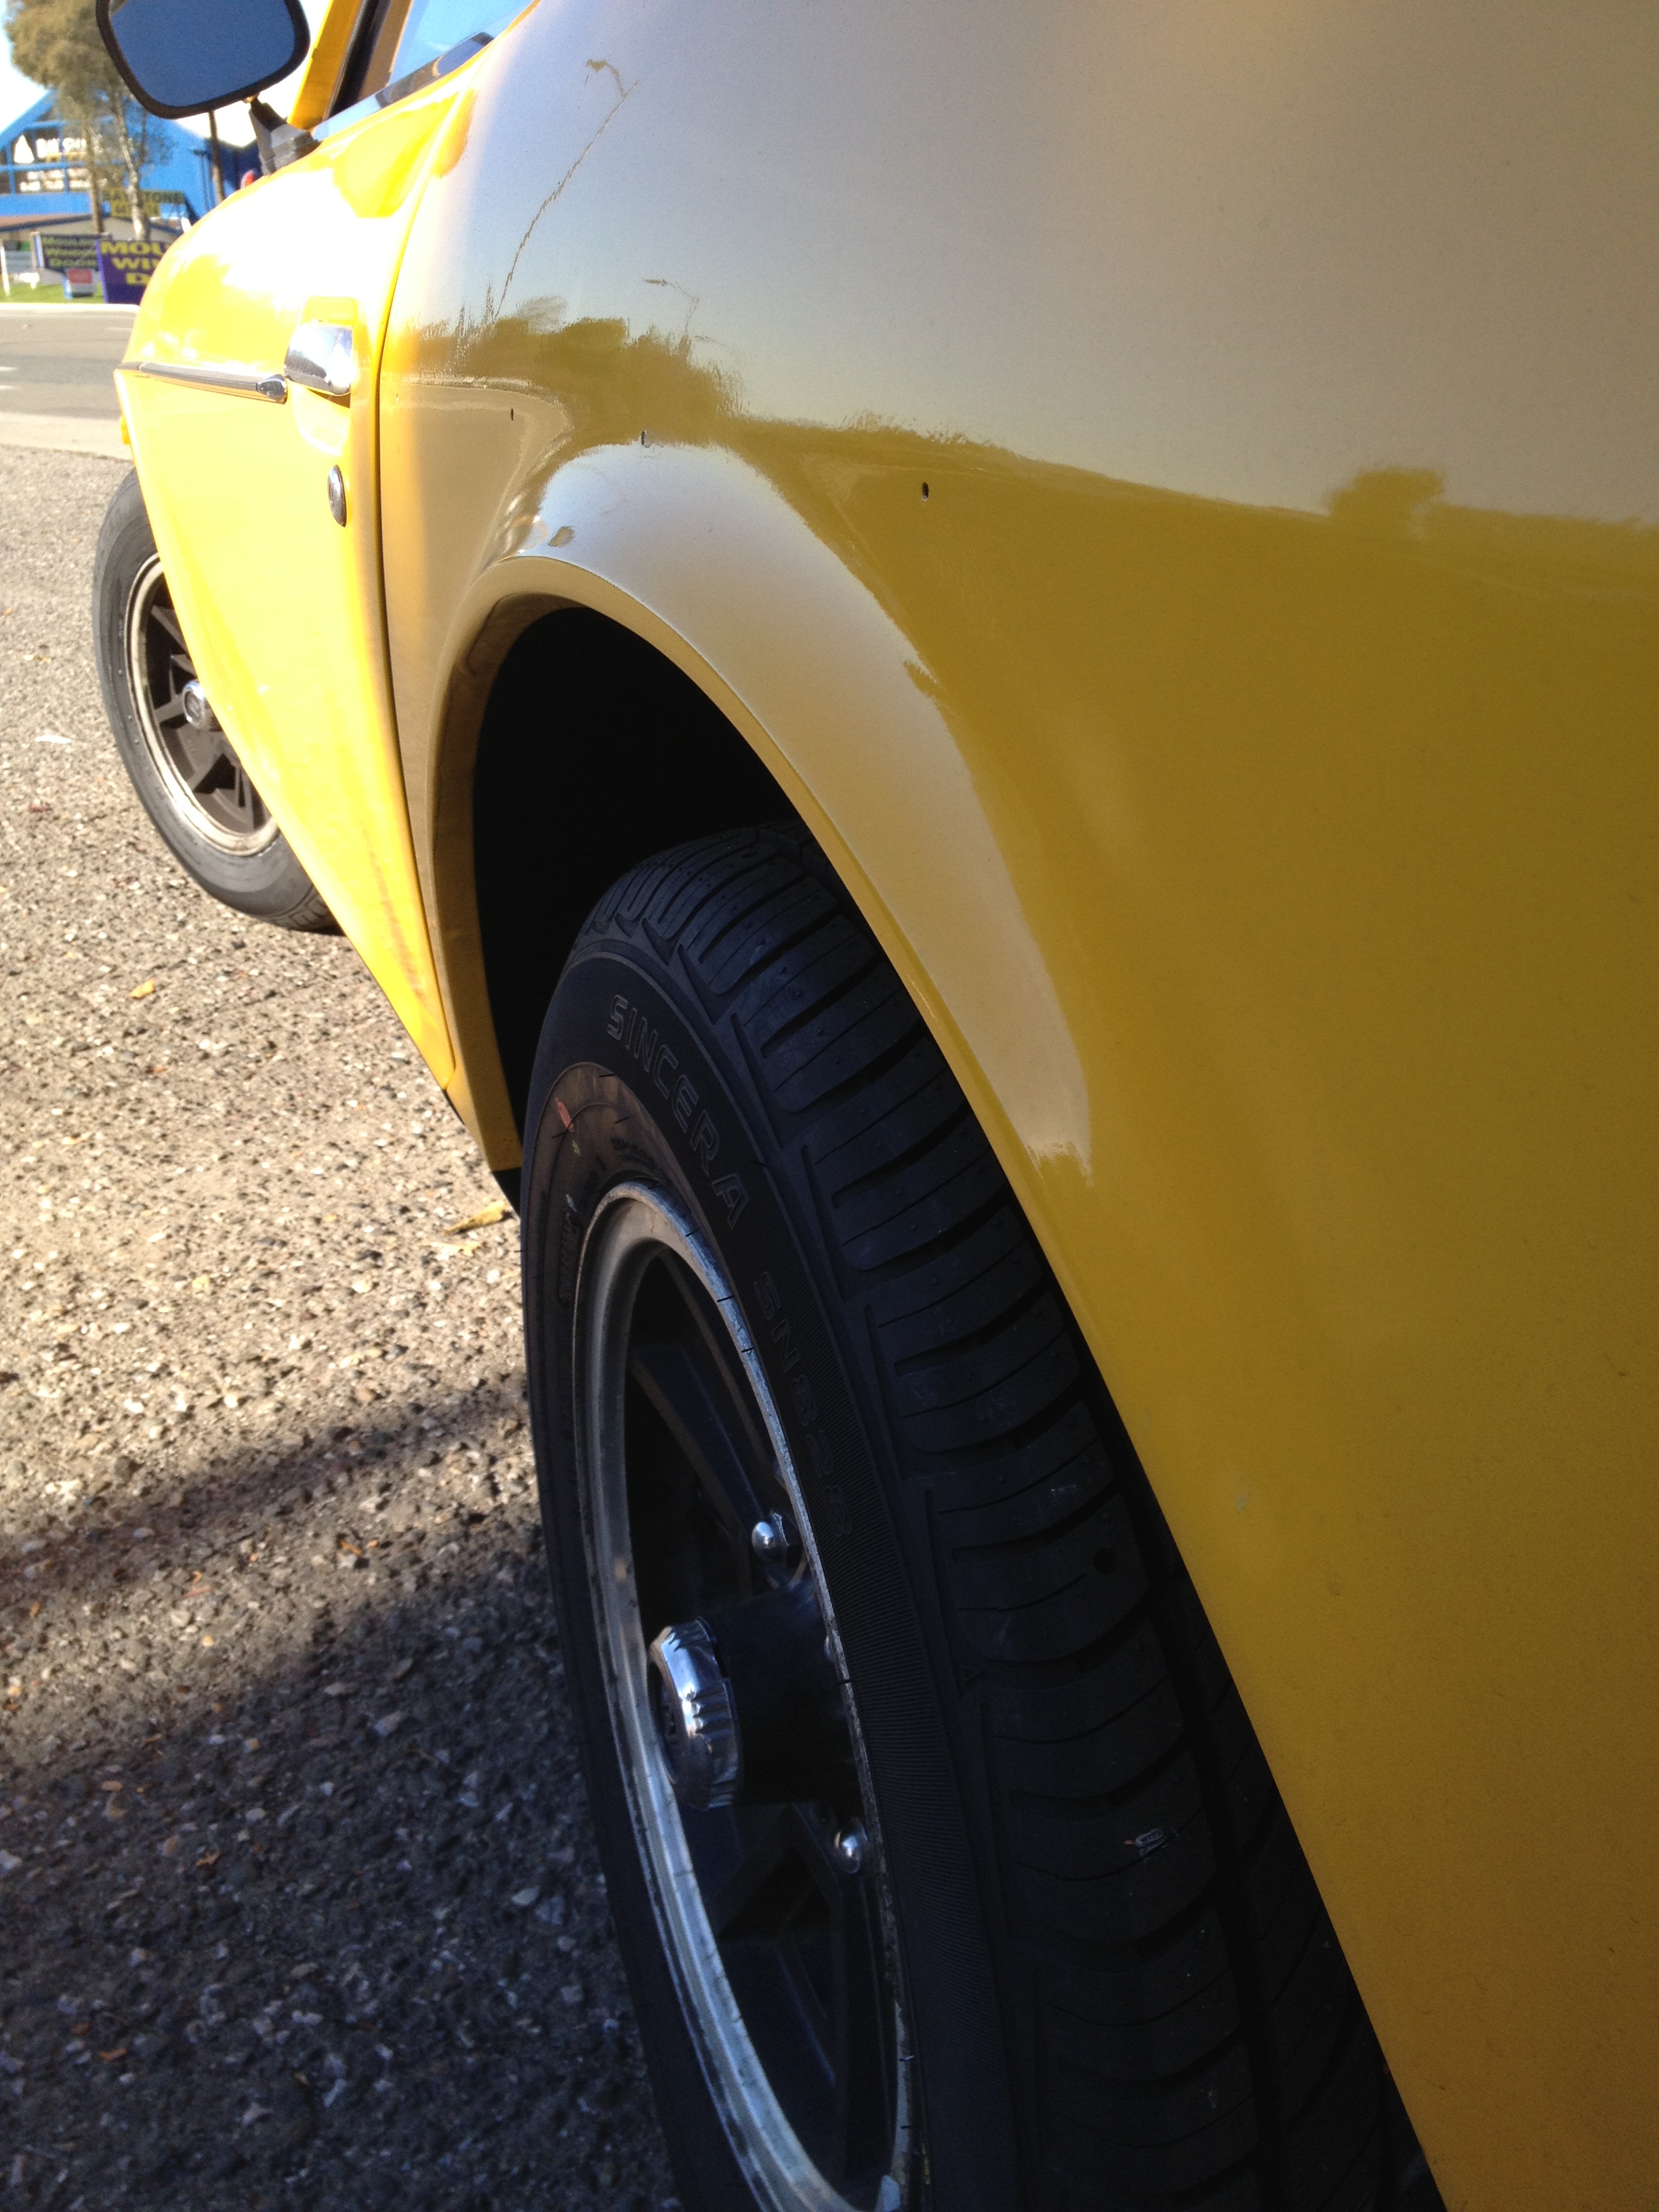
Pictures of the re-assemble will come soon – for now here are some pics straight from the painter that Tuesday afternoon.

DailyDatsun 280z - fresh paint

DailyDatsun 280z - fresh paint 2

DailyDatsun 280z - fresh paint hood

DailyDatsun 280z - fresh paint 3


Getting Wedding Ready – Part I

OH yeah. It’s on.

Time is ticking, and the Z is on it’s way to being our wedding car! Yes, I convinced my beautiful, sensible minded fiancee to use the 280Z as our chariot. The only catch: it has be 100% ready. For my wedding, is there anything else it would be? :]

Since that day (about a month ago) i’ve been planning, scoping, and wrenching on the 280z to get it ready for game day. With little over three weeks away, it seems like it’s got a great distance before it gets to 100%.

This morning, it was back to the seats.

Last time, I had just recovered the seat backs leaving the seat bottoms to be finished.

Datsun 280z seat

There are three small screws that hold in the cover plate to the adjustment mechanism. Behold! the underside uses that same straw-like padding as seen in the seat backing.

Datsun 280z seat - cover plate screw Datsun 280z seat - underside

Seat adjustment mechanism

Datsun 280z seat -adjustment mechanism

I was blocked by these stubborn screws holding down the chair adjustment spring fixture. Even with WD-40, corded drill with PH-3 (big) bit, and some taps from a hammer – those tough screws were NOT coming out.

Datsun 280z seat - spring mechanism

So I got a little clever and cut the old vinyl to slide it out from the seat spring fixture. This method will prove VERY useful when putting the new cover on.

Datsun 280z seat - working around frozen screws

Undoing the chair slider…

Datsun 280z seat - seat slider

The original seat foams are from Toyo. A quick part search on google for ‘PM690M9’ reveals nothing – surprise.

Datsun 280z seat - seat foam

Minor surface rust in the seat spring; only a little clean up required.

Datsun 280z seat - spring seat frame

Tada! No one’s going to see this part anyways…

Datsun 280z seat - resprayed

After a quick test fit of the new seat cover, I thought there was a bit too much play in the cover and the seat foam. So i decided to use some extra foam i’d been saving just for this purpose. Though pink open celled foam like this isn’t ideal (as it WILL eventually disintegrate), it should last several years before collapsing out, by that time, i’ll just get new foams entirely. Here, i cut a pattern for the seat bolster because the seat cover is a touch wider than the tapering original seat shape.

Datsun 280z seat - extra foam pattern

Datsun 280z seat - extra foam applied

I also decided to replace the straw-like padding on the bottom between the seat foam and the seat spring. My first thought was it was just a protective layer between metal and foam.. but the other day when working on the driver seat (which had this material and burlap…), i realized it’s other responsibility… absorb any excess moisture. oh well.

Datsun 280z seat - spring pad cut Datsun 280z seat - spring pad replaced

The new seat covers use a string to cinch the cover to the frame. I decided to re-use  the hog tie re-bars (as well as the string) to make sure the covers sit firmly in place.

Datsun 280z seat - seat re-bar inserted

Here, you can see where i cut the new seat cover to fit in between the bolts that hold the spring assembly. I pulled the string out from that portion of the seat cover, cut, slid the cover through the opening between the bolts, and then fished the string back through. First thing i thought of was that this solution would be something my dad or grandfather would think up of. Worked like a charm, and best of all I can move forward.

Datsun 280z seat - seat cover fix

Looking pretty full in there – now just to pull down that mid-section to give it contour…

Datsun 280z seat - seat complete topside

Seat completed, hog tied tight.

Datsun 280z seat - seat complete underside

Perfect. The seat bottom is extra cushy, and it’s got great shape. I lightly sanded down the bolts, sprayed the seat back bracket with bed liner for a nice rough texture, and cleaned / sprayed the slider lever.

Datsun 280z seat - seat complete side

Datsun 280z seat - seat completed

280z Carpet!

Pulled the trigger on some new carpet!

Motorsport Auto (MSA) has 280z molded carpet on sale right now for $240!
They’re manufactured by AAC, and right off the bat they look and feel great.
This kit includes the passenger area, area under the seat, and the rear trunk area (no shock towers or wheel wells). This is fine because i don’t like having carpeted towers / wells.
The carpet is a short, cut-pile carpet with sewn edges (where needed), and a very nice thickness. It even includes some carpet padding in most areas (again, where needed).

Since carpet pics on their site / internet are seriously lacking, here’s some for viewing pleasure, and a look at things to come.

MSA 280z carpet

Check out the sewn edges and ~1/4″ thick carpet pad.

MSA 280z carpet - carpet pad close up

Note the padding goes around most of the areas of carpet, even up over the center console / transmission housing area.

MSA 280z carpet - carpet pad close up 2

Passenger carpet piece

MSA 280z carpet - passenger area

Close up of the foot pad

MSA 280z carpet - foot pad close up

Carpet piece for under the seats

MSA 280z carpet - area under the seat

Carpet piece for the behind the seats, up over the luggage bar, and throughout the trunk deck. The 280z is going to look great with the new carpet!

MSA 280z carpet - back and trunk area