A while back I picked up a 240z steering – I just love that wood-grained look (though it is composite). I did a nice refurbish on the 240z steering wheel shortly there after, but never got around to installing it… till this past weekend!
There isn’t much around the forums in the way of doing a 240z steering wheel on a 280z. Actually, it’s probably because in terms of the steering wheel itself, there’s no conversion needed – the 240z steering wheel fits the 280z steering gear exactly. The issue I had was really mating a 280z horn button to the 240z steering wheel!
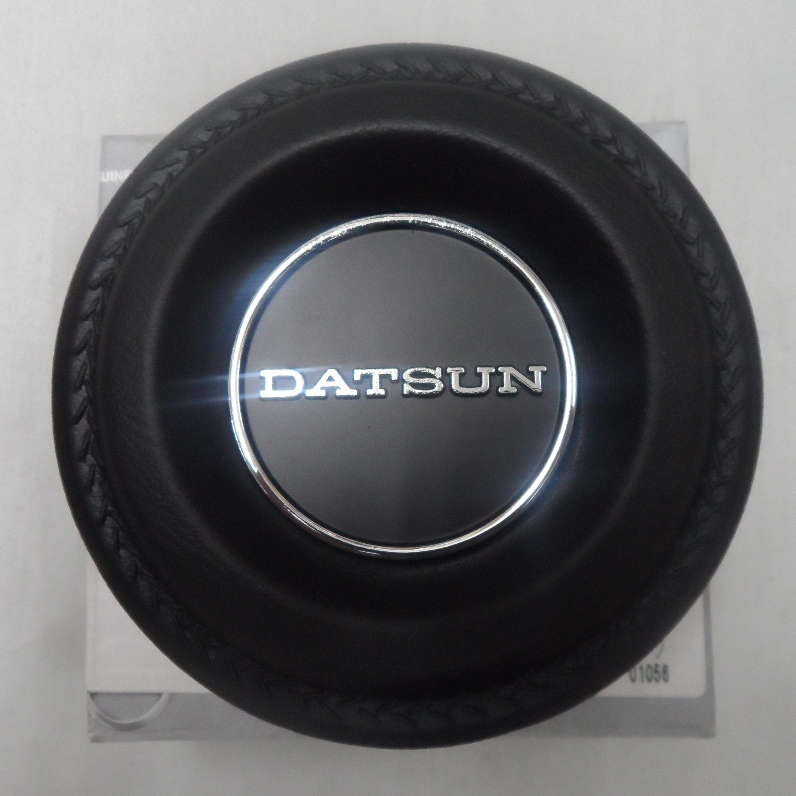
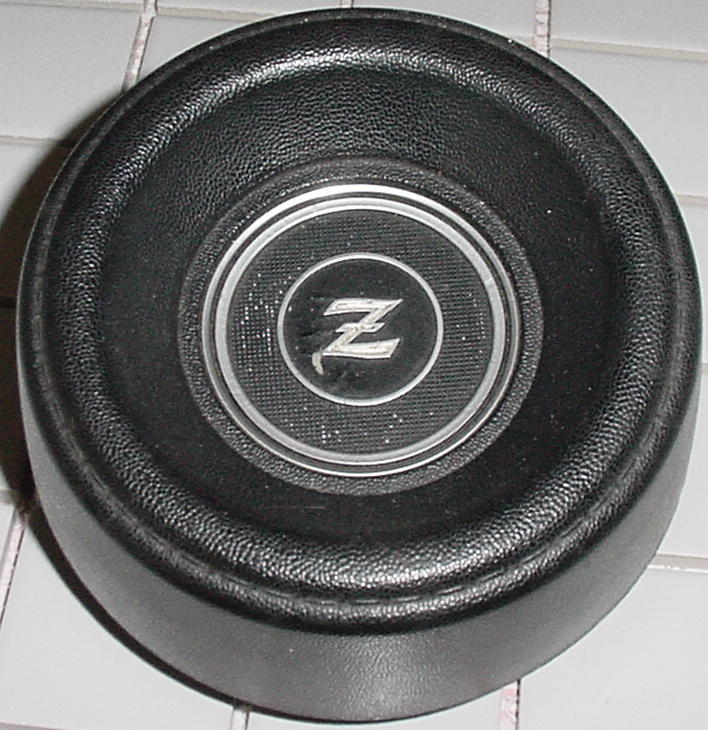
Check out the visual difference between the 240z (left) and 280z (right) horn pads…


I wish it were that easy of a swap, but upon removing the 280z steering wheel and comparing it to the 240z’s, the difference was apparent. The contact plate has 3 screws in the 280z, and only 2 screws in the 240z’s. This different proved to be all the work, thus having to make an adapter to mate the two.
YES, I could have bought a 240z horn pad (avg $40 – $75), but I have a horn pad…and some metal…and a brain. And i like the challenge! :] Let’s go make a 240z-to-280z horn mating plate!
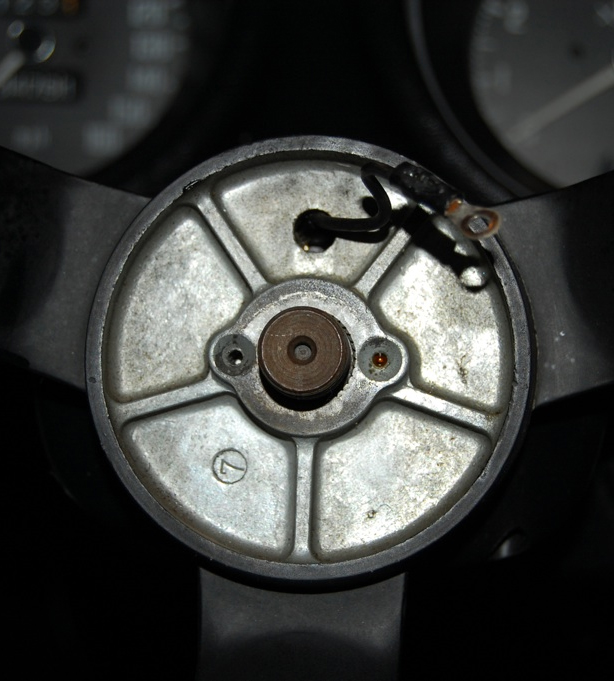
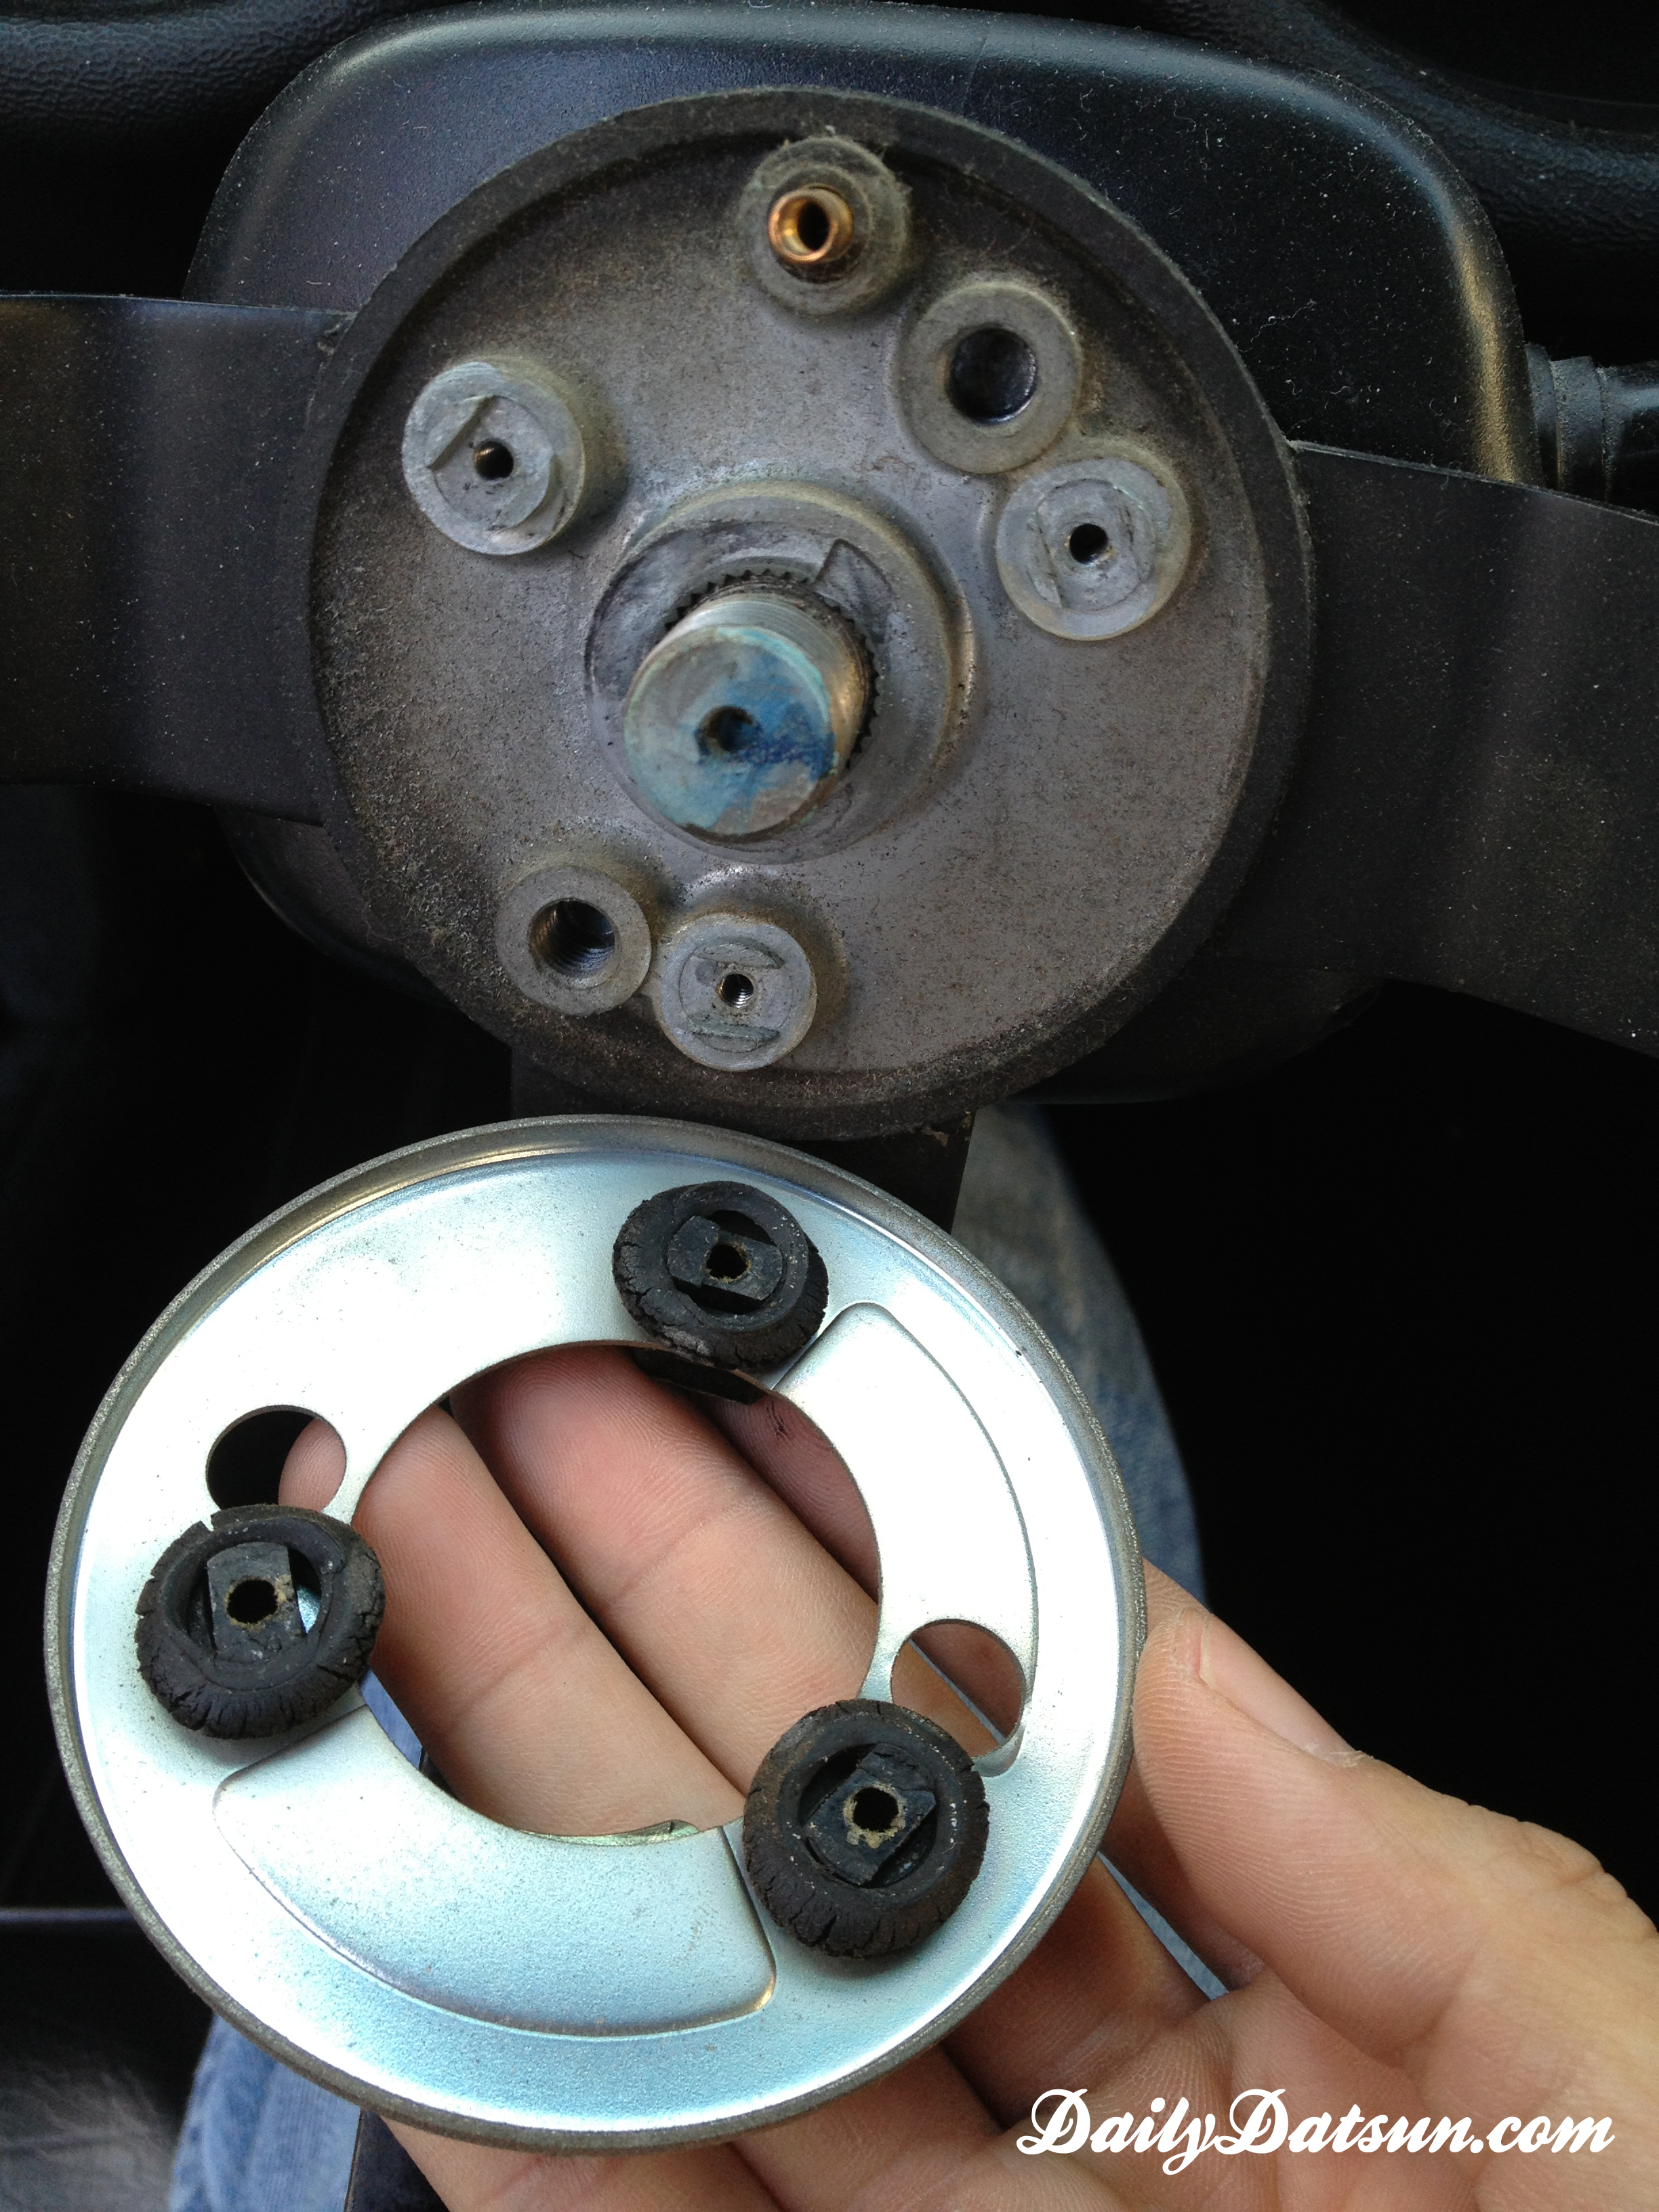
The 240z steering wheel has two screw holes for the horn assembly, while the 280z has three.


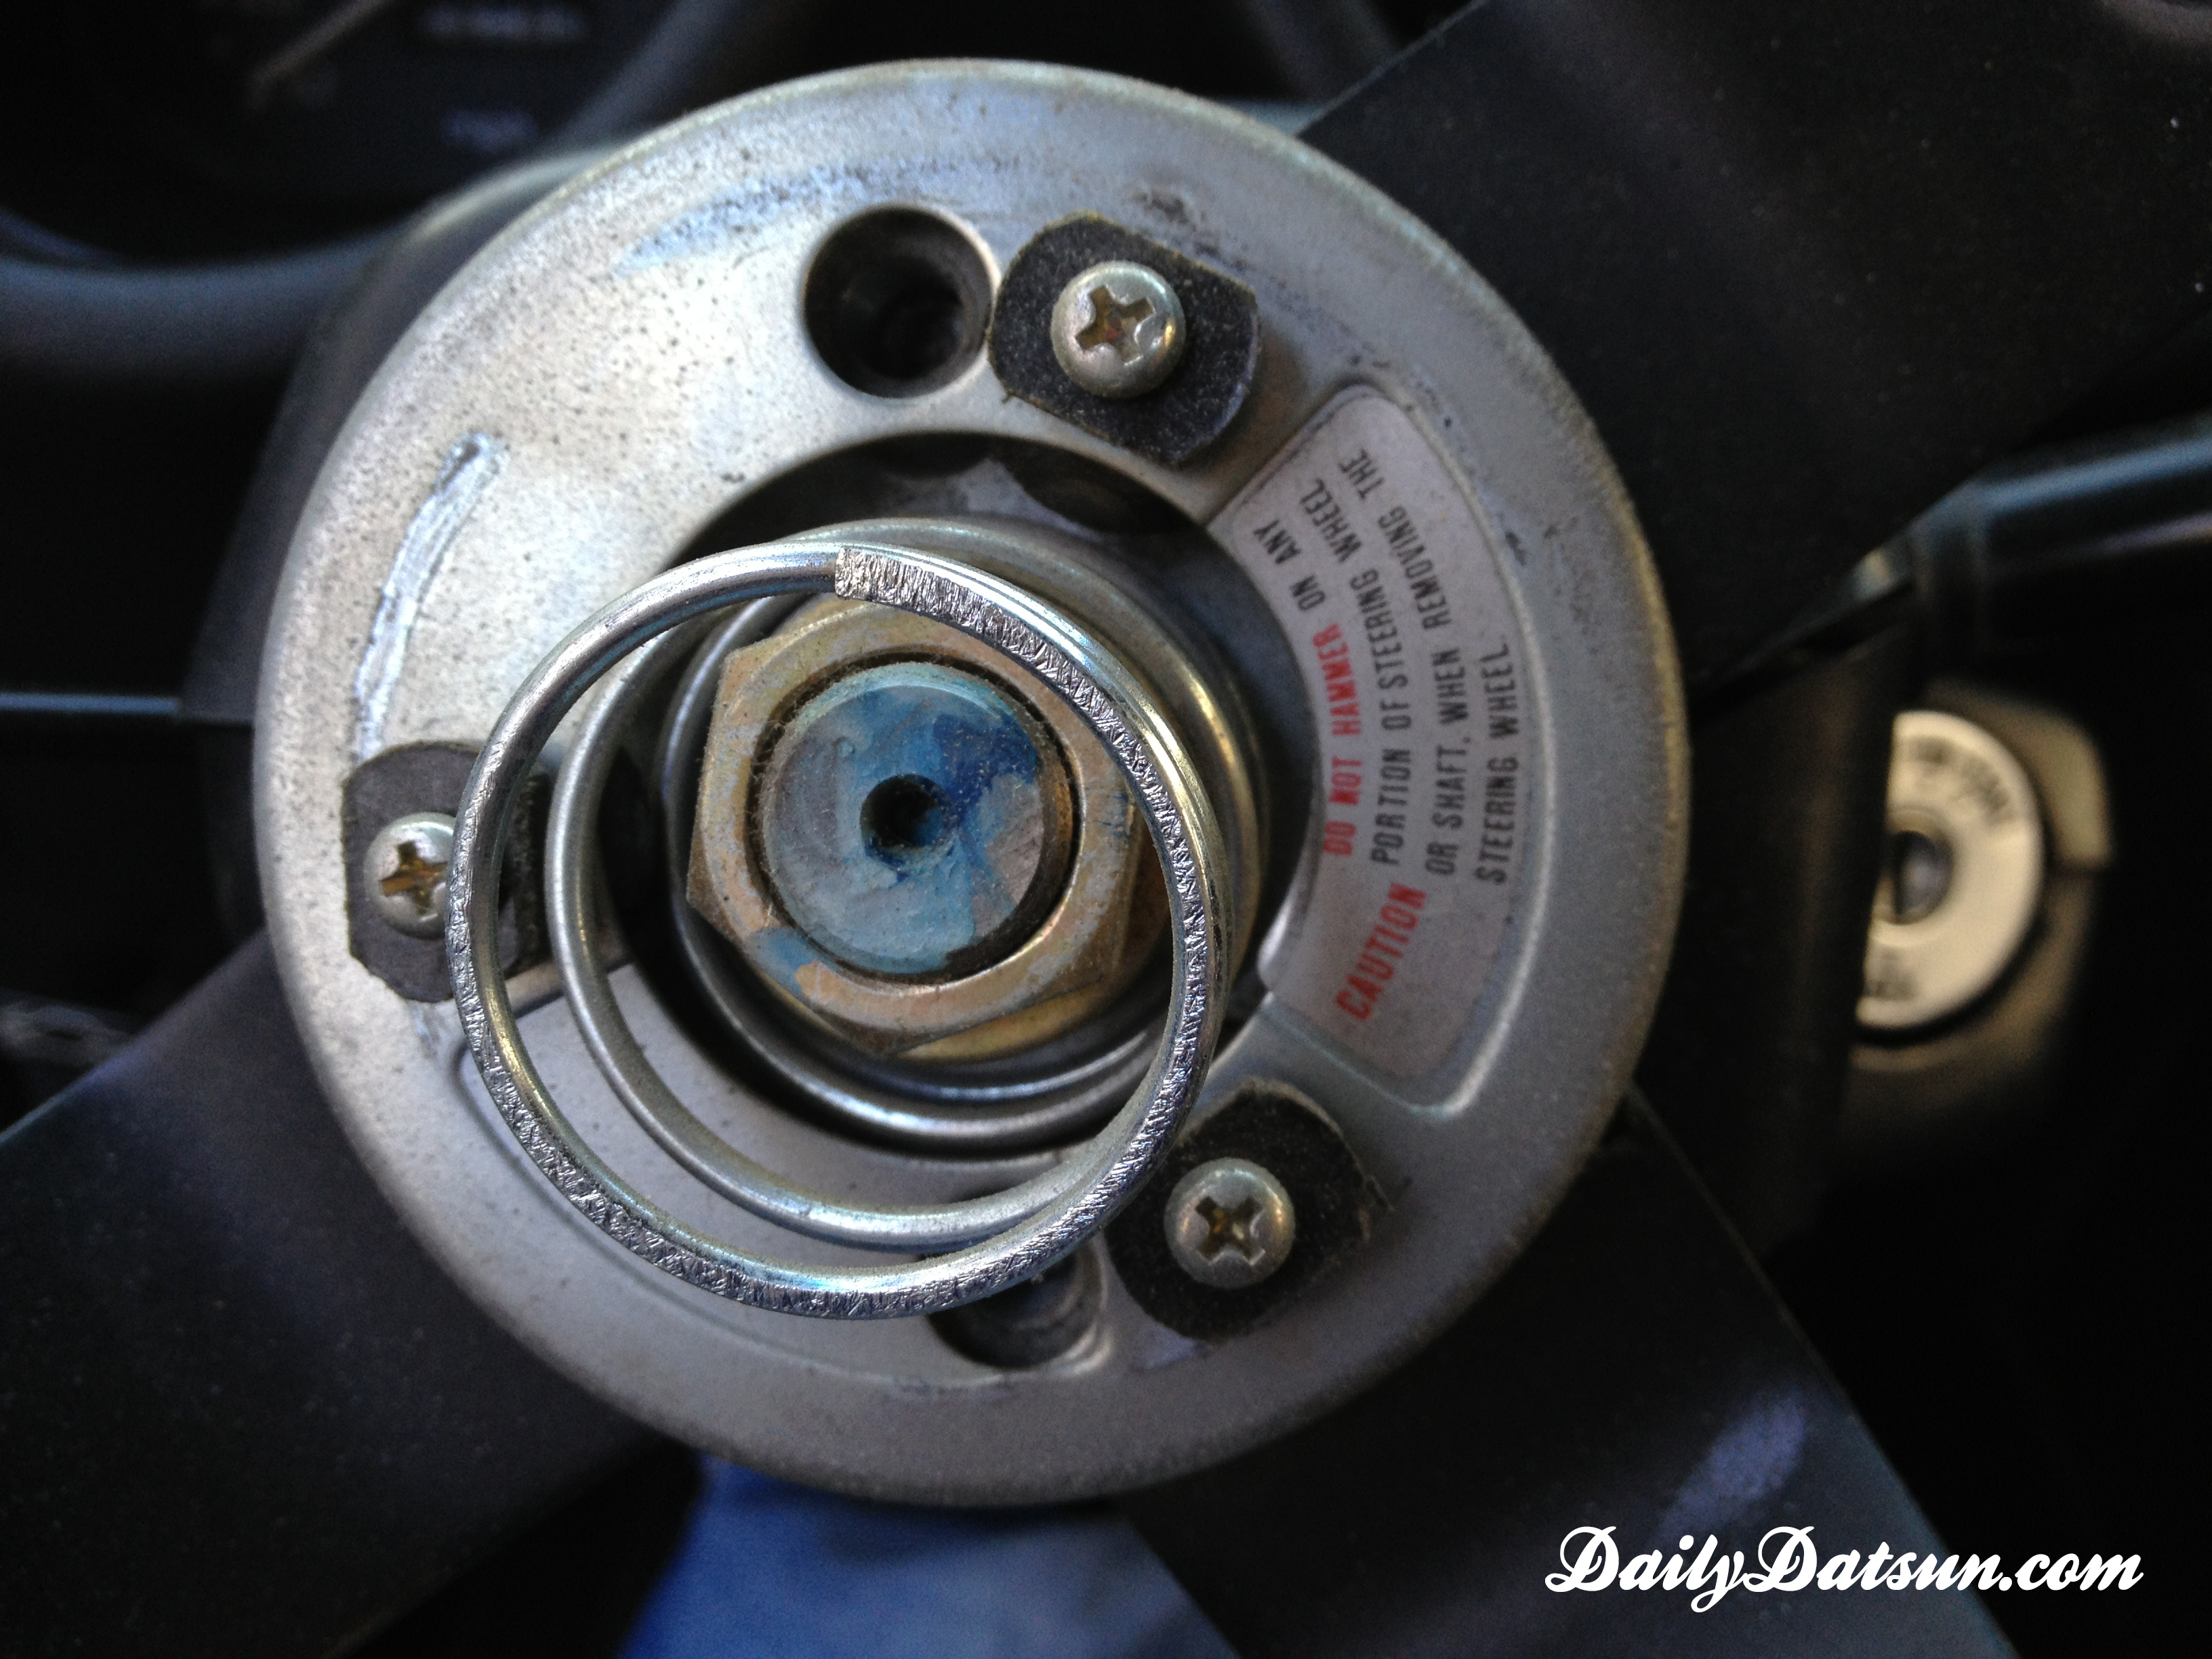
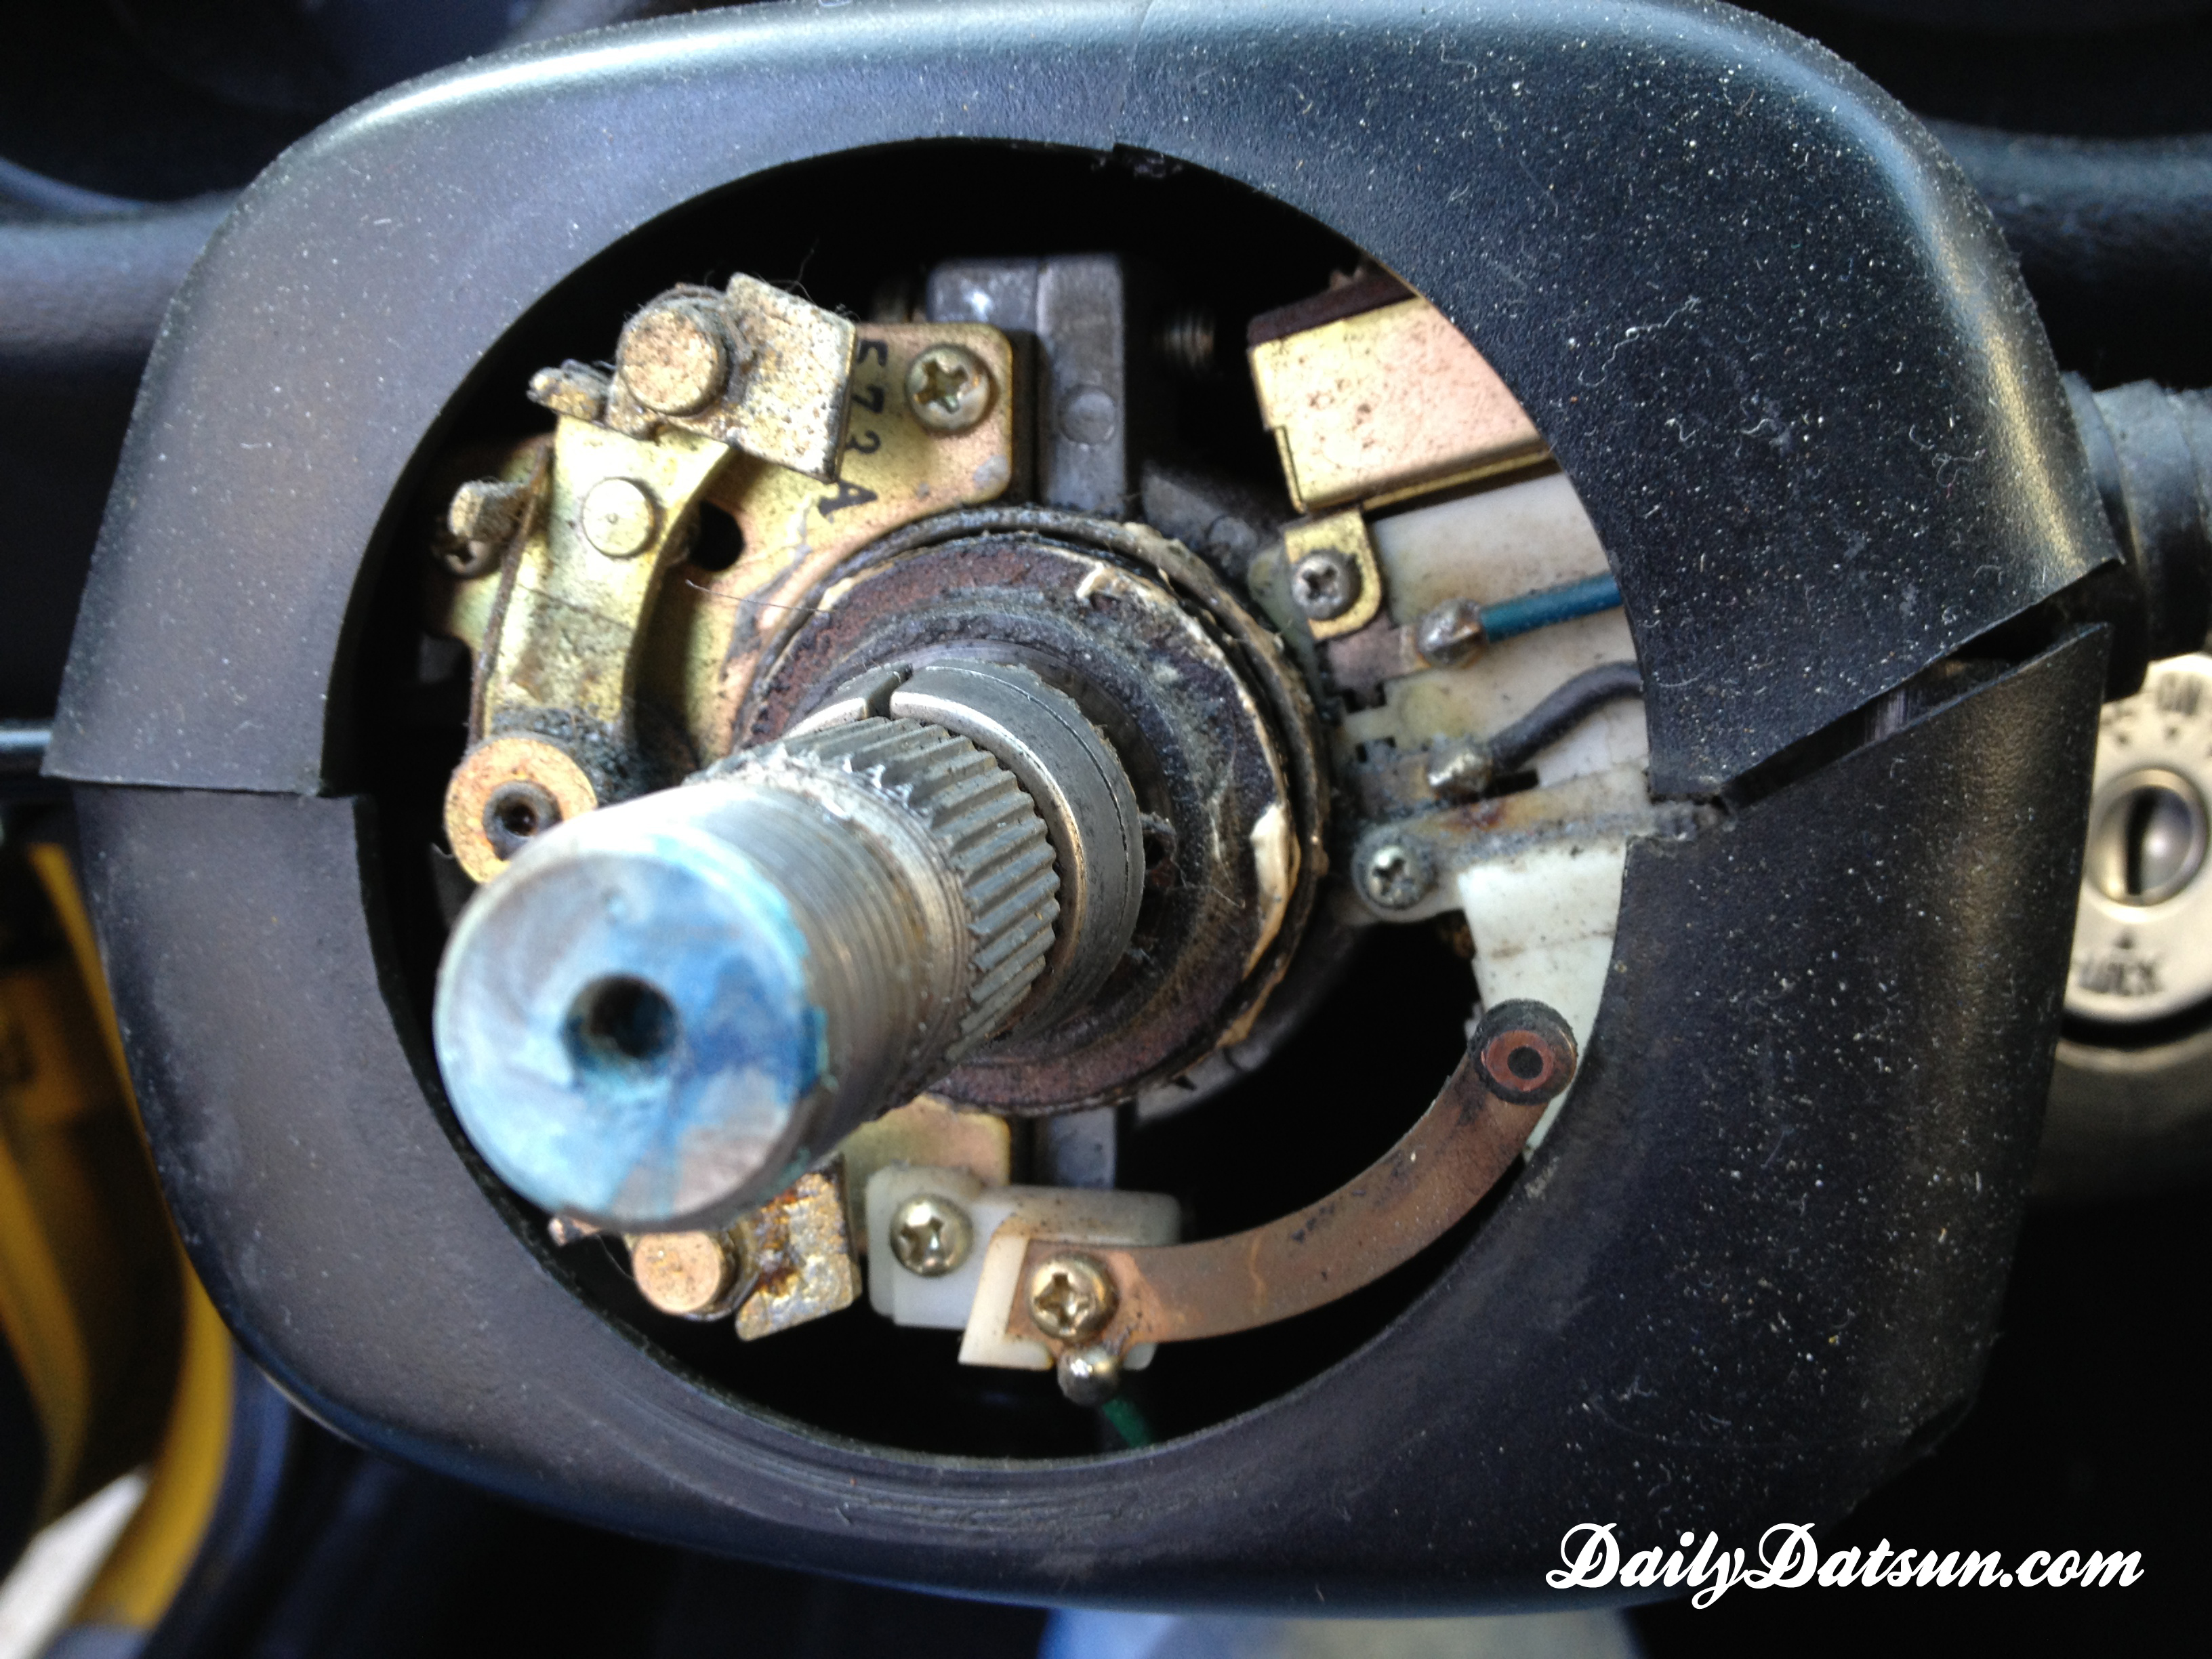
Upon disassembling the 280z horn (three screws), you’ll notice the contact plate has rubber washers and plastic guides (so that the contact plate doesn’t connect the horn pad and steering wheel). On the steering wheel, you’ll see that the 280z has a connection spring (12 o’clock). In the 240z steering wheel picture above, it uses a wire instead.

The horn contact is located here in this pic at 4 o’clock.

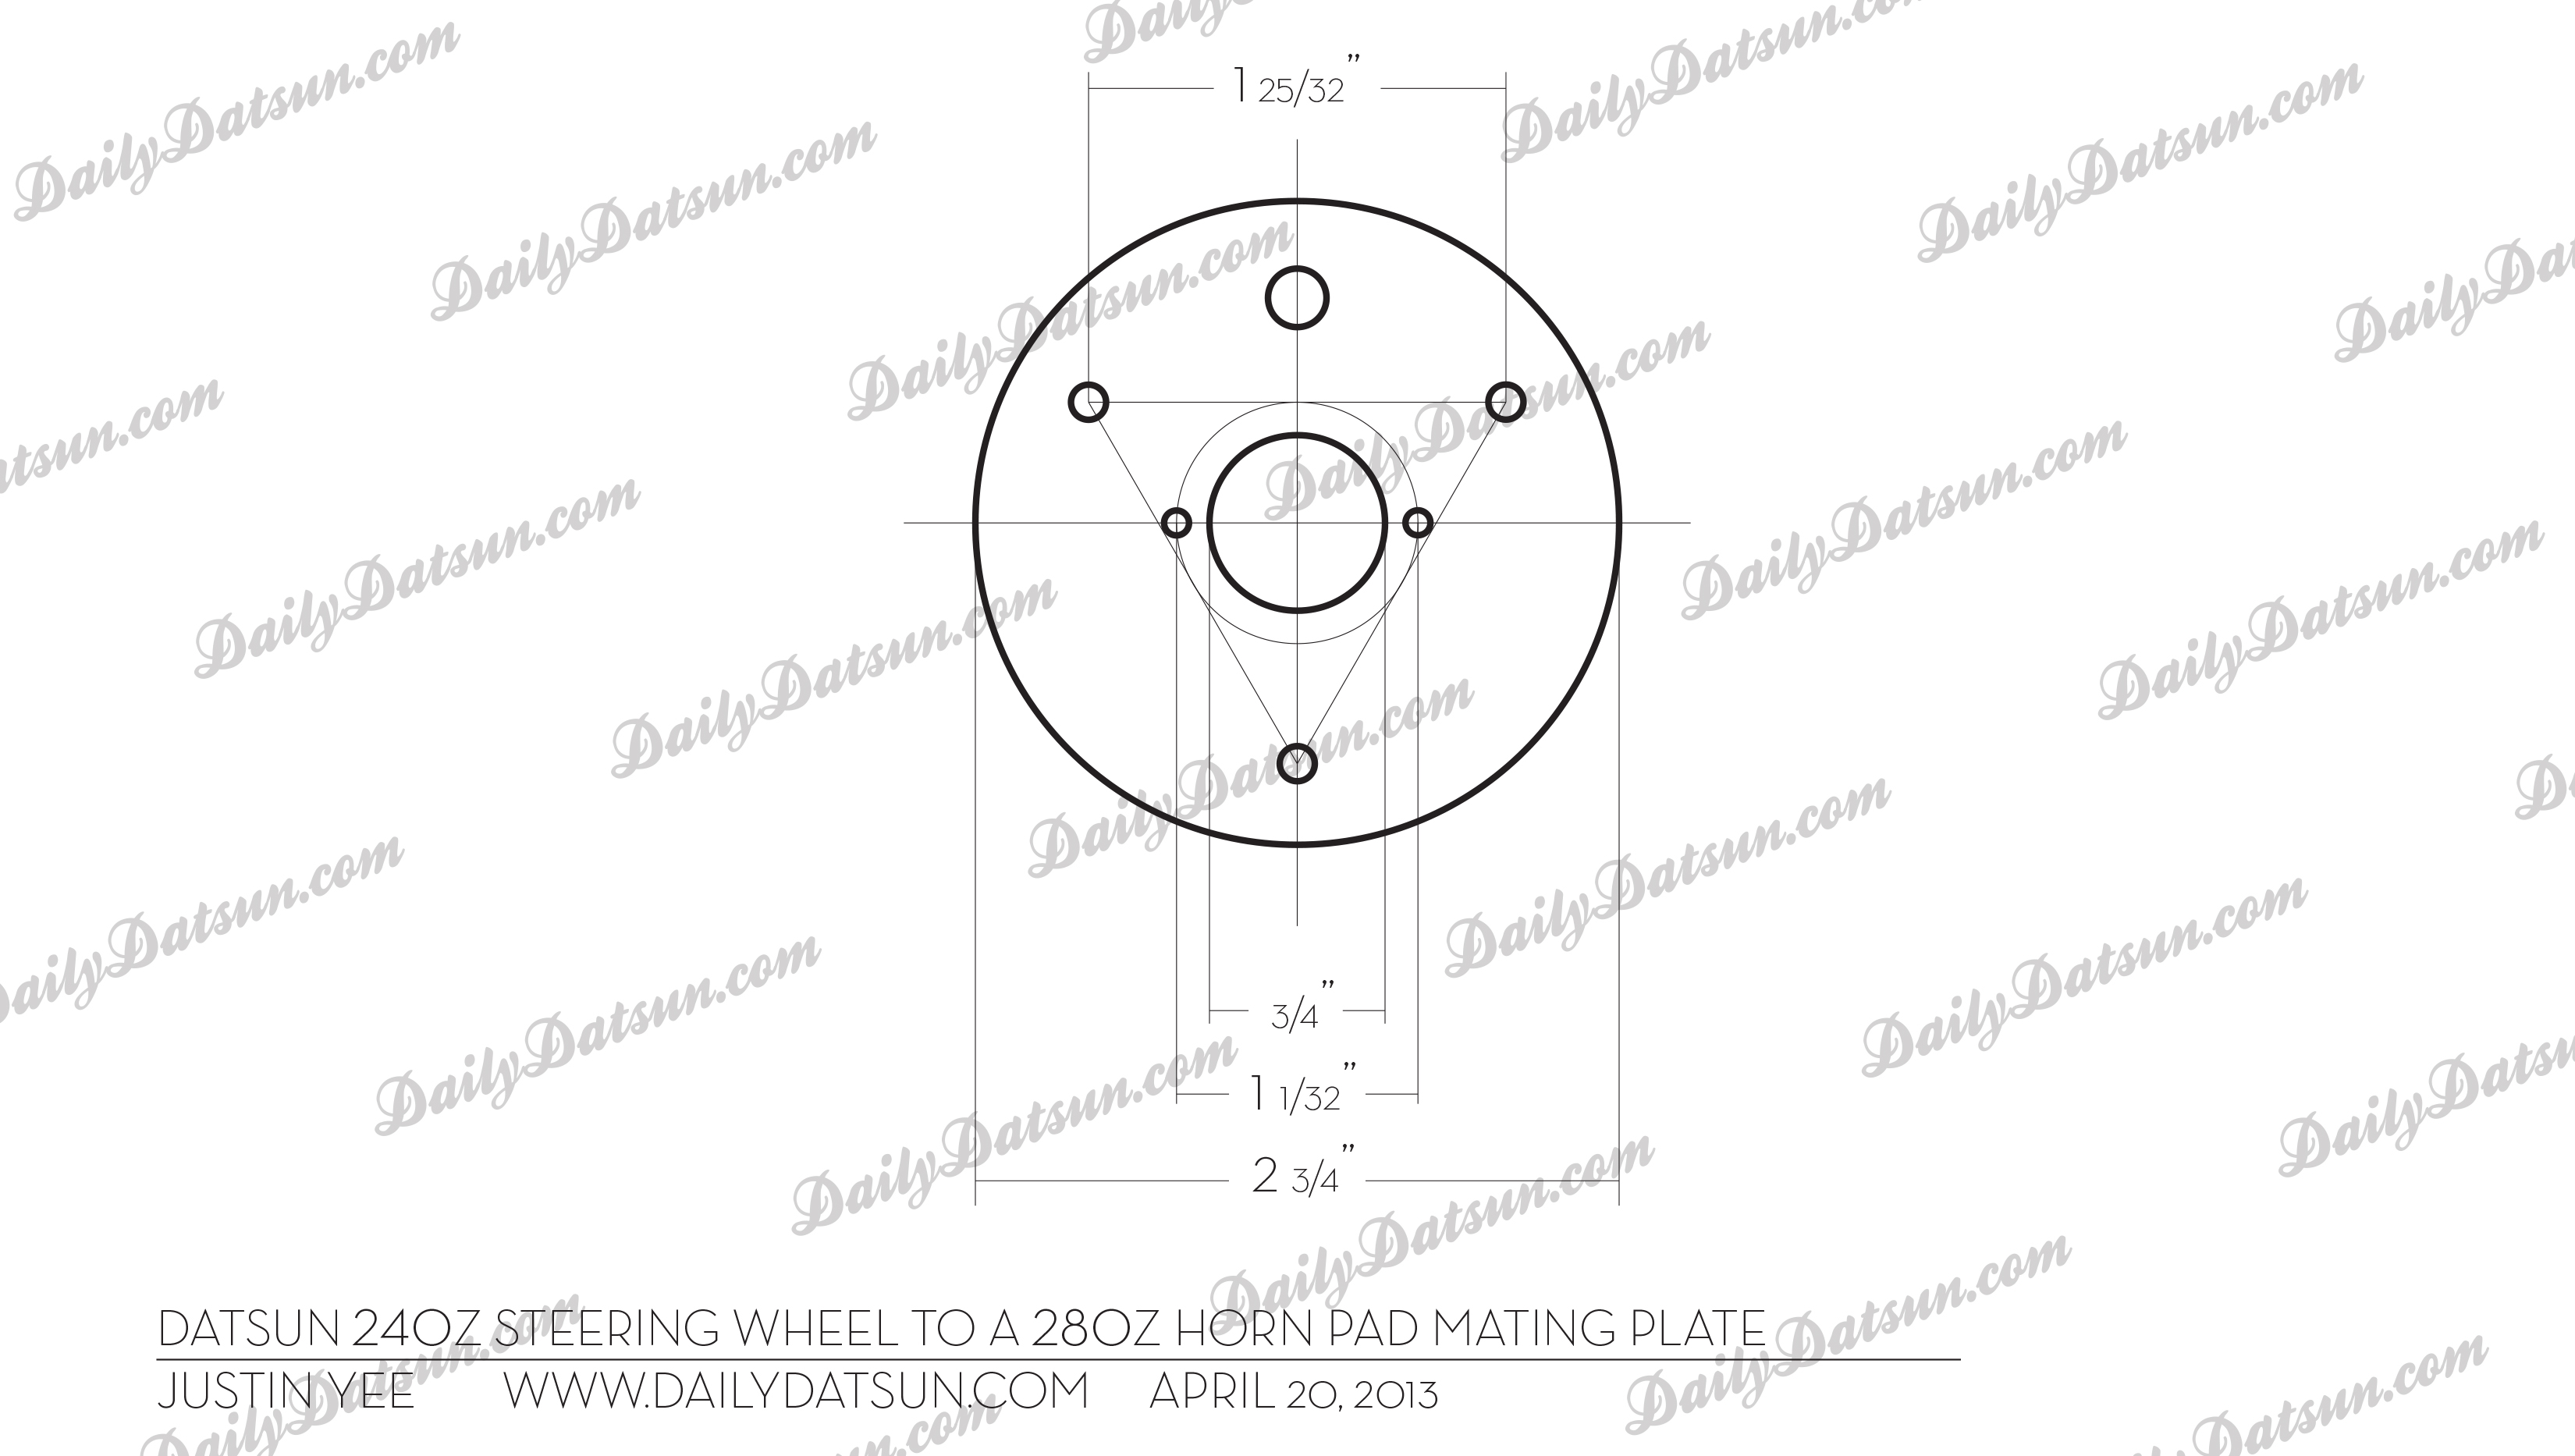
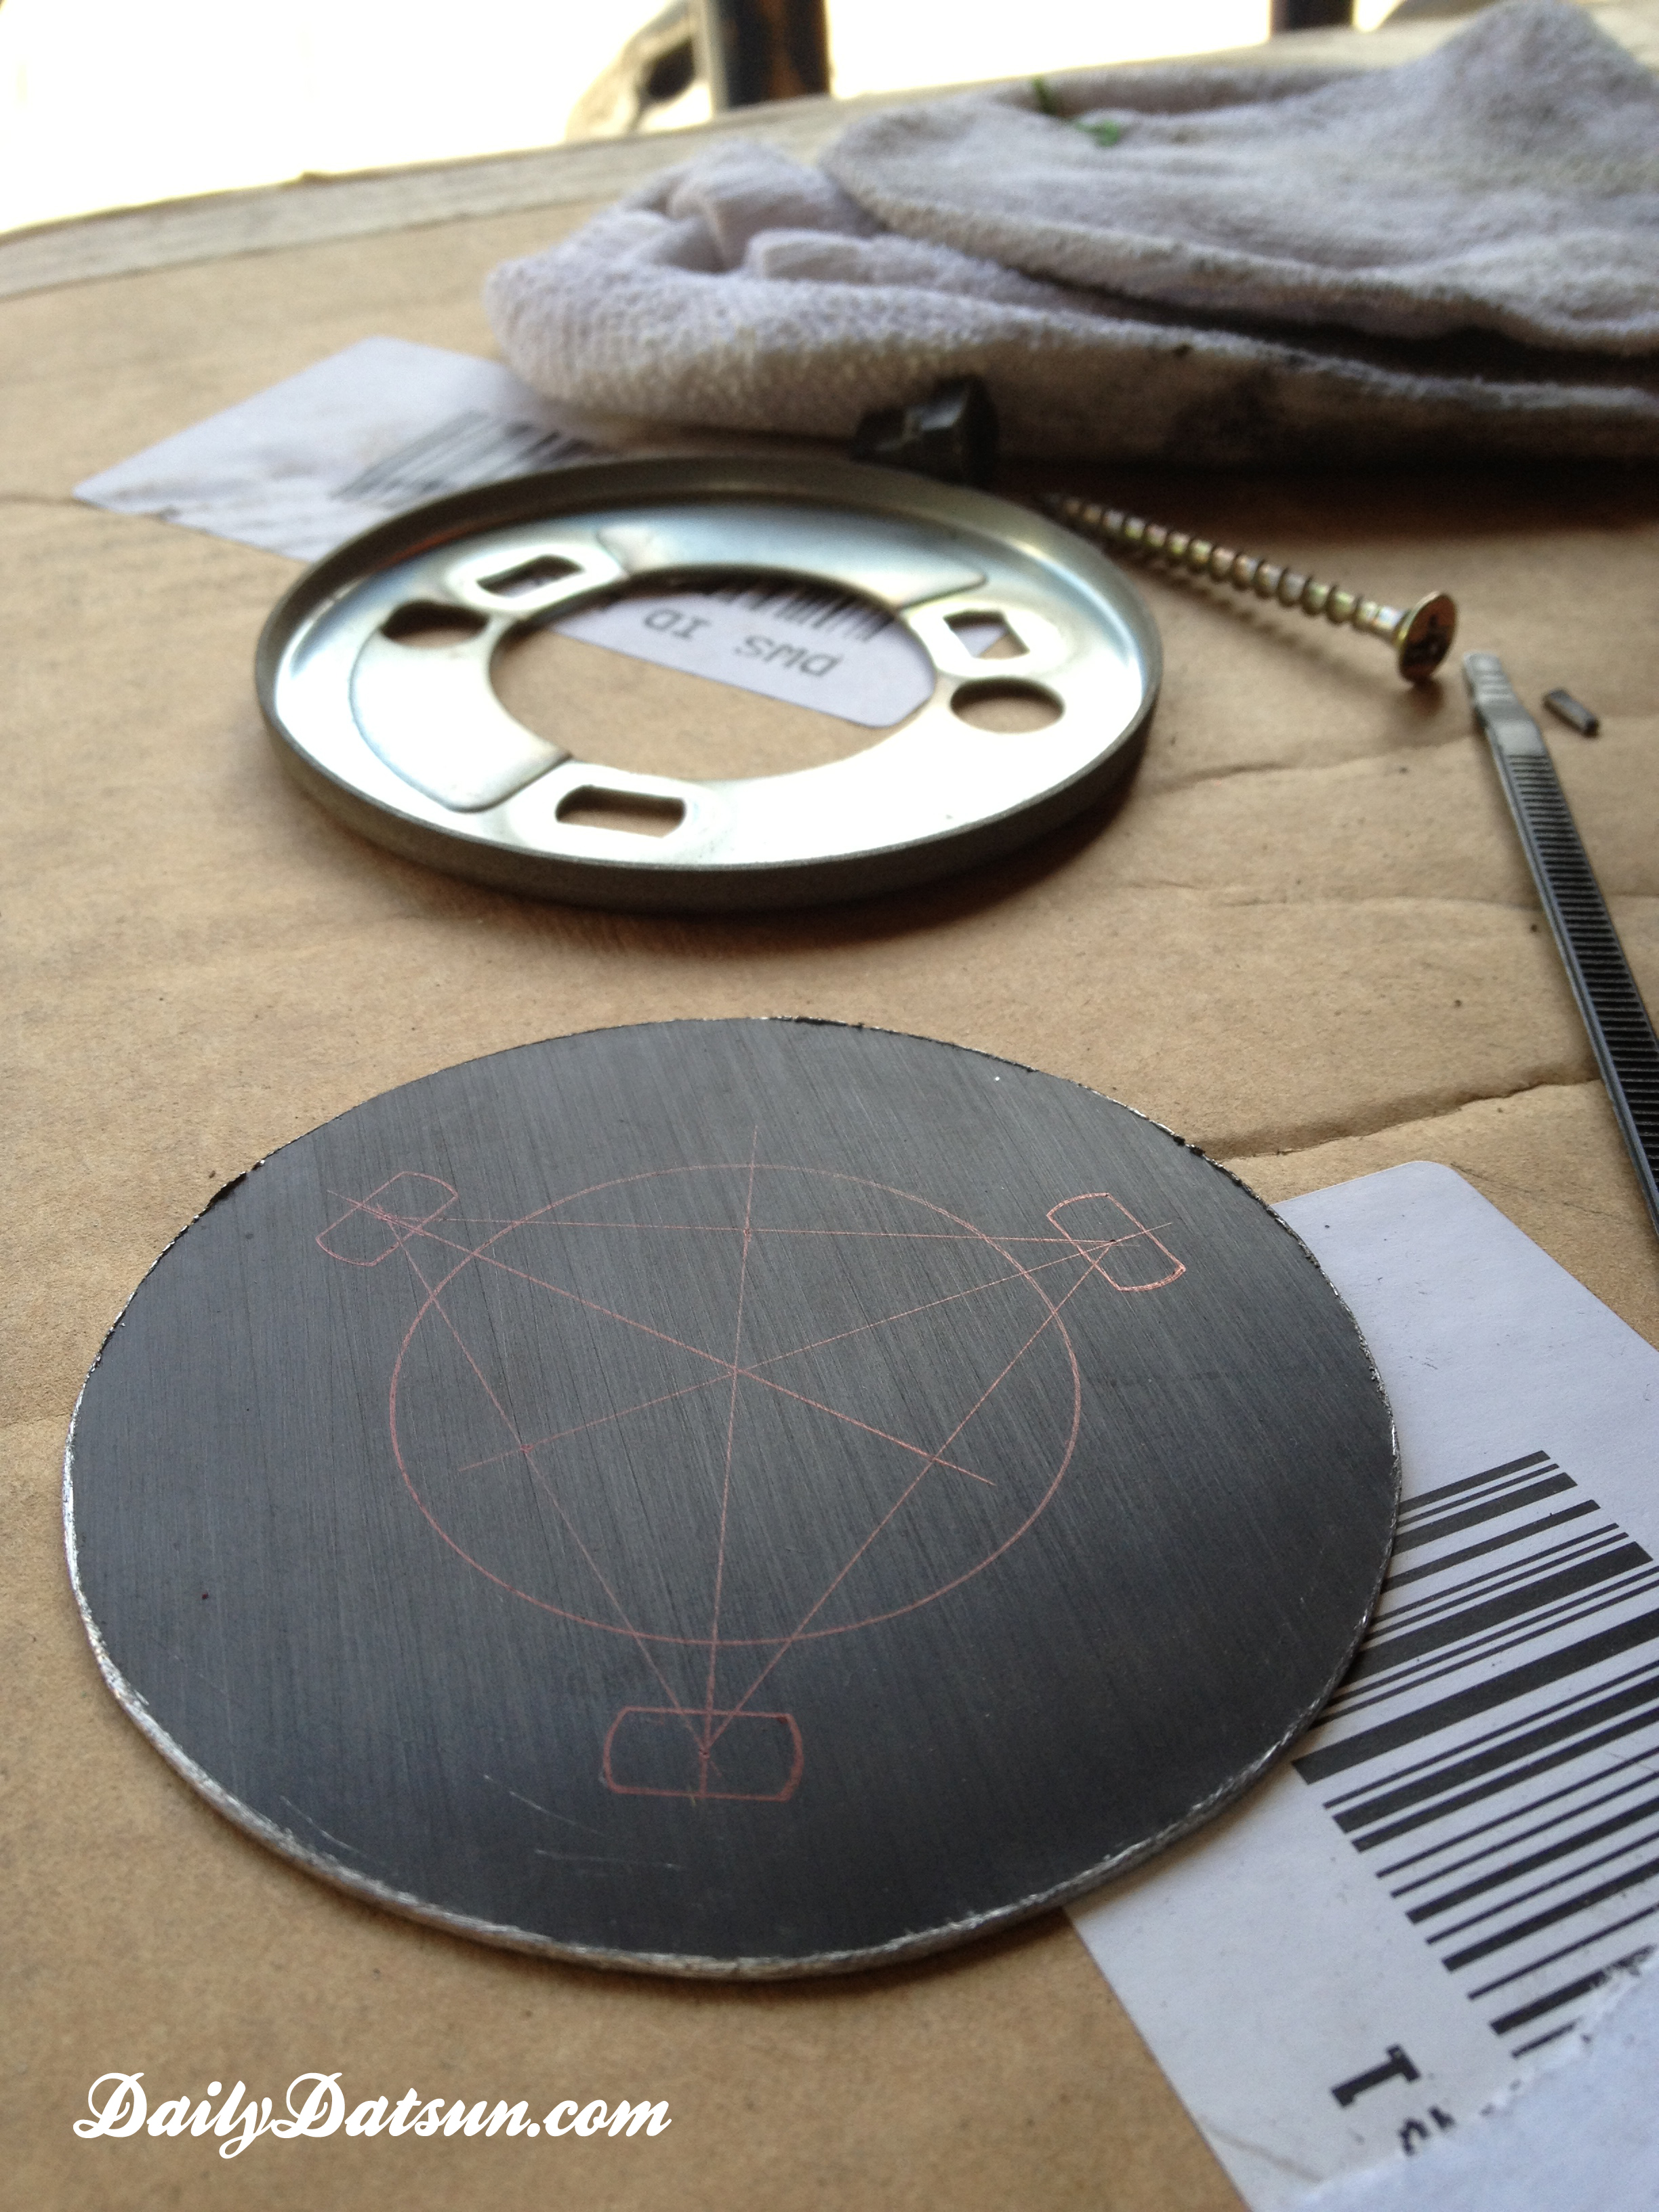
Datsun 240z to 280z steering wheel horn mating plate – design plan:
2 3/4″ diameter
3/4″ dia center hole
1 1/32″ distance between centers for 240z mounting holes
1 25/32″ lengthed iso triangle for 280z mounting holes (you can just trace these from the contact plate)
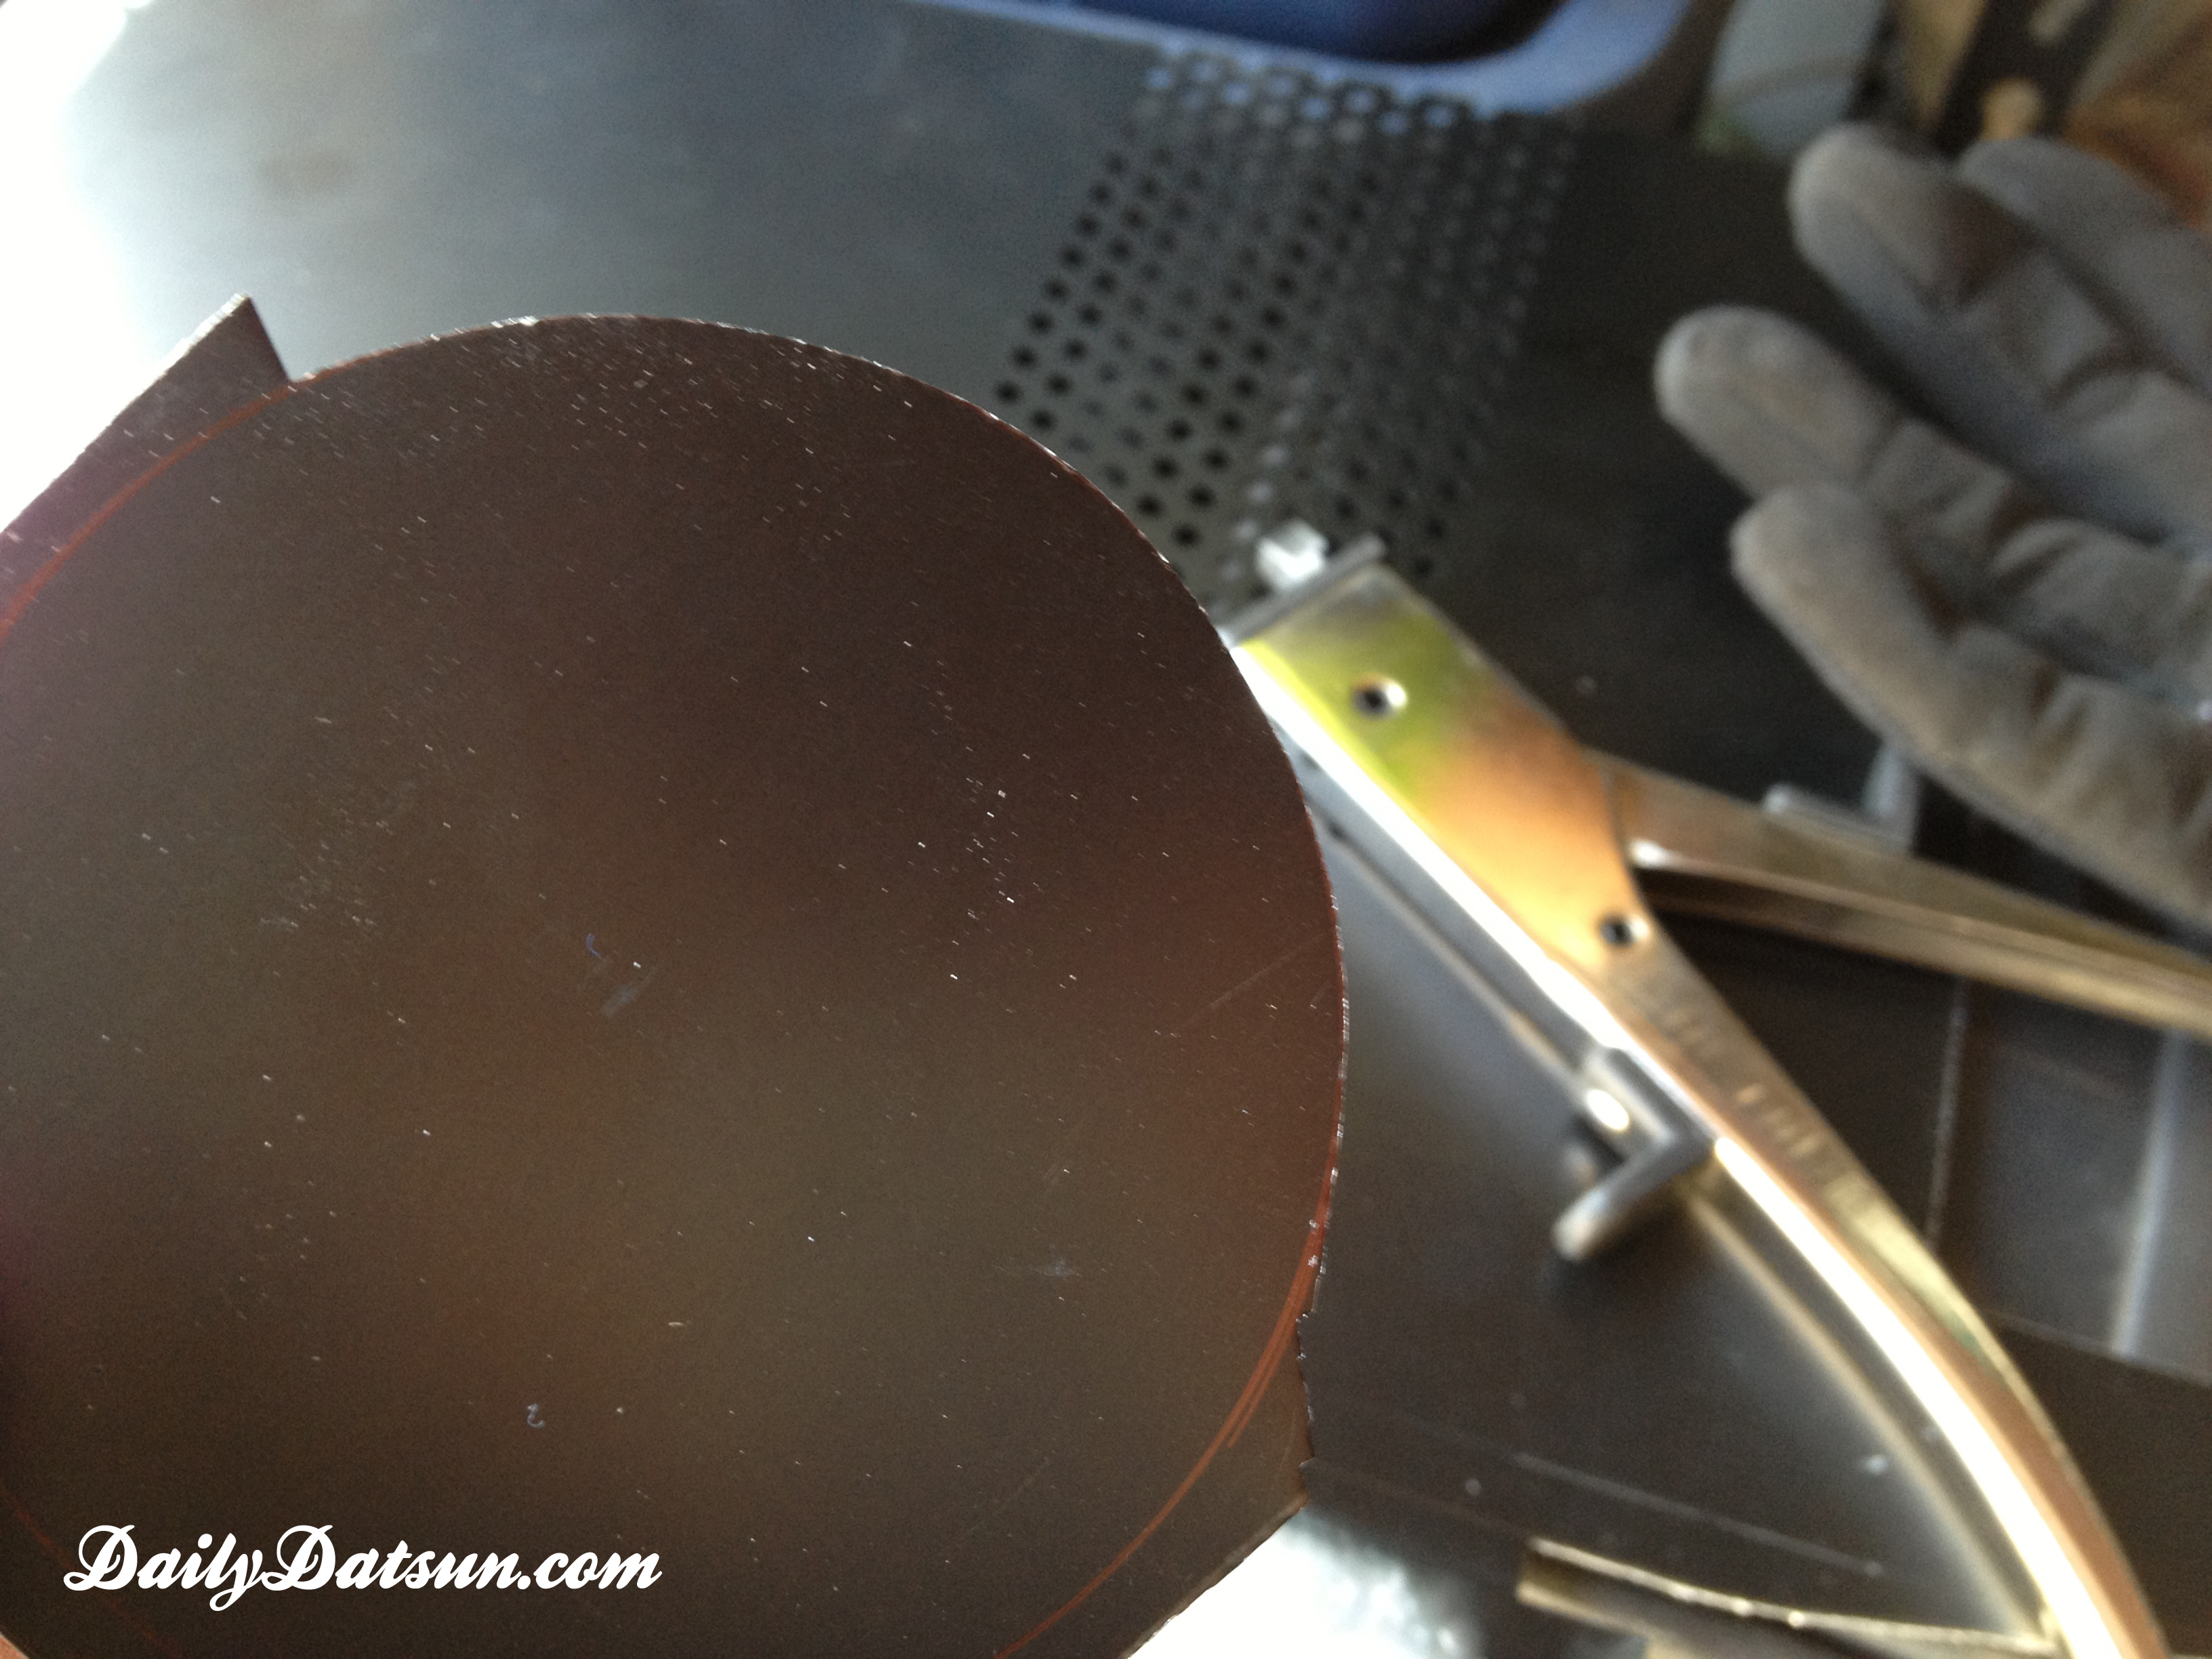
I didn’t have a compass, but I found a Mother’s polish can did the job.

I had some time, so here’s PDF of the mating plate design in case anyone else wants to use it. It should be to scale – let me know how it goes!

The NIBBLER! Since i don’t have a band saw (nor the room for one), the Nibbler gets all the attention.


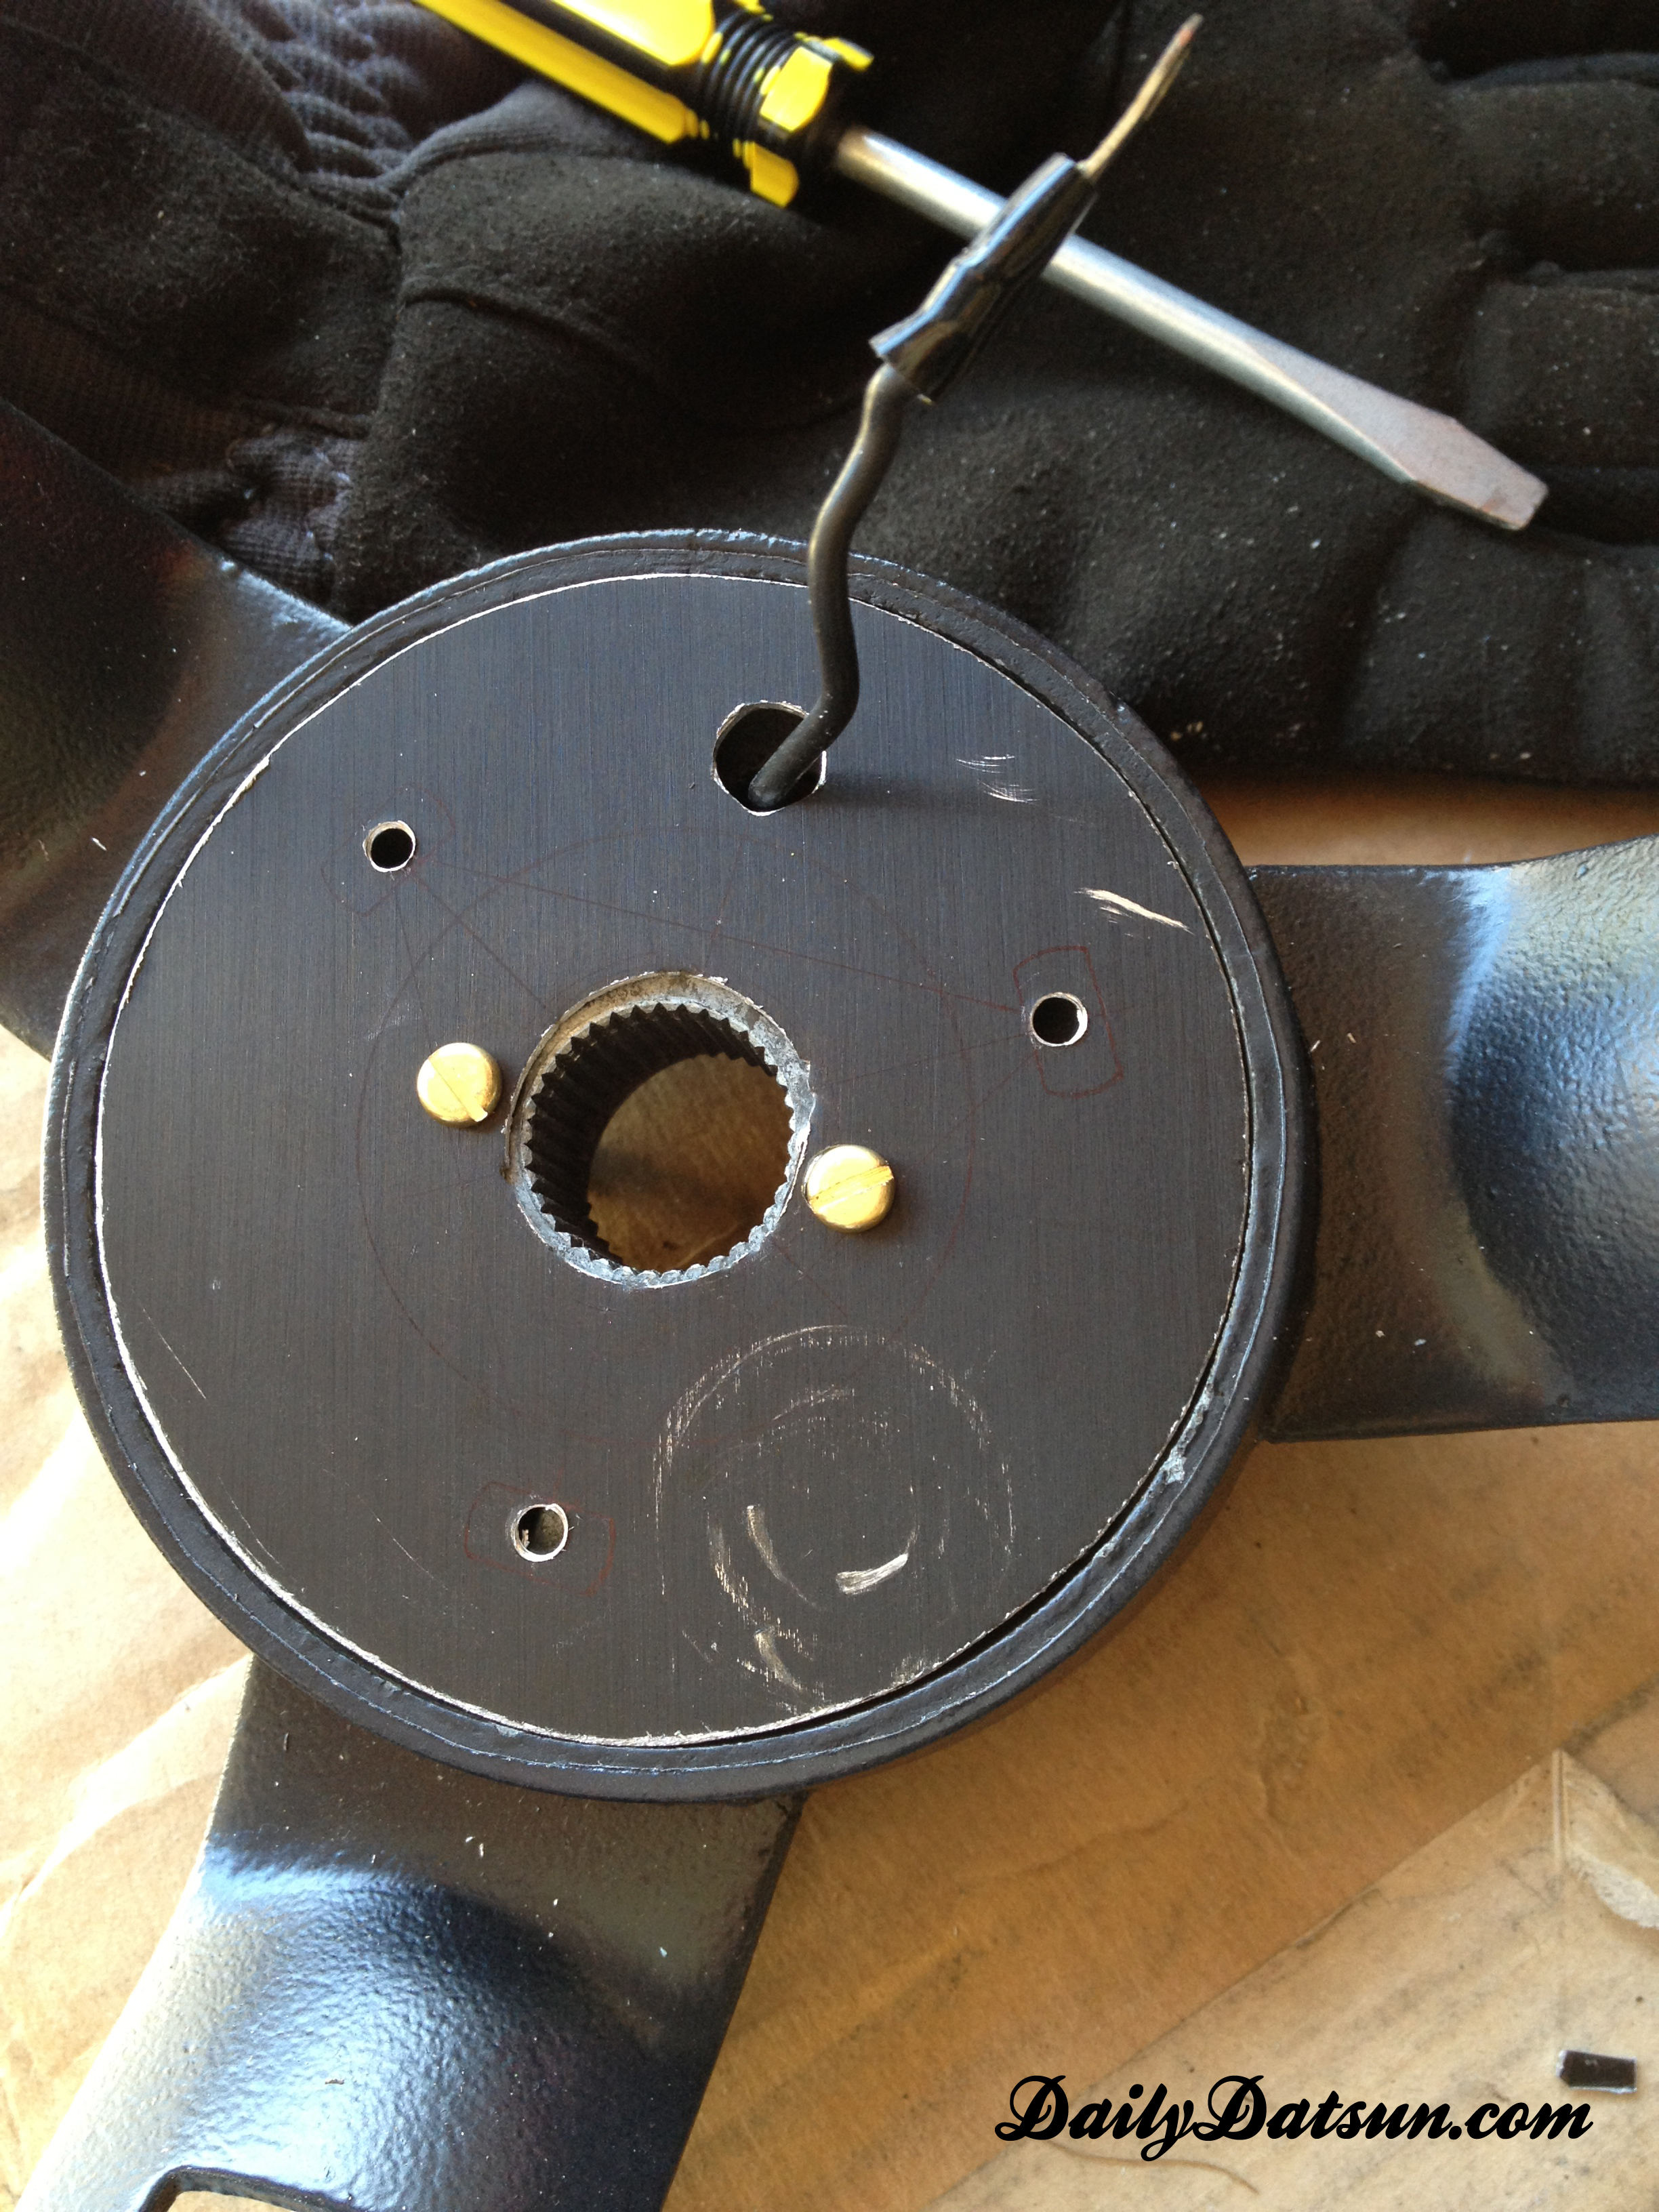
Drilled the holes and test mounted the mating plate. Not too shabby. Use drill bits smaller than the screws used in their respective places so they can bite into the metal, make contact, and maintain electrical continuity.

Here it is assembled on the car. Important to note that the 240z wire SHOULD NOT be hanging outside of the 280z contact plate… yeah, your horn will be ringing all day if you do. It SHOULD be connected to the 280z contact plate on the back side. Don’t add anything to the face of the contact plate because you want to have an even surface to make contact anywhere you press the horn button.

Since soldering didn’t work on the contact plate, I simply just protected the mating plate (from further contact), bent the contact wire head, and press fit it under the contact plate.
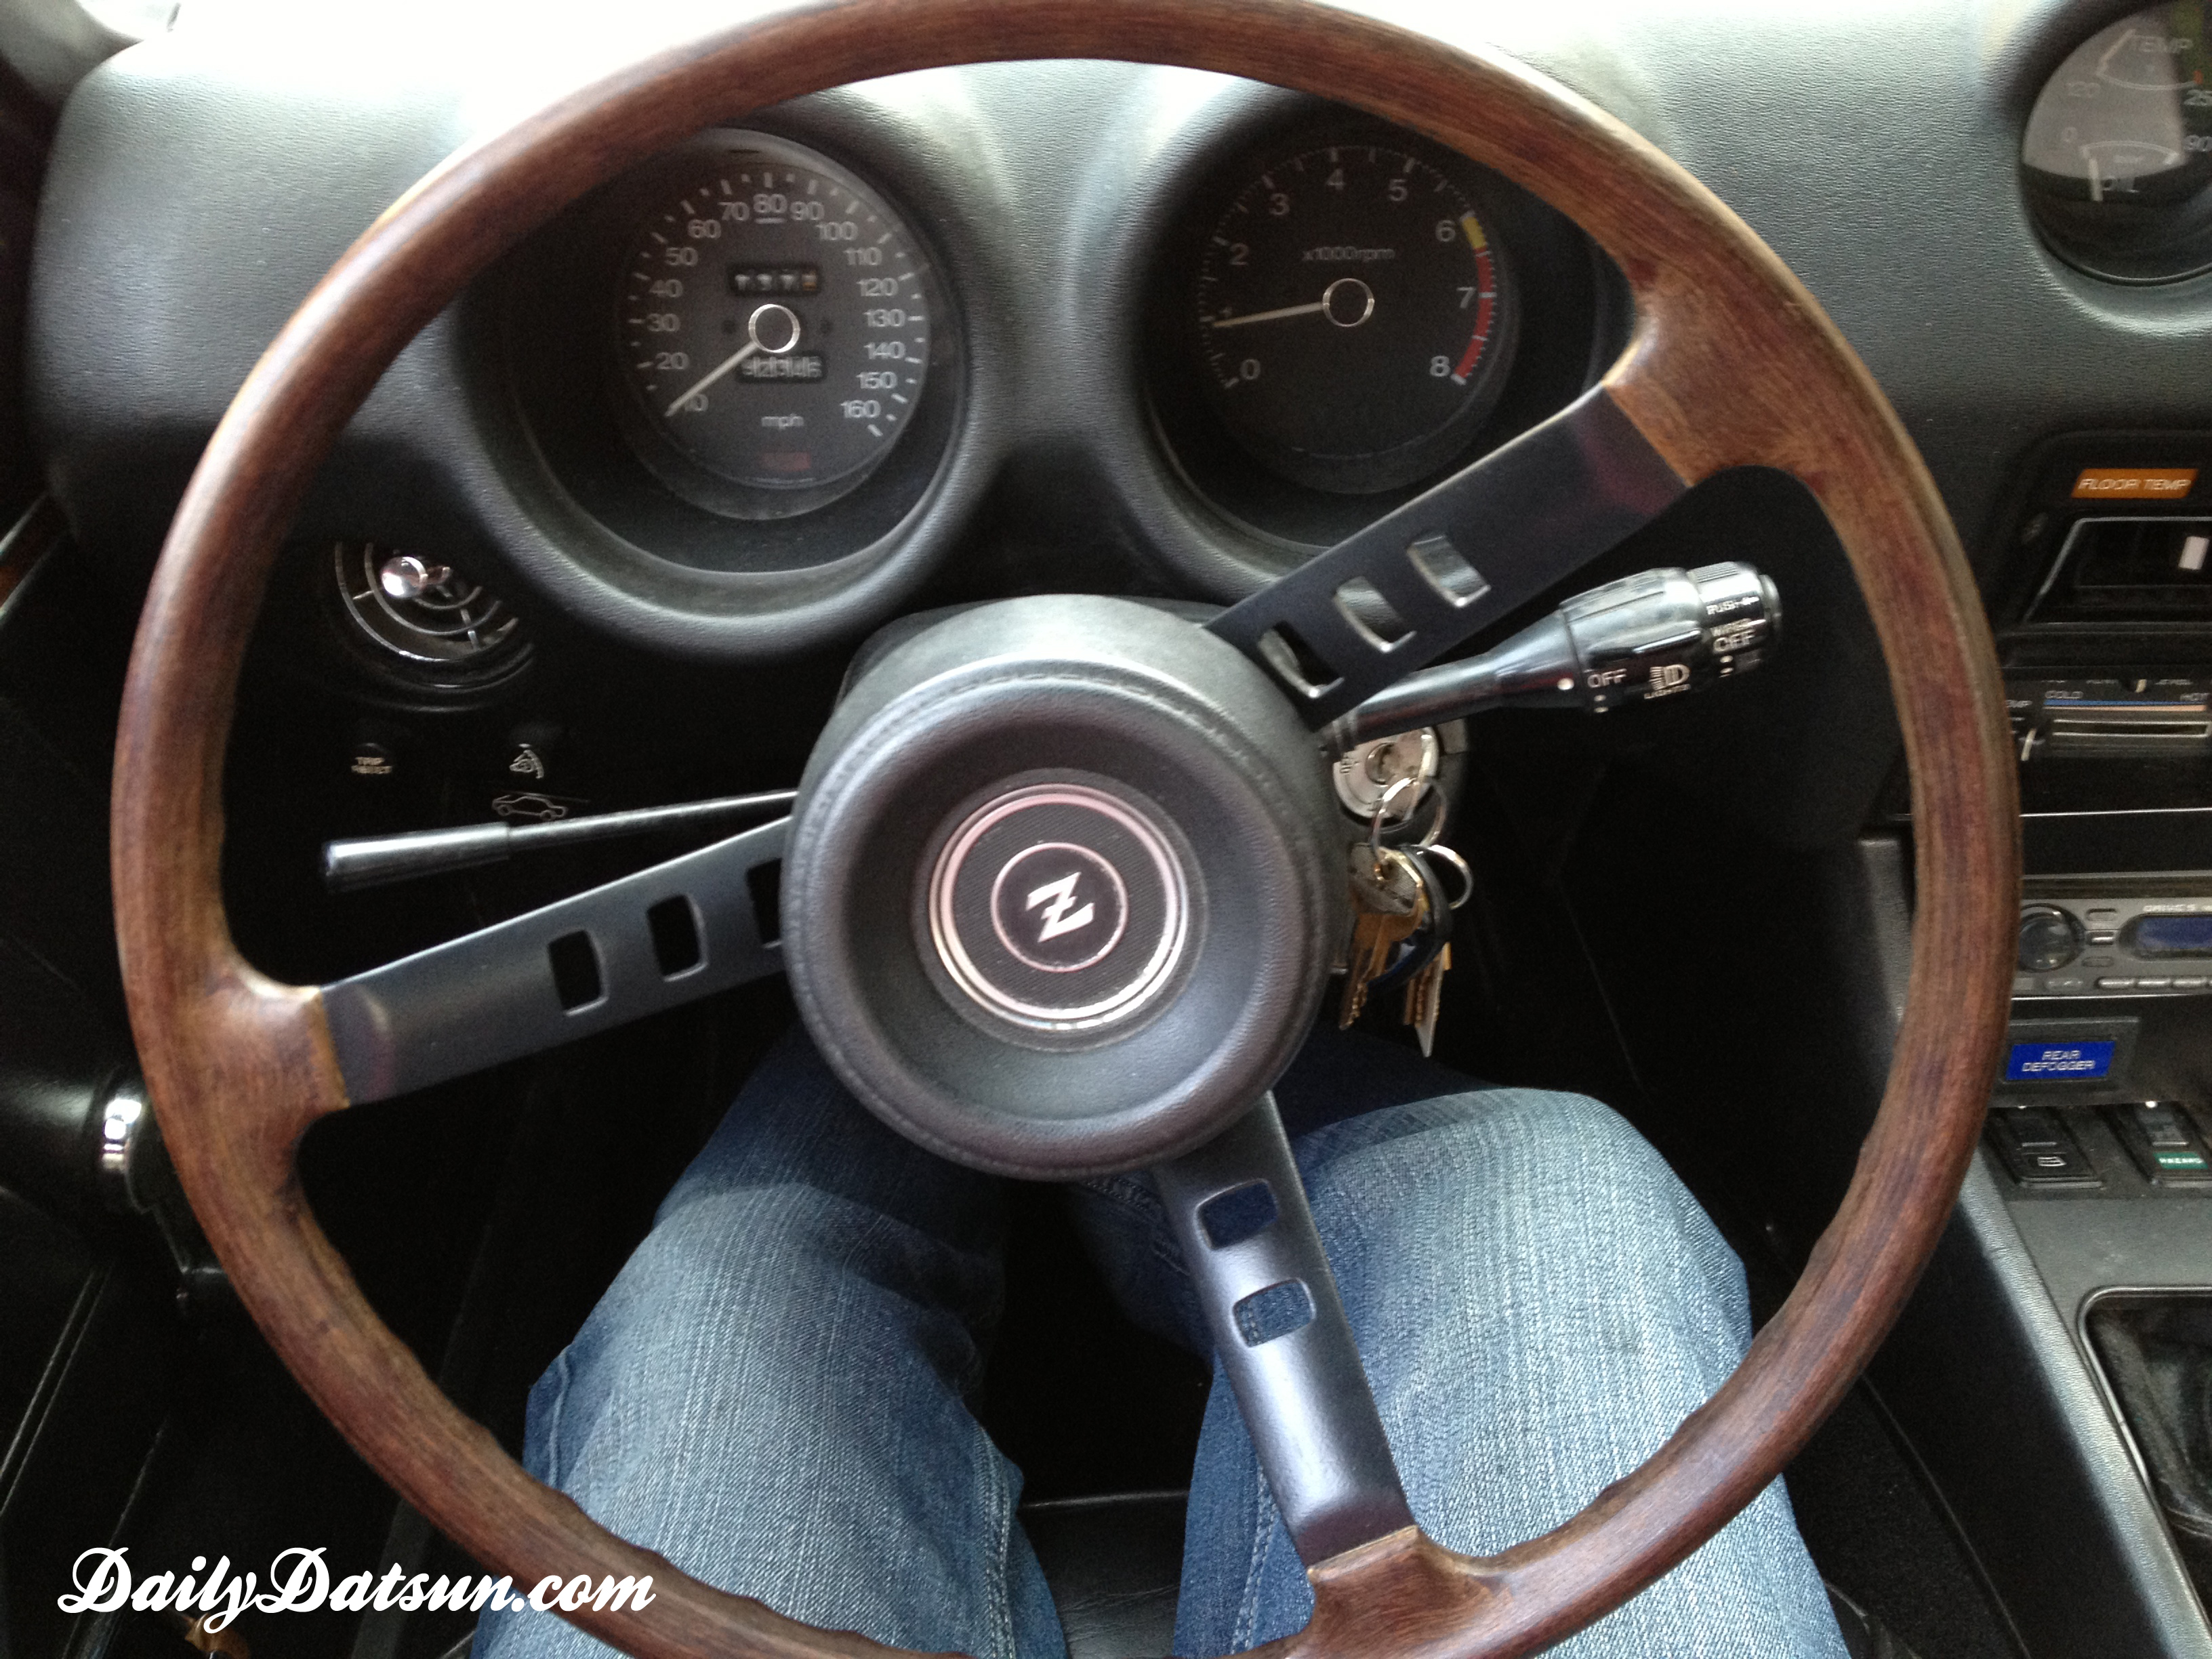
Tada! installed. love it. and it still goes beep-beep.

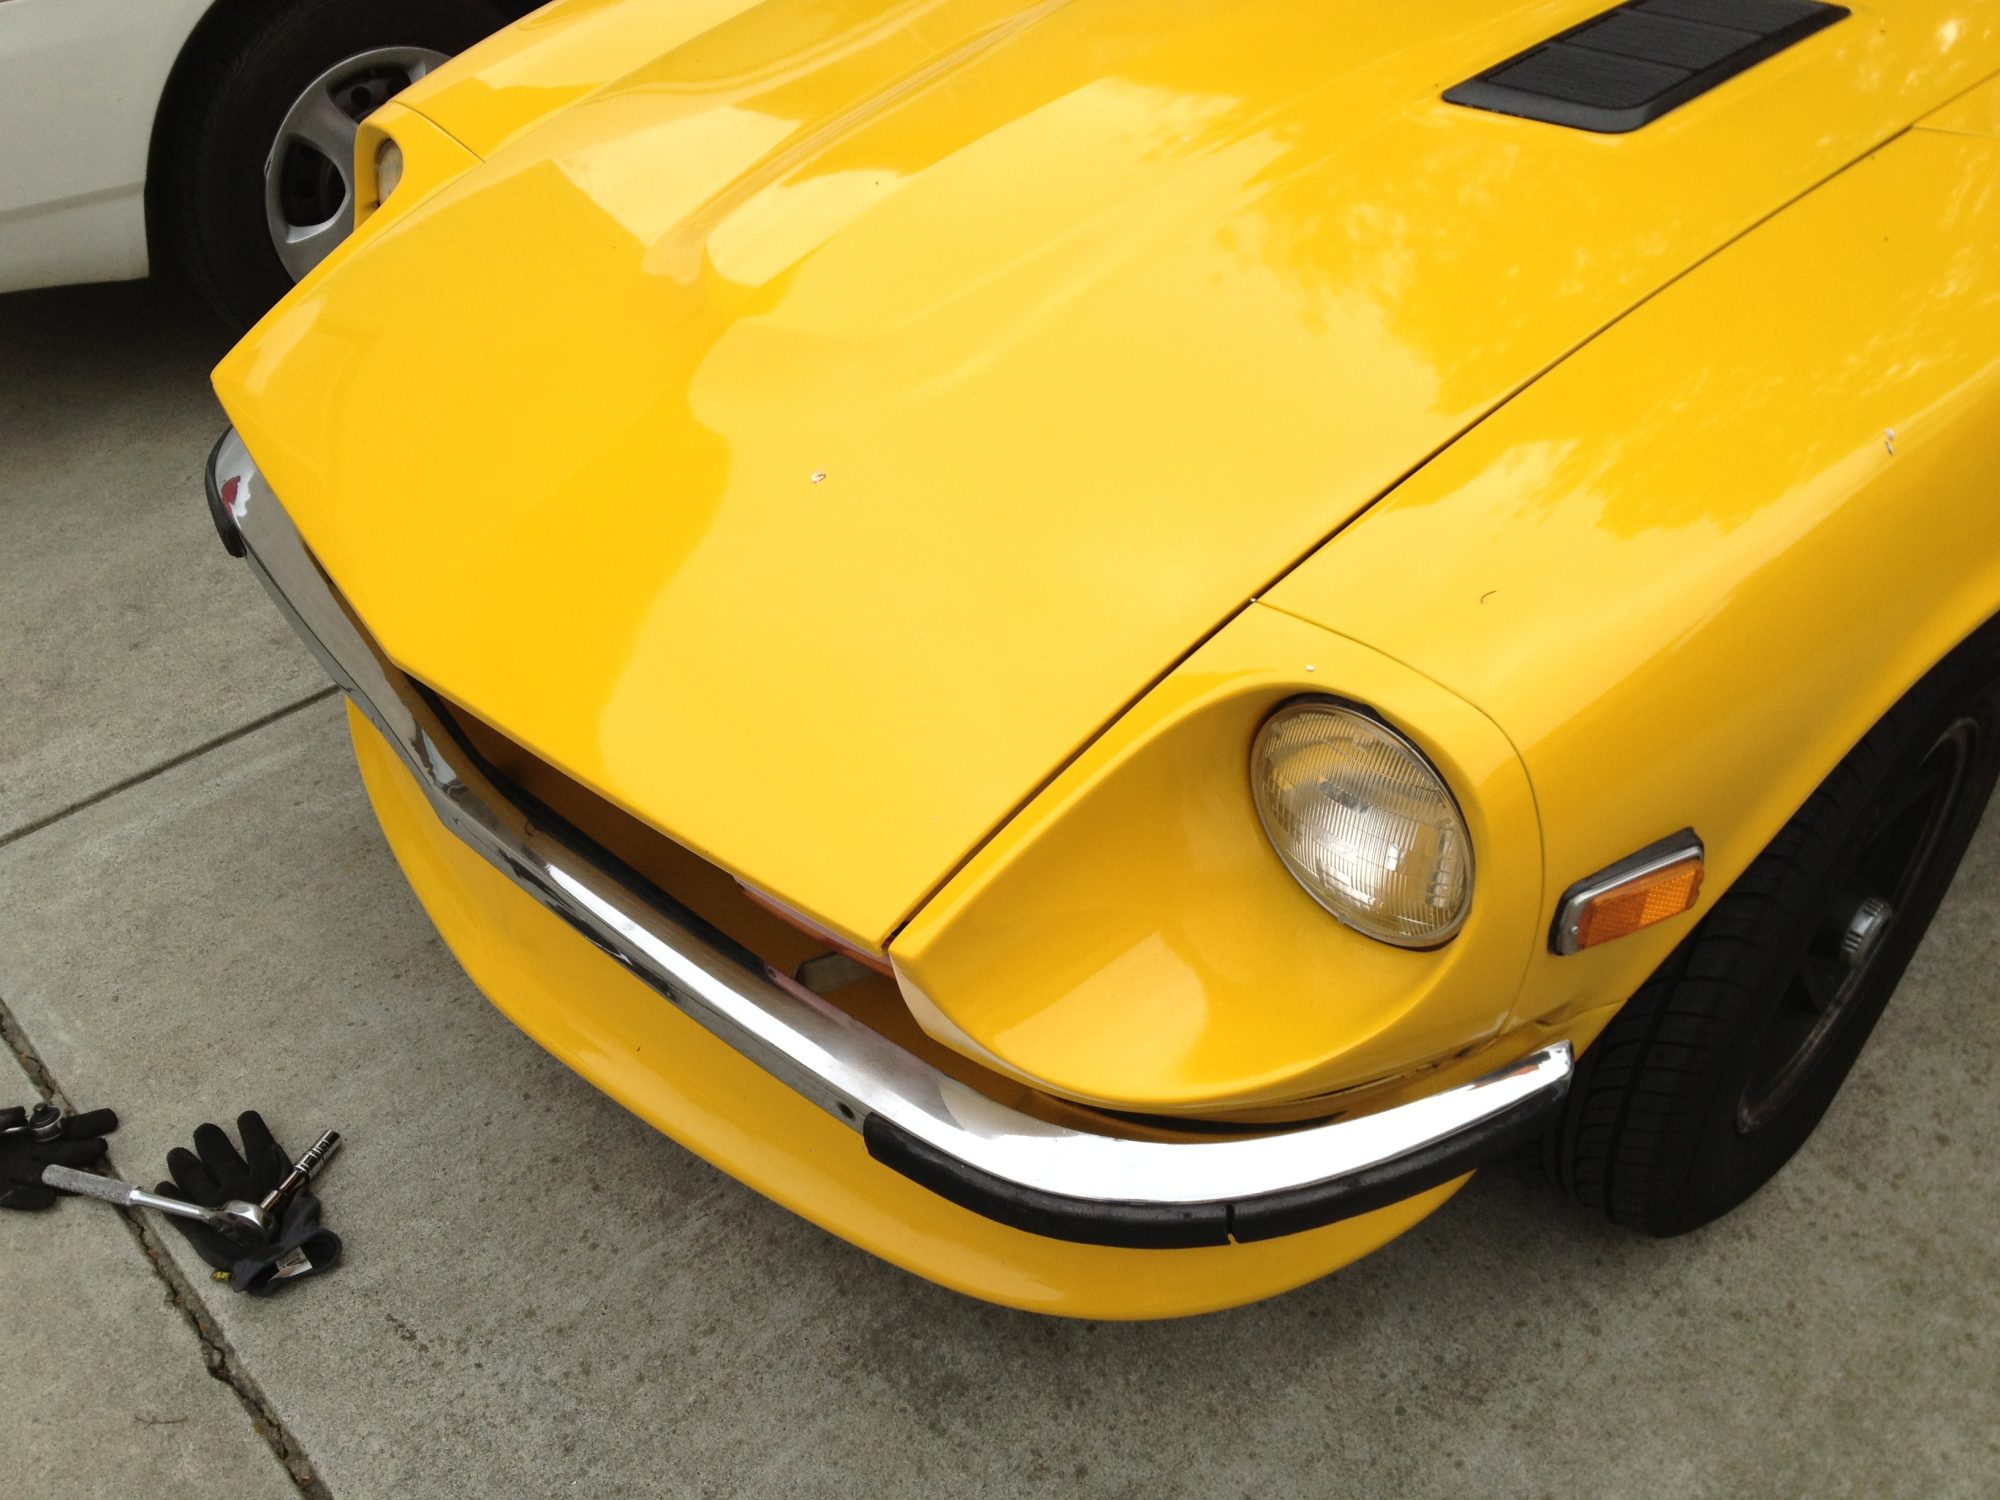

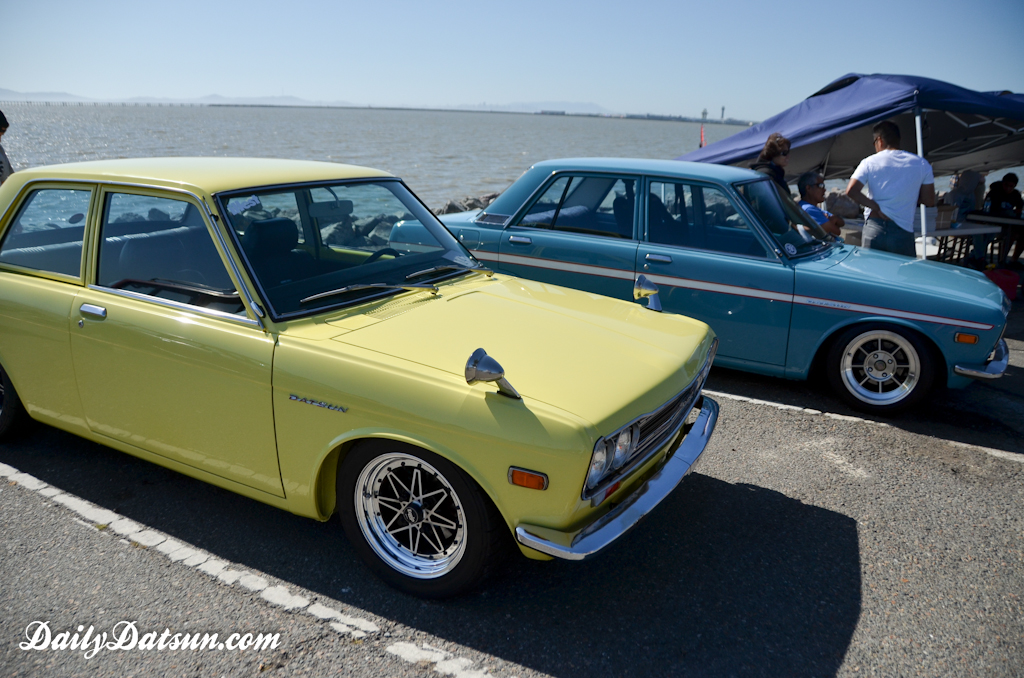
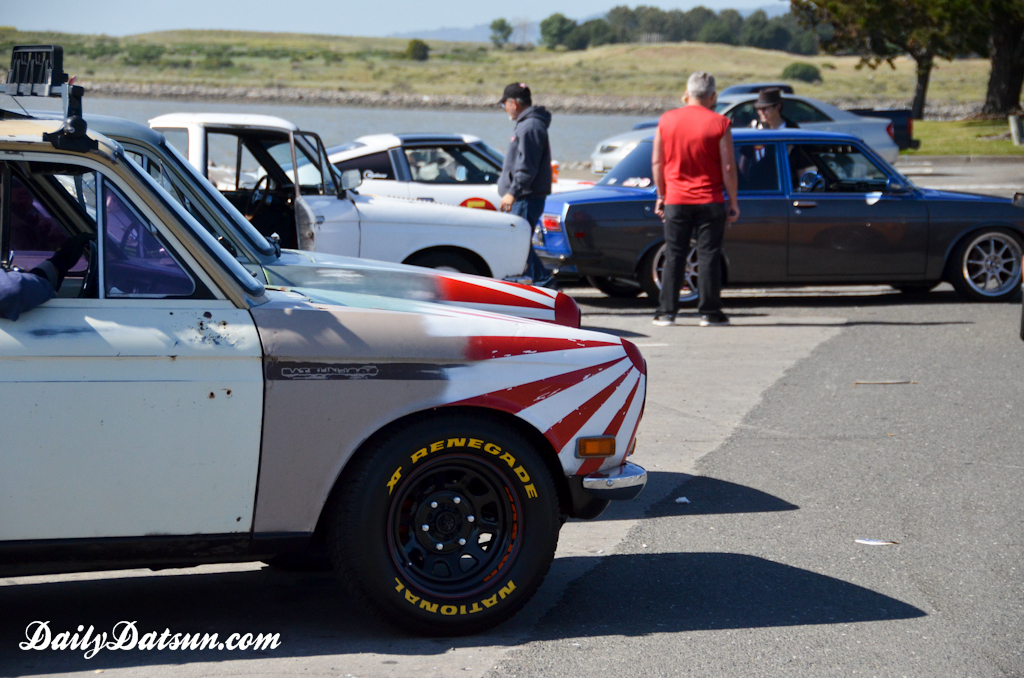
 After a fresh wash, we cruised it up to San Leandro for
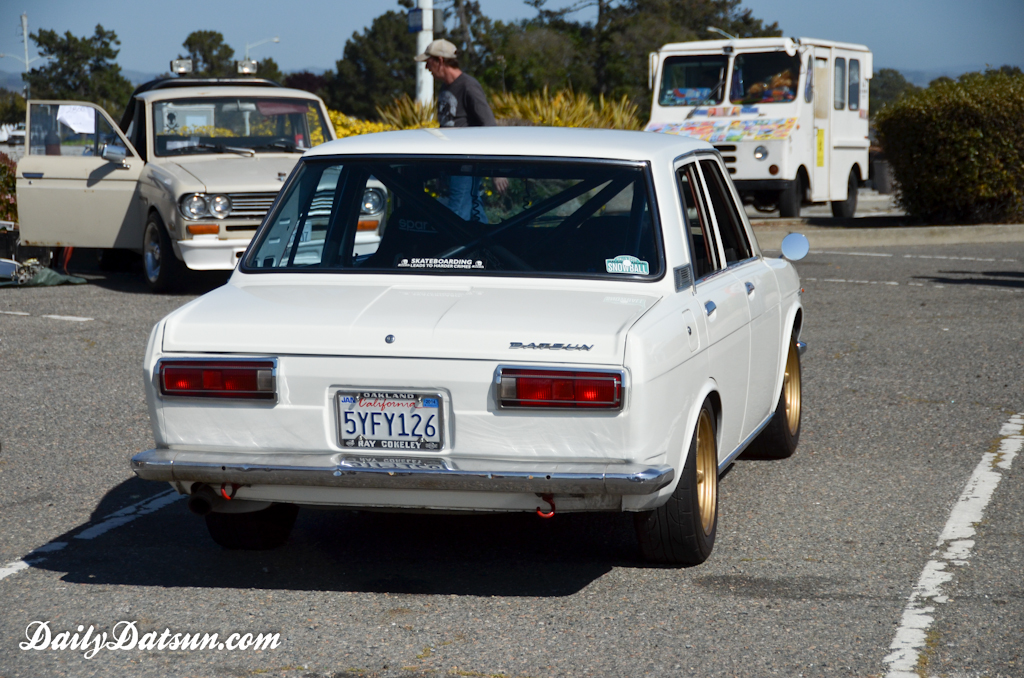


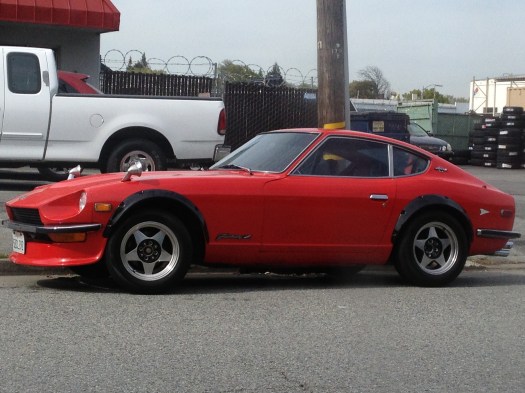 Quick stop around Fry’s and Zpotted this JDM looking red 240z with black flares, chrome fender mirrors, HRE-esque wheels and topped off with the “Fairlady Z” badge. If you look a litt more, the fabulous-ness finishes with a Monza stacked pipes. menacing.
