[heat] shields up!

So um why do my brakes feels squishy all of a sudden? Like… Horse and buggy-like brake performance that requires Flintstones effort..
Ever get that feeling?

Quickly check out your brake fluid and notice the levels in the master and secondary cylinders. Low!

So why? Visually inspected the brakes: good amount left. No brake fluid leaks. See something missing here?

20140816-082721-30441077.jpg

Huh! Wasn’t there suppose to be a heat shield here? Yes! Car came without the heat shields, and if Datsun designed them, it needs them, and now I know why. Brake fluid can break down at high heat (remember, we’re in a 280z haha).

Now I think a few things are happening here:
1) brake cylinder caps aren’t tight enough allowing the brake fluid to absorb moisture from the atmosphere, severely degrading it’s boiling temp.
2) engine bay is hot enough to heat up that brake fluid enough to evap.

Boiling temp of DOT3 brake fluid specs out to be around 400F (dry), and 284F (wet, meaning when it’s absorbed enough moisture). Huh, so 284F isn’t too far from 212F (boiling temp of water, for reference), and I know my 280z engine gets hotter than that.

So I knew I at least needed a heat shield, and order one from eBay ($35 + $10 ship). Ugh.. Wrong one. Do you know how hard it is to find a 280z brake cylinder heat shield?! So I picture match it with a ’79 280zx version.. And I thought they were the same…oops, nope..

20140816-085032-31832771.jpg

Bushing inspection

Yesterday I have the Z a well-deserved, long overdue car wash. Man, I still can’t get over the classic Z, S30 body style.

20140812-022126-8486041.jpg

Early Monday morning I also did a super long overdue oil change! Ugh! I think a quart came out.. At best. Anyways – 5 qts of 10w30 synthetic high-mileage, fuel filter, and a couple of revs later, this cat was purring nicely. Oil pressure looking good.

Just for quick reference, O’Reilly’s Autoparts shopping list:
– Oil Filter: Fram Ph8a, HM8a or Microgard MGL51515
– Oil: 10w30, 5 qrts
– Air filter: Microgard MGA42136

Tools:
– 19mm socket wrench (for oil drain plug)
– oil pan
– gloves

Lastly, while under car, I inspected the bushing up front for the sway bar, A-arms, etc.. Cracked / crusty:

20140812-023635-9395846.jpg

20140812-023712-9432344.jpg

20140812-023732-9452252.jpg
This will the first time tackling bushings on the 280z and on any car, so I think starting with the sway bar should be an easy one to see what I’m getting into. But that’ll be for next post 🙂

Let there be light!

Finally, 3 weeks later, headlights! No more slogging through the night w/ hazard lights on! No more hearing it from the wife! No more.. ok ok, what did i fix? I was able to install the new[er] 280z combo switch fairly swiftly (seeing as i’ve done it countless times before). This one, purchased from eBay, came in decent shape, and the cam switches that turn on/off the parking lights and headlights are solid. Solid. Turn on the headlights, though… nothing. Back to the voltmeter. Measured again between the terminals on the combo switch – 12.5v… but when i turn it on, it goes to zero volts. huh! a ground issue? I again make my way down the chain toward the fuse panel, then the other way toward the battery. ah ha! doh.. the fusible link looked good, but upon serious inspection (meaning trying to pull it off):

Daily Datsun - fusible link

wtf – seriously? i measured the voltage across it, and it was good! good i tell you! but probably because it was hanging by a thread, which will read voltage, but not have the capacity to hold upwards of 50A of headlight power. Just for reference, the headlights fusible link is on the bottom left (when looking into the engine bay from the passenger side).

Daily Datsun - fusible link

Until my replacement 280z fusible links can come in from Motorsport Auto’s (MSA) Z store, I just trimmed, and reattached the link – and…viola!

Daily Datsun - headlights on

and wouldn’t you know.. highs AND low beams work! huzzah!   And that’s not all. Interestingly enough there’s a bit of discrepancy in the 280z’s fusible link layout! You’ll notice on MSA’s fusible link product page, they note the use of the black fusible link (80A) for the headlights, and on AtlanticZ.ca’s site, they note that a red/brown fusible link (50A) should be used; with black being used for the alternator / ignition. See below:

MSA’s diagram:

Motorsport Auto's Z fusible link diagram

Atlantic Z’s diagram:

Atlantic Z's fusible link layout for 1977 280z

So who’s right? It would make sense that if any circuit out of the four has to have the highest rated fuse, it would be the alternator and ignition circuit. Datsun Field Service Manual (FSM) says…. huh. it doesn’t. yeah, pg BE-6 doesn’t know which one goes where. A few google searches later, you’ll notice that most images will show that Atlantic Z has it correct, the black fusible link is for the Alternator / Ignition Relay. This additional wiring diagram from CarPartsManual.com shows it clearly (even though for a ’74-’76).

Datsun-Z-engine-bay-wiring-diagram

Other supporting images show the same layout (not in favor of MSA’s diagram)…

I really like ZCurves’ solution for using the blade styled (read: more accessible / cost effective) fuses.

Yet another: http://www.atlanticz.ca/zclub/techtips/fusiblelinks/correct_fusible_links3.jpg

I guess we’ll be contacting MSA to find out what the real setup should be!

ok. time to move on to real stuff: suspension!  

eBay: Datsun 280z combo switch

Just arrived!

A bit grimy, but looks like everything is in working condition: parking / headlight switch actuates solidly, wiper switch rocks, and washer fluid button depresses. Soldering looks to be in good shape as well.

I may have sometime tomorrow after to work to install this puppy and know get a clearer idea of what I’m dealing with.

20140804-223308-81188707.jpg

Daily Datsun – drivin’ during day…only

“Drivin during [the] day…only”?

Yep – headlights. out. I tried fixing the rocker switch issue and ended up doing something else, to where the headlights don’t even turn on anymore! Yikes! Luckily days are long, light is still out to about 8:45pm, but it really means no driving at night. Daily driver now.. daytime driver.

So what’s up? let’s take a look. Below is the Datsun 280z headlight schematic from the field service manual (FSM). I’ve went ahead and checked voltage from the battery back to the 280z’s combination switch, and then to the headlights for continuity.

Daily Datsun 280z FSM - headlight schematic

You’ll notice, parking / tail lights work, but headlights do not. In addition, I’ve never had the high-beams work, so maybe I can tackle that issue as well…

Battery – check, 12.5V
Combo switch to parking lights only – check, turns on
Combo switch to headlights on: bad, zero volts
Bridging combination switch w/ wire: check, 12.5V
Combo switch to headlights on + check headlight terminal: bad, zero volts

One of the issues i have is that when I bridge the RW / R wires, like the combo switch does when you turn on the headlights, there’s a clear 12.5V, however, when using the combo switch, it drops to zero volts. This tells me a few things: 1) problem w/ combo switch (as these are notorious for being flaky / problematic), 2) possible grounding issue

I’ve went ahead and ordered another combo switch, used on eBay, so I can really begin to diagnose the 280z combination switch. Luckily i was able to buy at $45!


Review: KDC KT-1370 Datsun Side view mirrors

My side view mirrors were in sad shape: loosing its ability to hold position, even after being tightened, so I ventured to eBay for some new ones.

One thing I wanted to keep in mind was using any existing holes in the 280z from the previous side view mirrors.

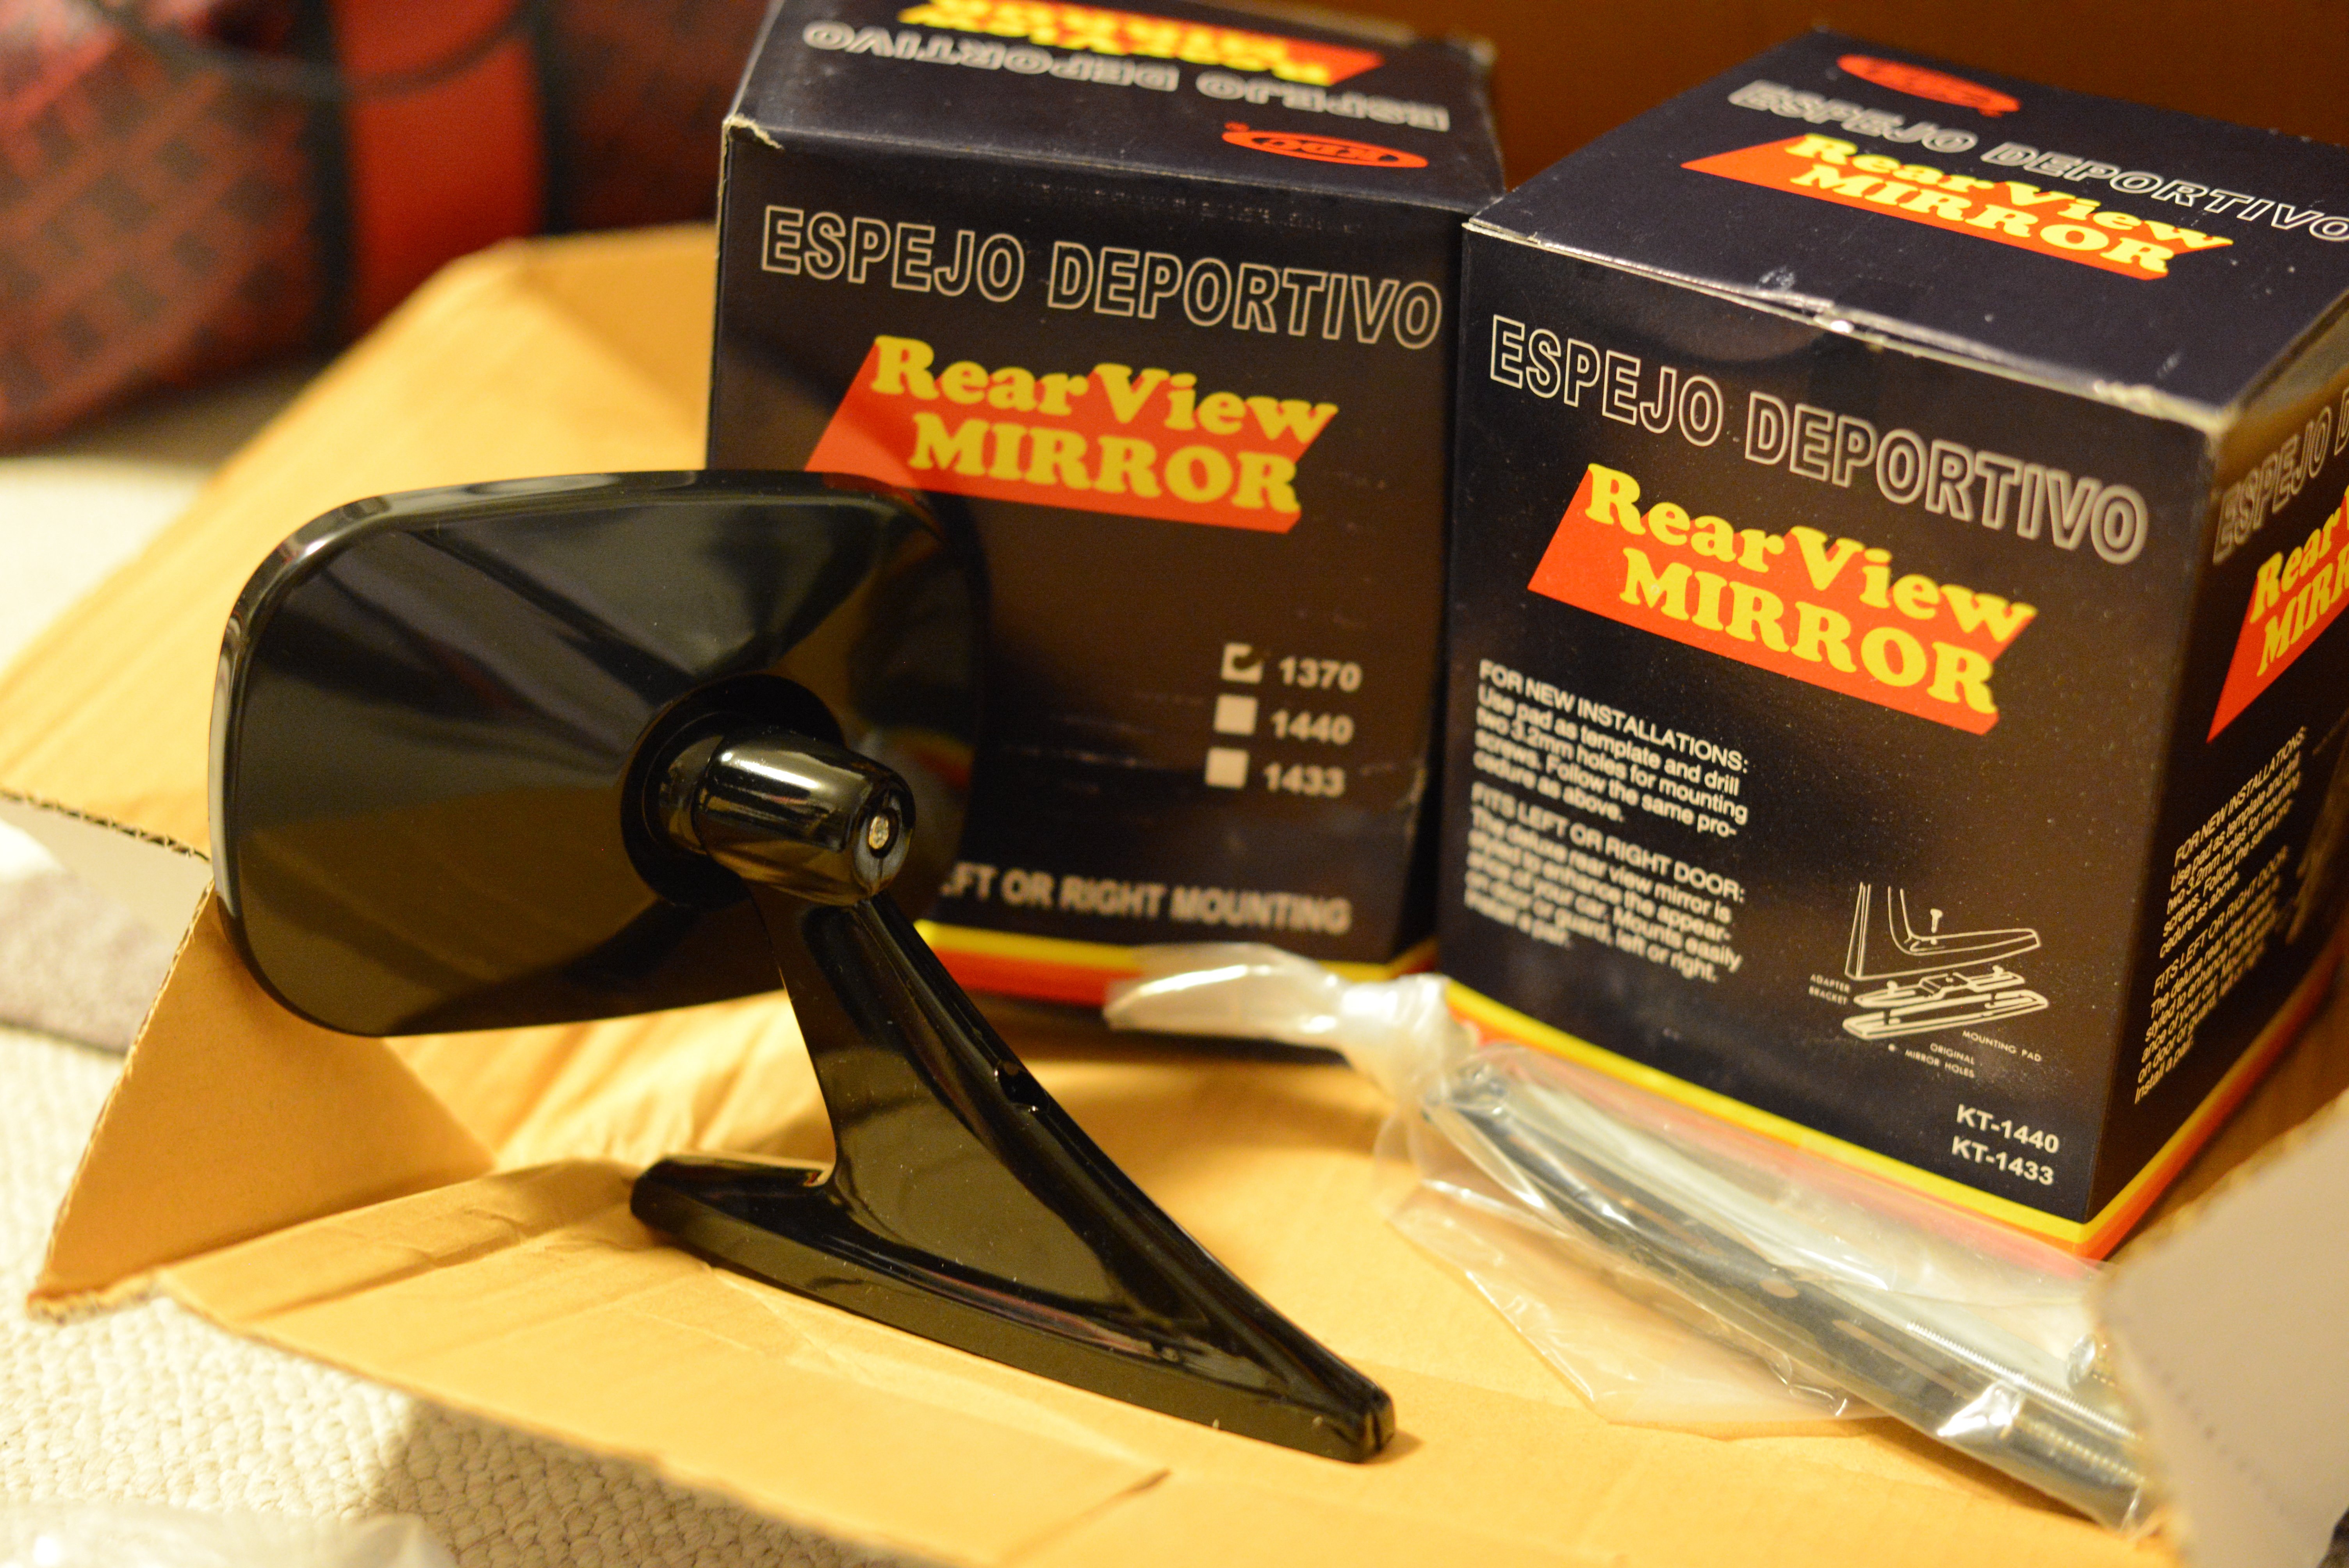
I eventually narrowed it down to a set dubbed “DOOR MIRRORS DATSUN FAIRLADY” 280z side-view mirrors $32/pair ($19.50 shipping) from eBay seller coniglio1975.

PRODUCT INFO
KDC KT-1370 “RearView MIRROR”
Made in Taiwan

KDS KT-1370 Side View Mirror KDS KT-1370 Side View Mirror

REVIEW
Highlights –
– As the description states, “Raw material = plastic”. (honestly, i can’t remember if that was there previous to purchasing it. I would have really opt’d for metal).
+ Closely fits the original side view mirrors (at least the ones I have)
– Plastic part lines severely apparent
+ Very easy to install
+ Single screw mirror tightening

INSTALL
All you’ll need is a screw driver, and perhaps a dremel / hacksaw to adjust the length of the main screw (see below)
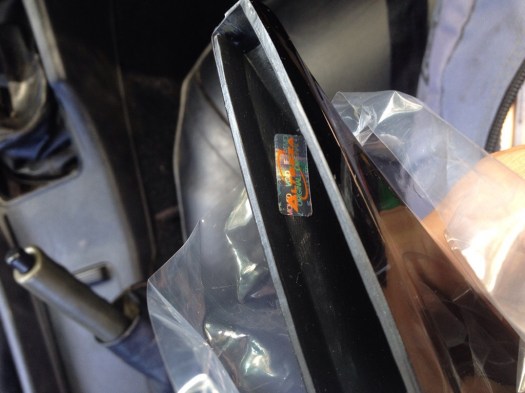
The old mirror…

20140720-121650-44210681.jpg

20140720-121705-44225533.jpg


Quick inspection shows an “Altezza” sticker… nothing to do with Toyota tuning…

20140720-121714-44234915.jpg


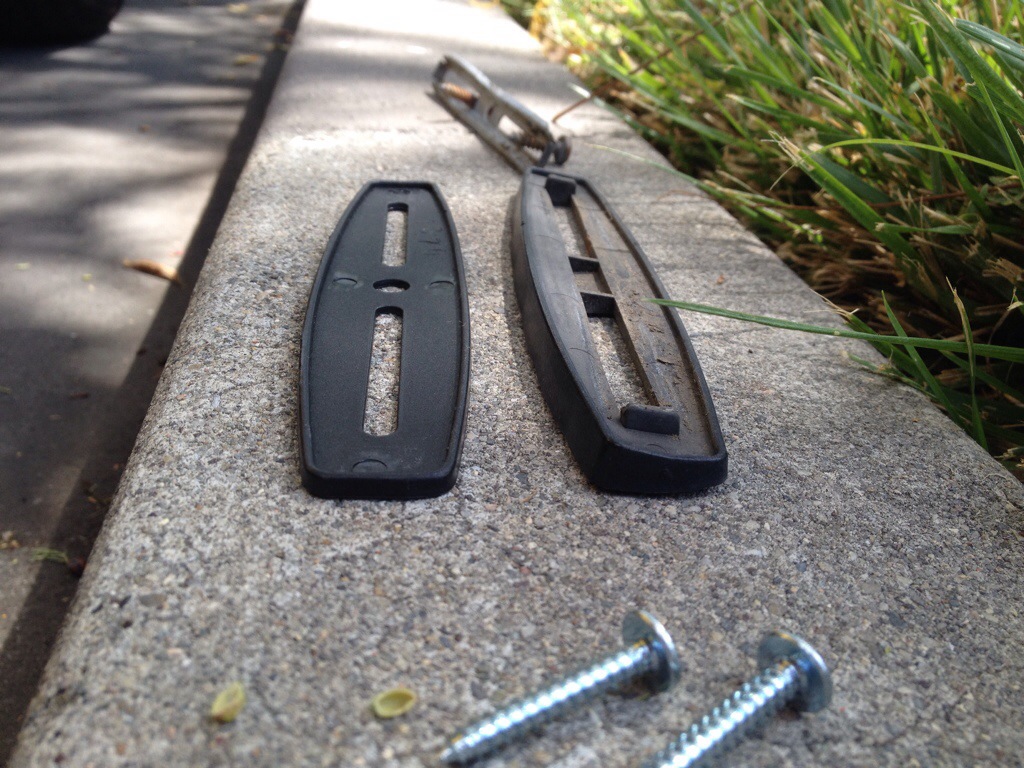
The old side view mirror bracket.

20140720-121724-44244318.jpg


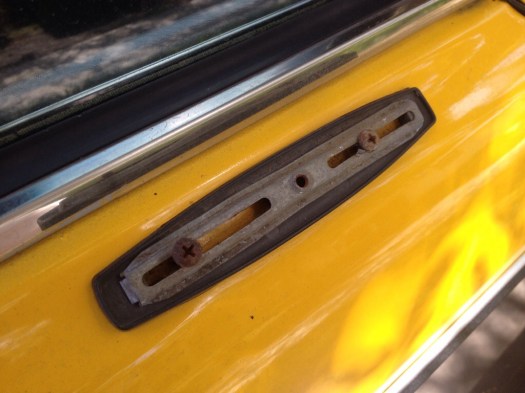
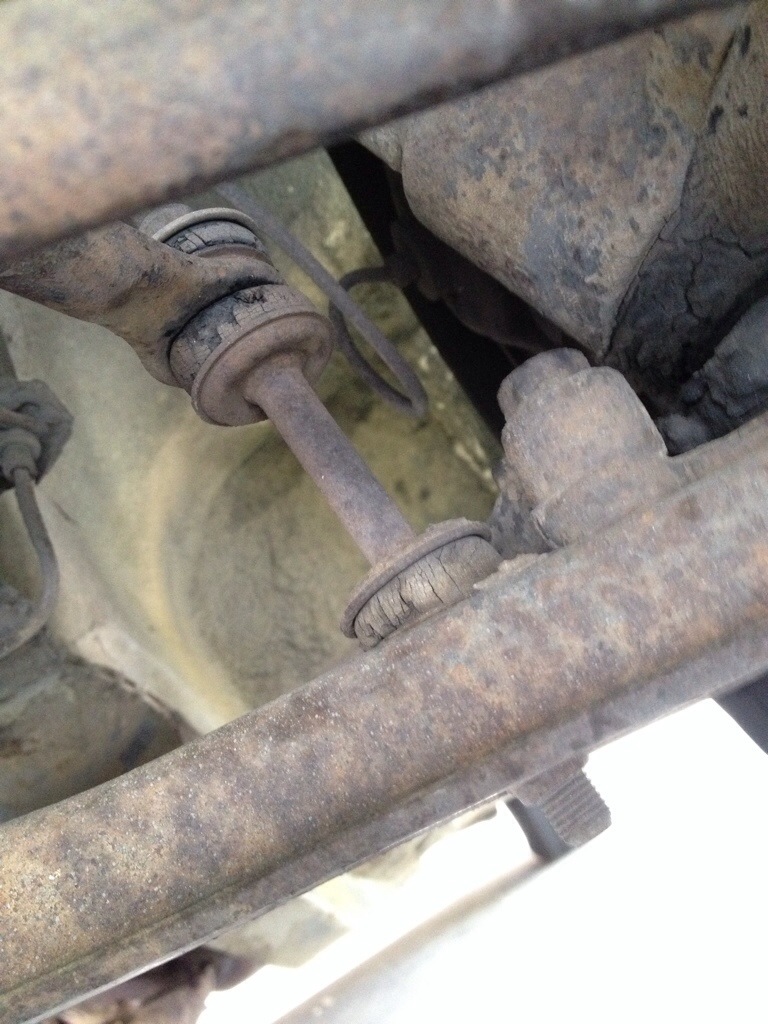
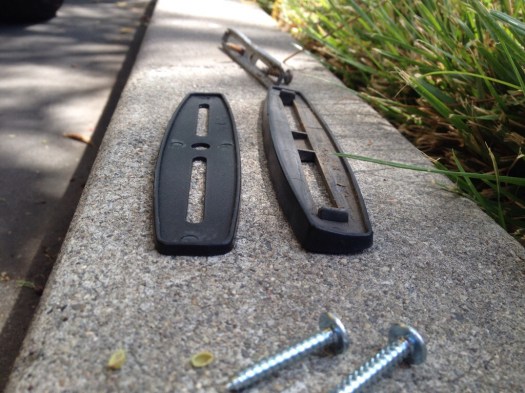
Note the difference in length of the mounting pads. Original is on top.

20140720-121755-44275052.jpg


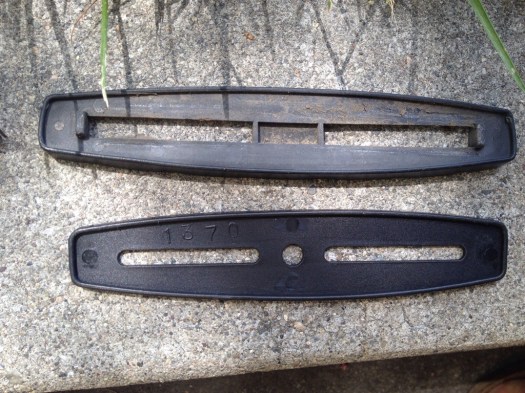
Note the difference in design. There’s a pitch in the old one (right), while the KDS version is flat. This shouldn’t really matter as the mirror itself is adjustable in all directions.

20140720-121802-44282763.jpg


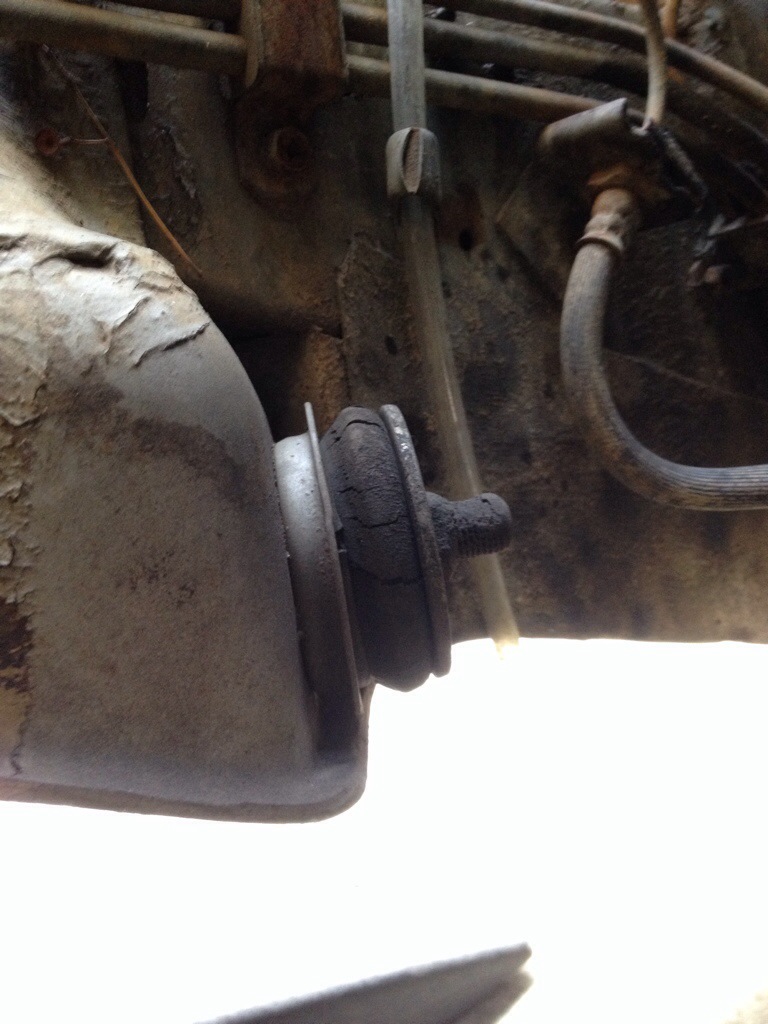
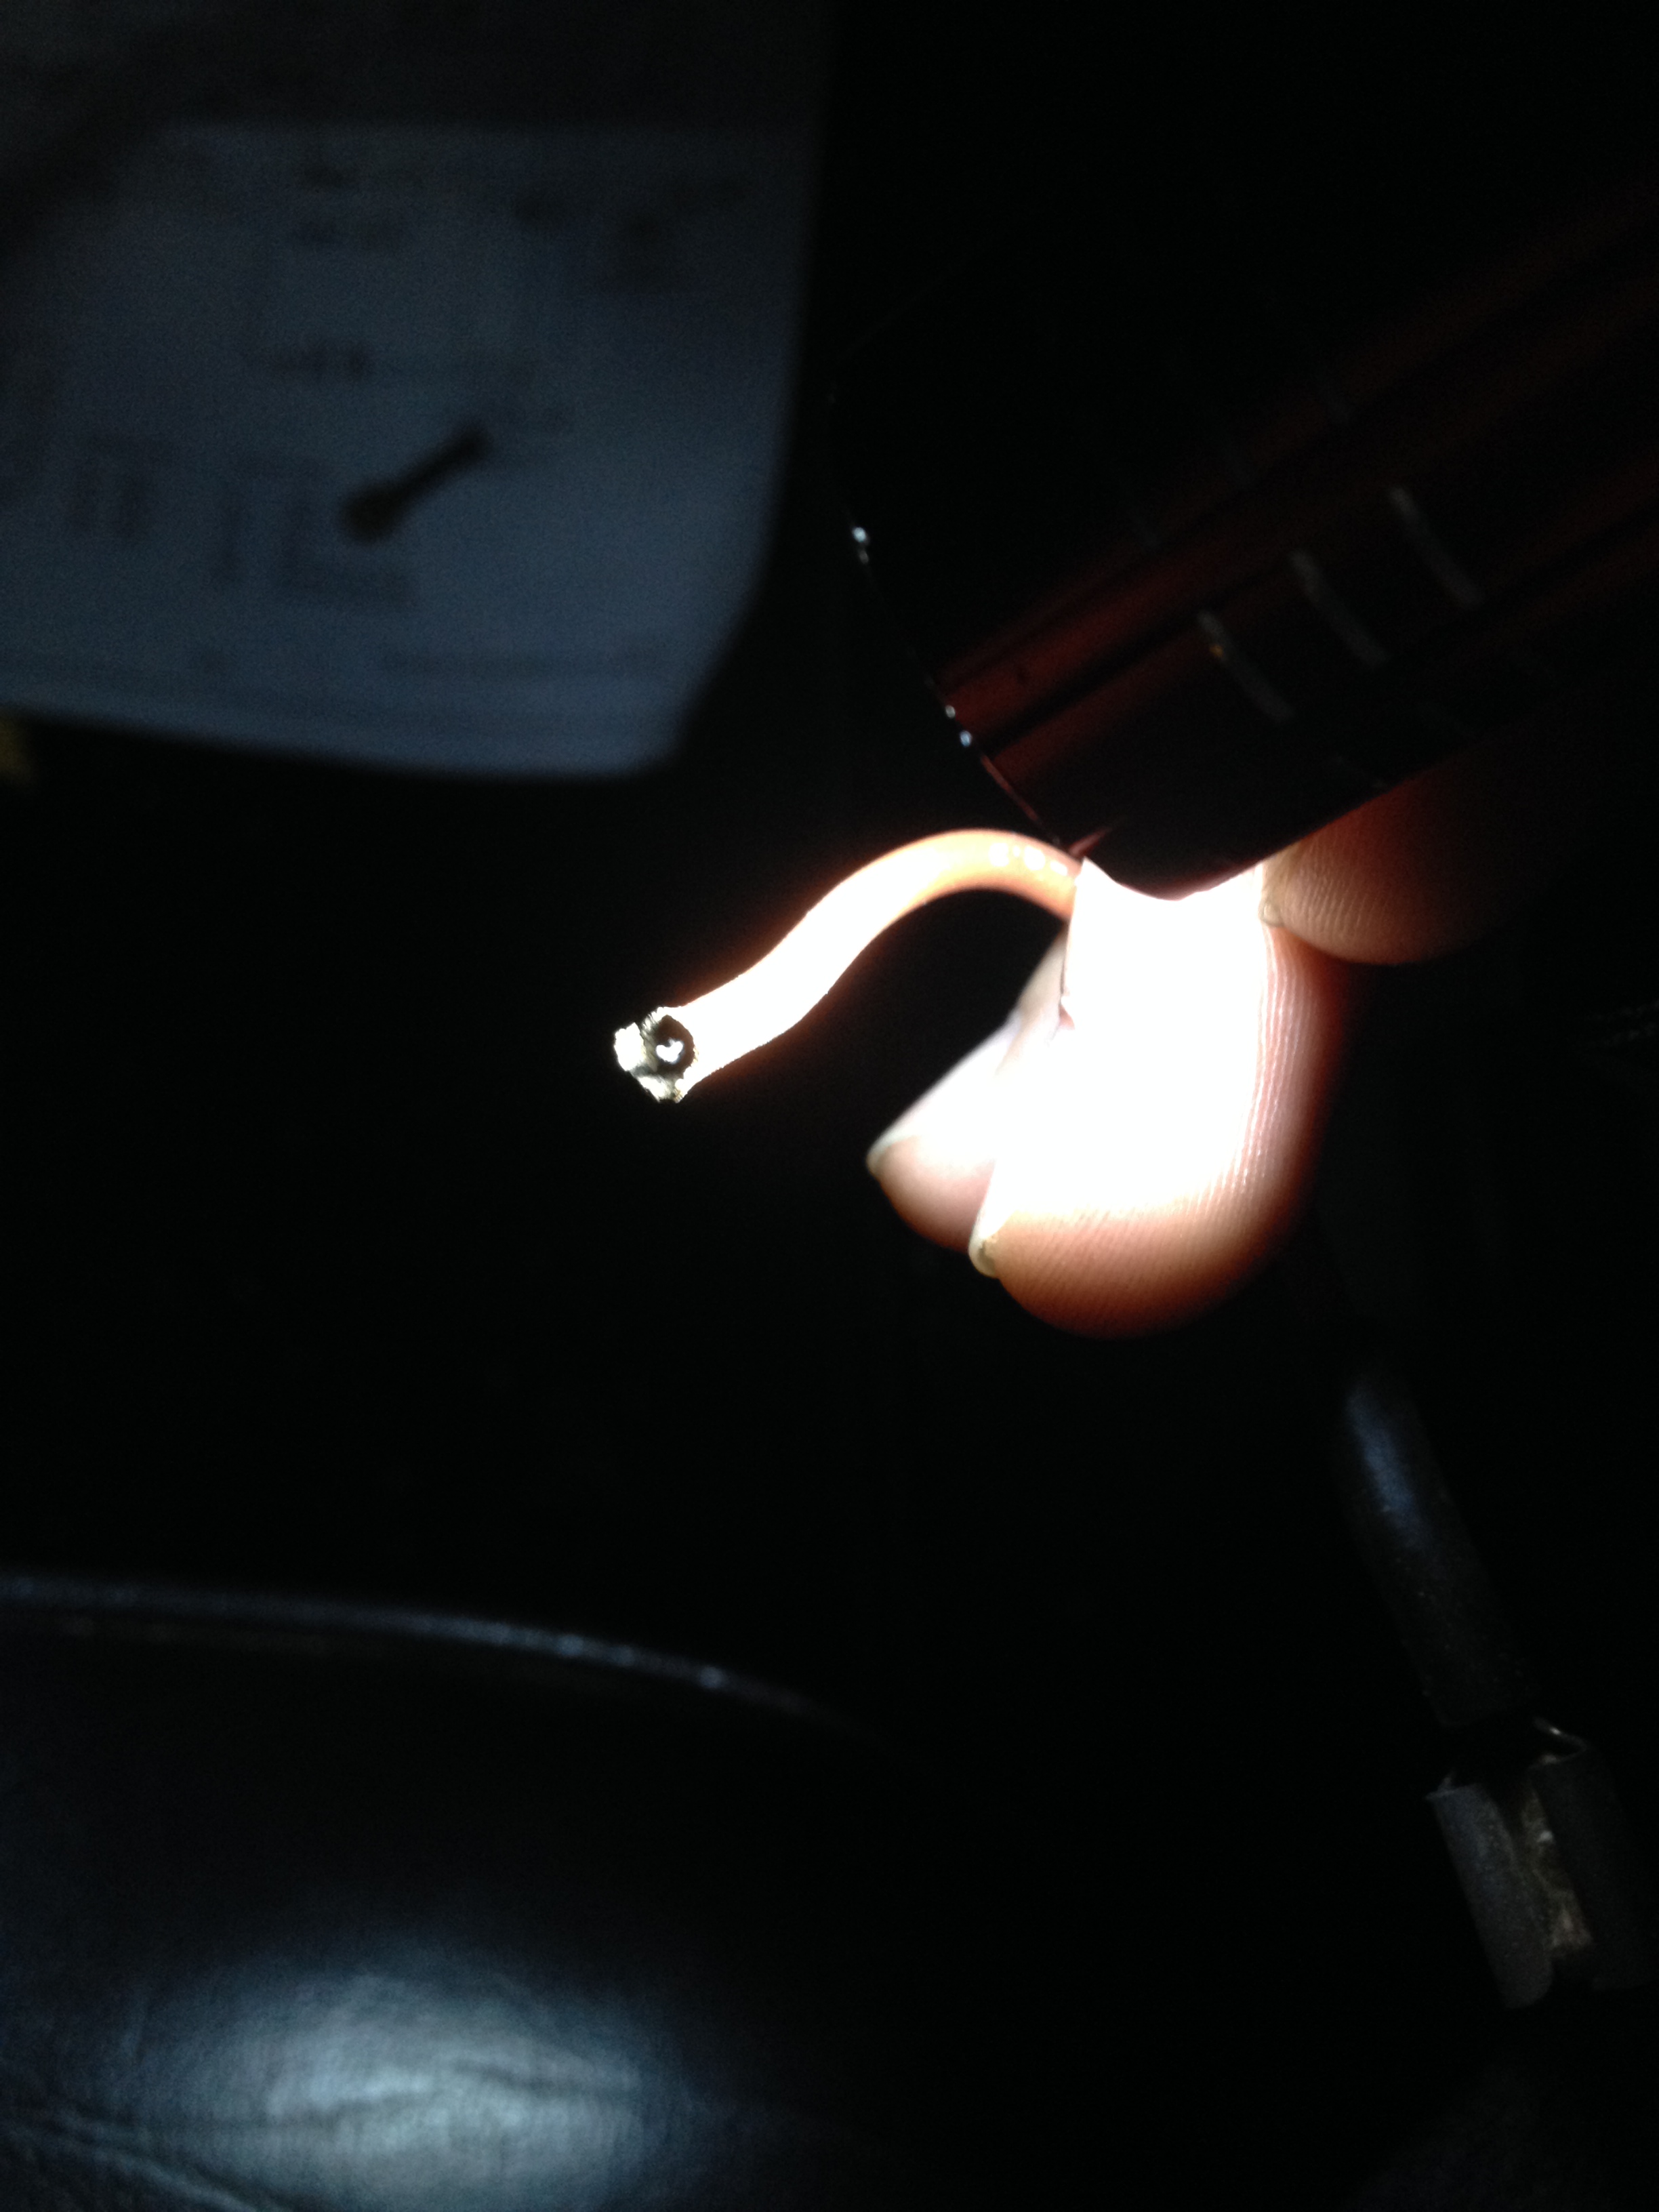
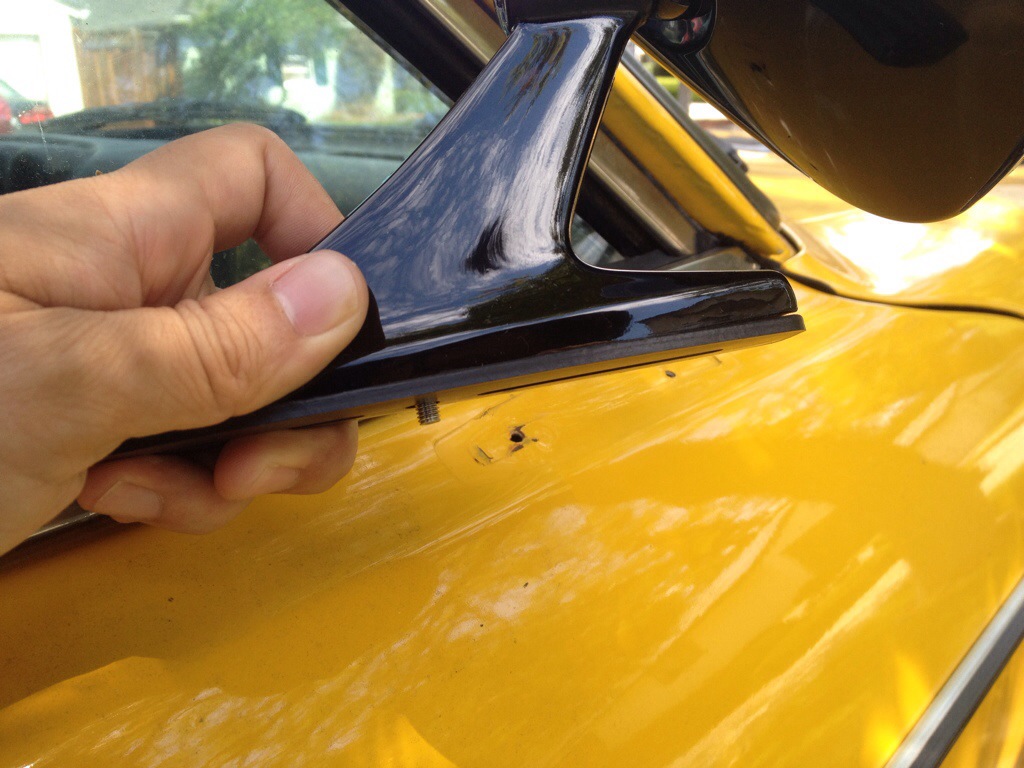
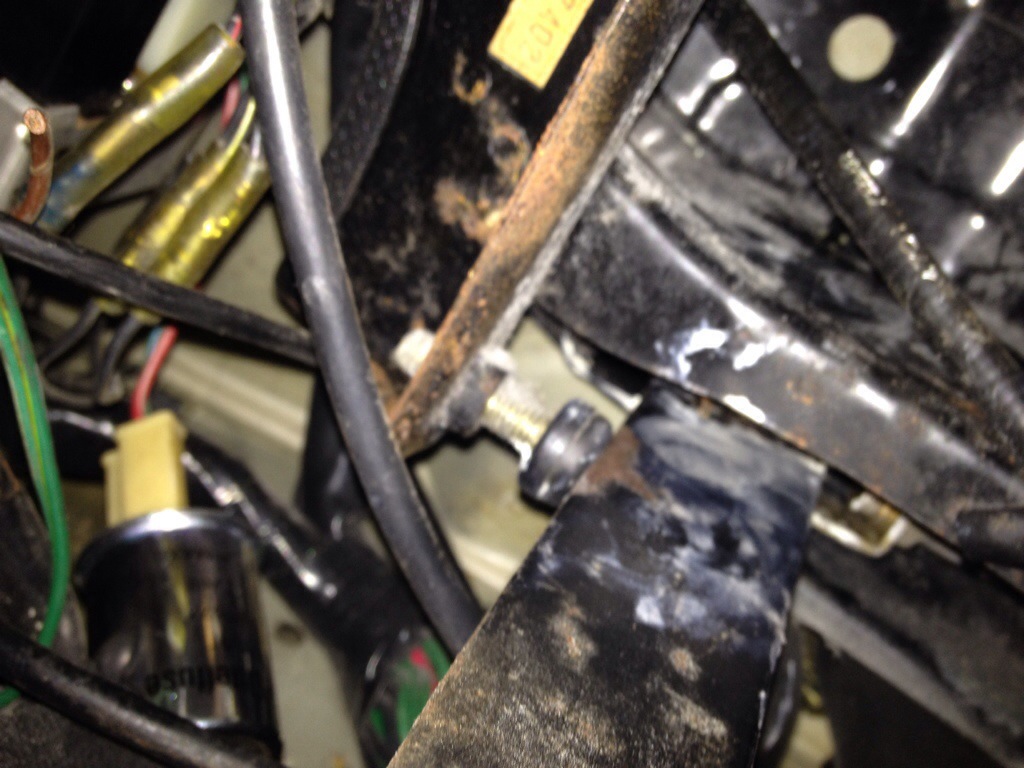
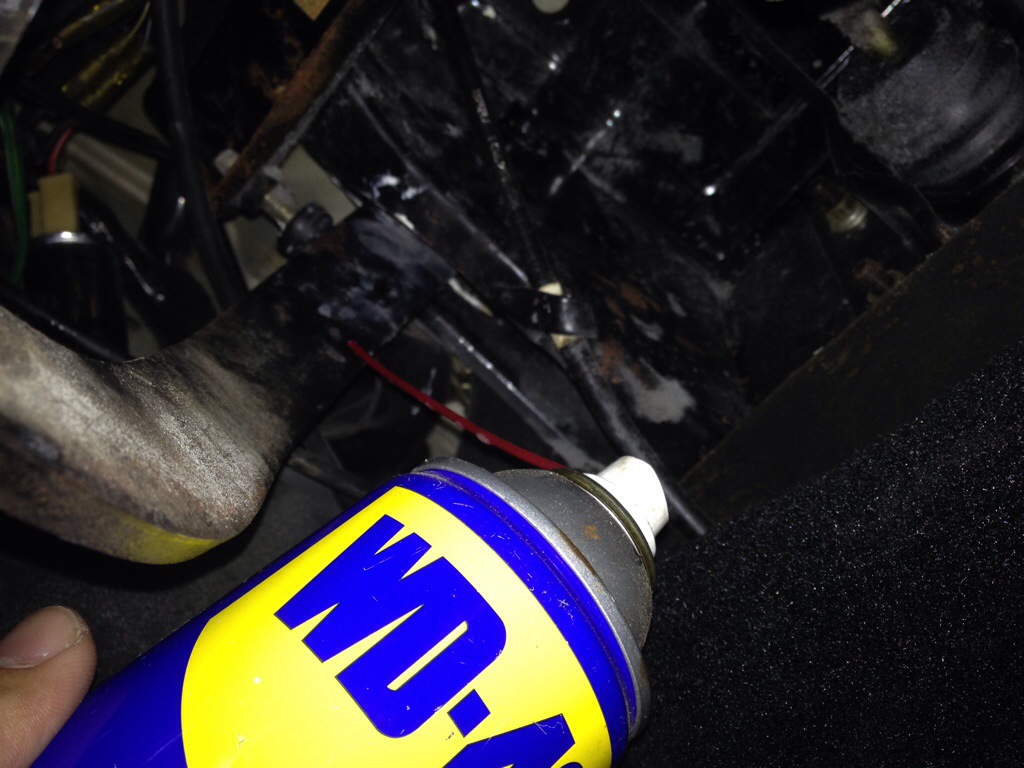
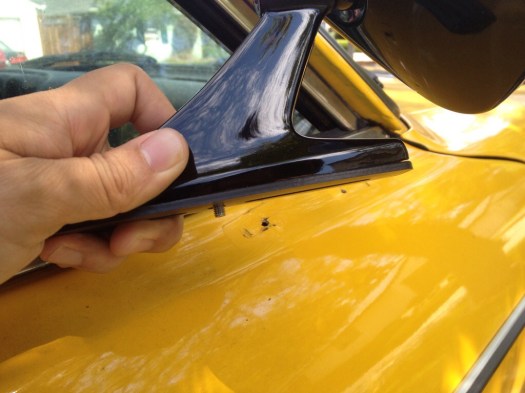
You’ll see a few things in this picture: 1) The supplied screw with the KDS KT-1370 kit is a bit too long, and will end up digging into the door (where there is no hole). 2) If you look close enough, you’ll see that I must have put the side view mirrors on too early after painting… there are spots where the paint has been pushed / rippled. Minor issue, however because the new mounting pad is slightly smaller, it will reveal more.

20140720-121812-44292532.jpg


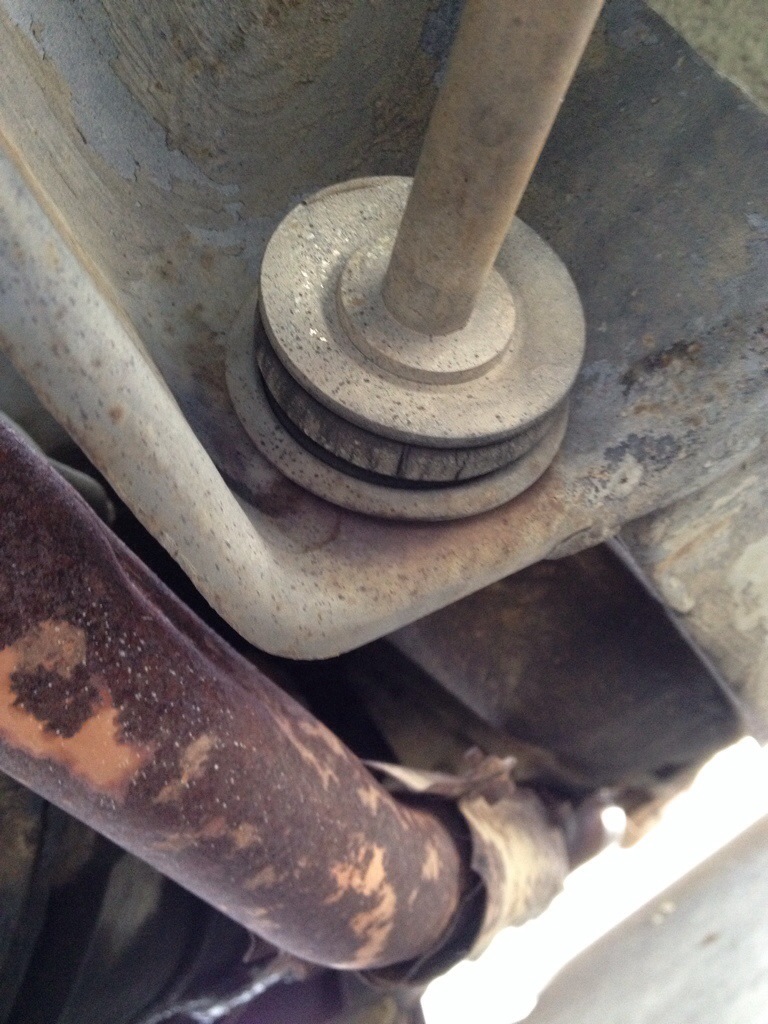
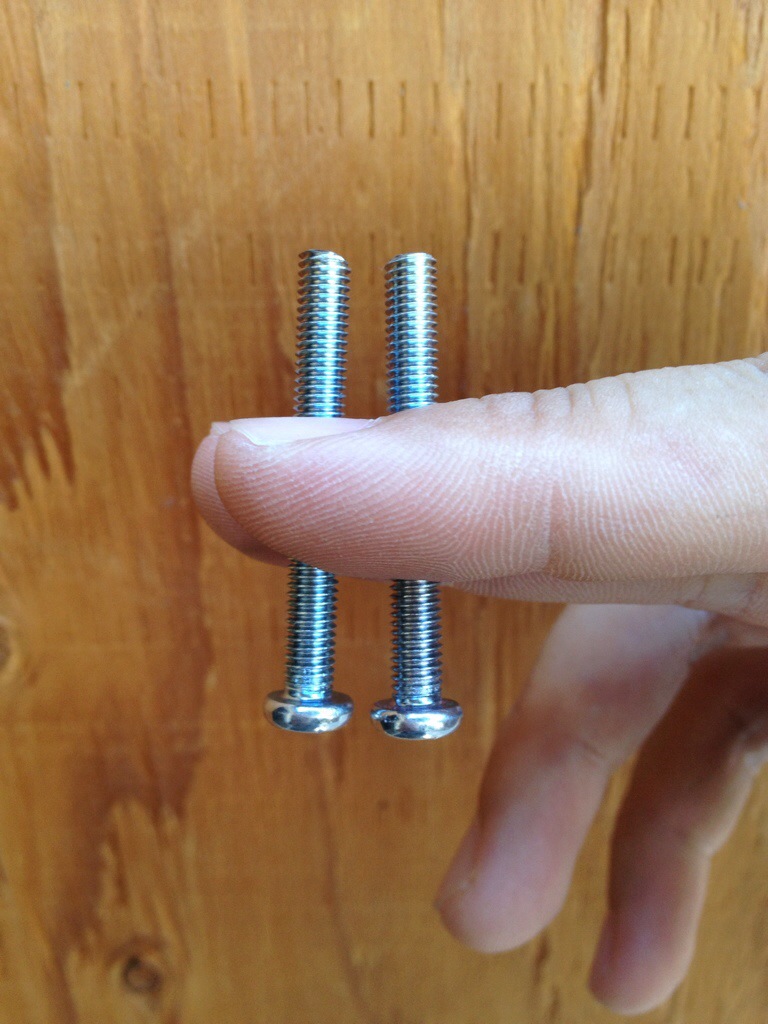
The Dremel tool made quick work of the main screw, shortening it to proper length as not to dig into the door (~1, 11/16″ including head).

20140720-121818-44298909.jpg


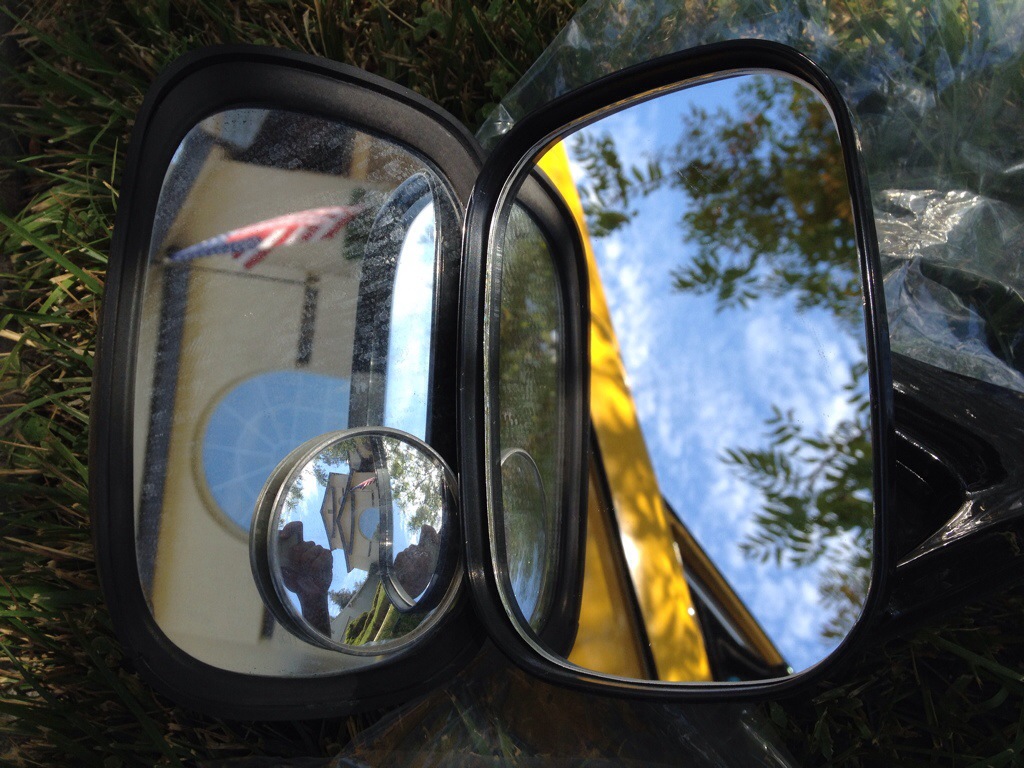
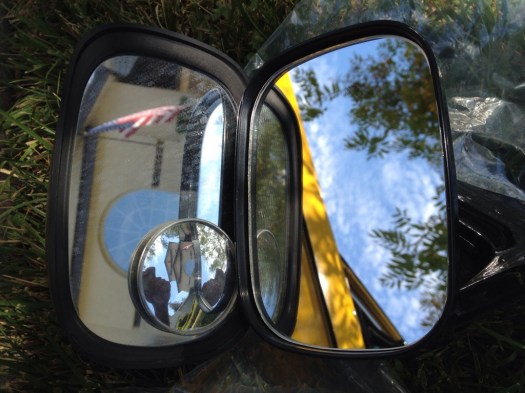
Although the housing and bezel of the old side view mirror is larger, the mirror itself is the same size.

20140720-121830-44310607.jpg


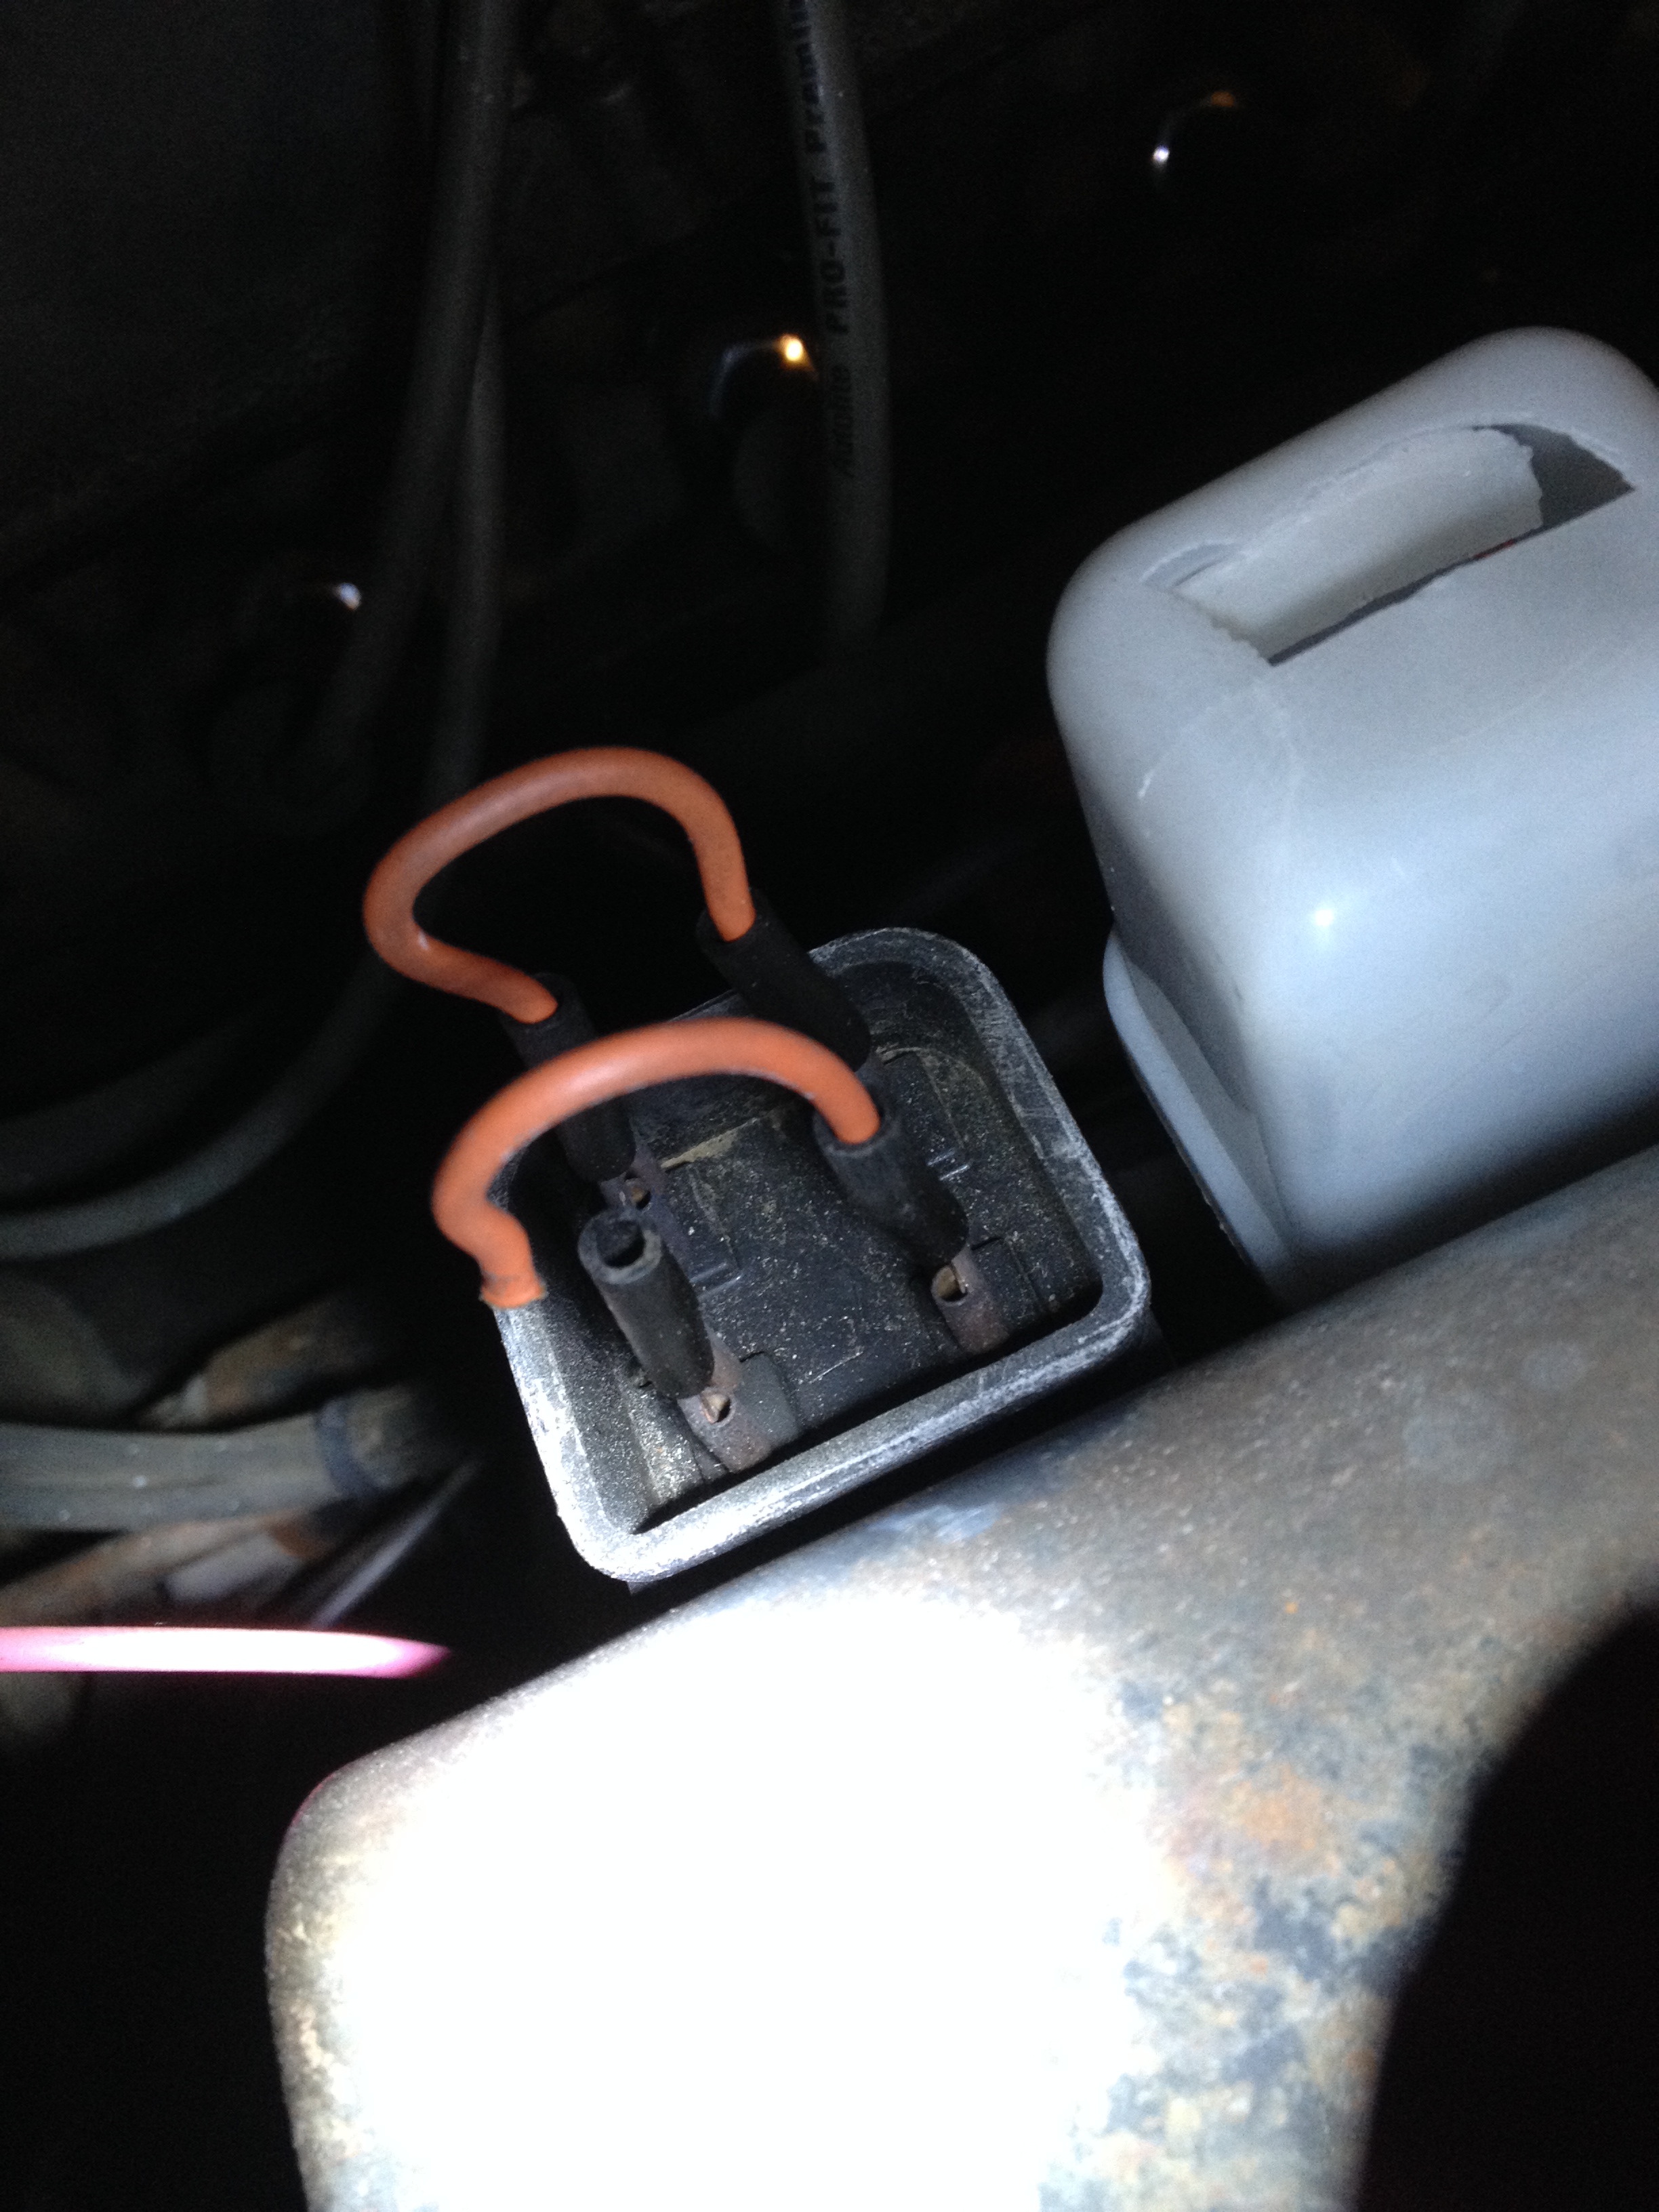
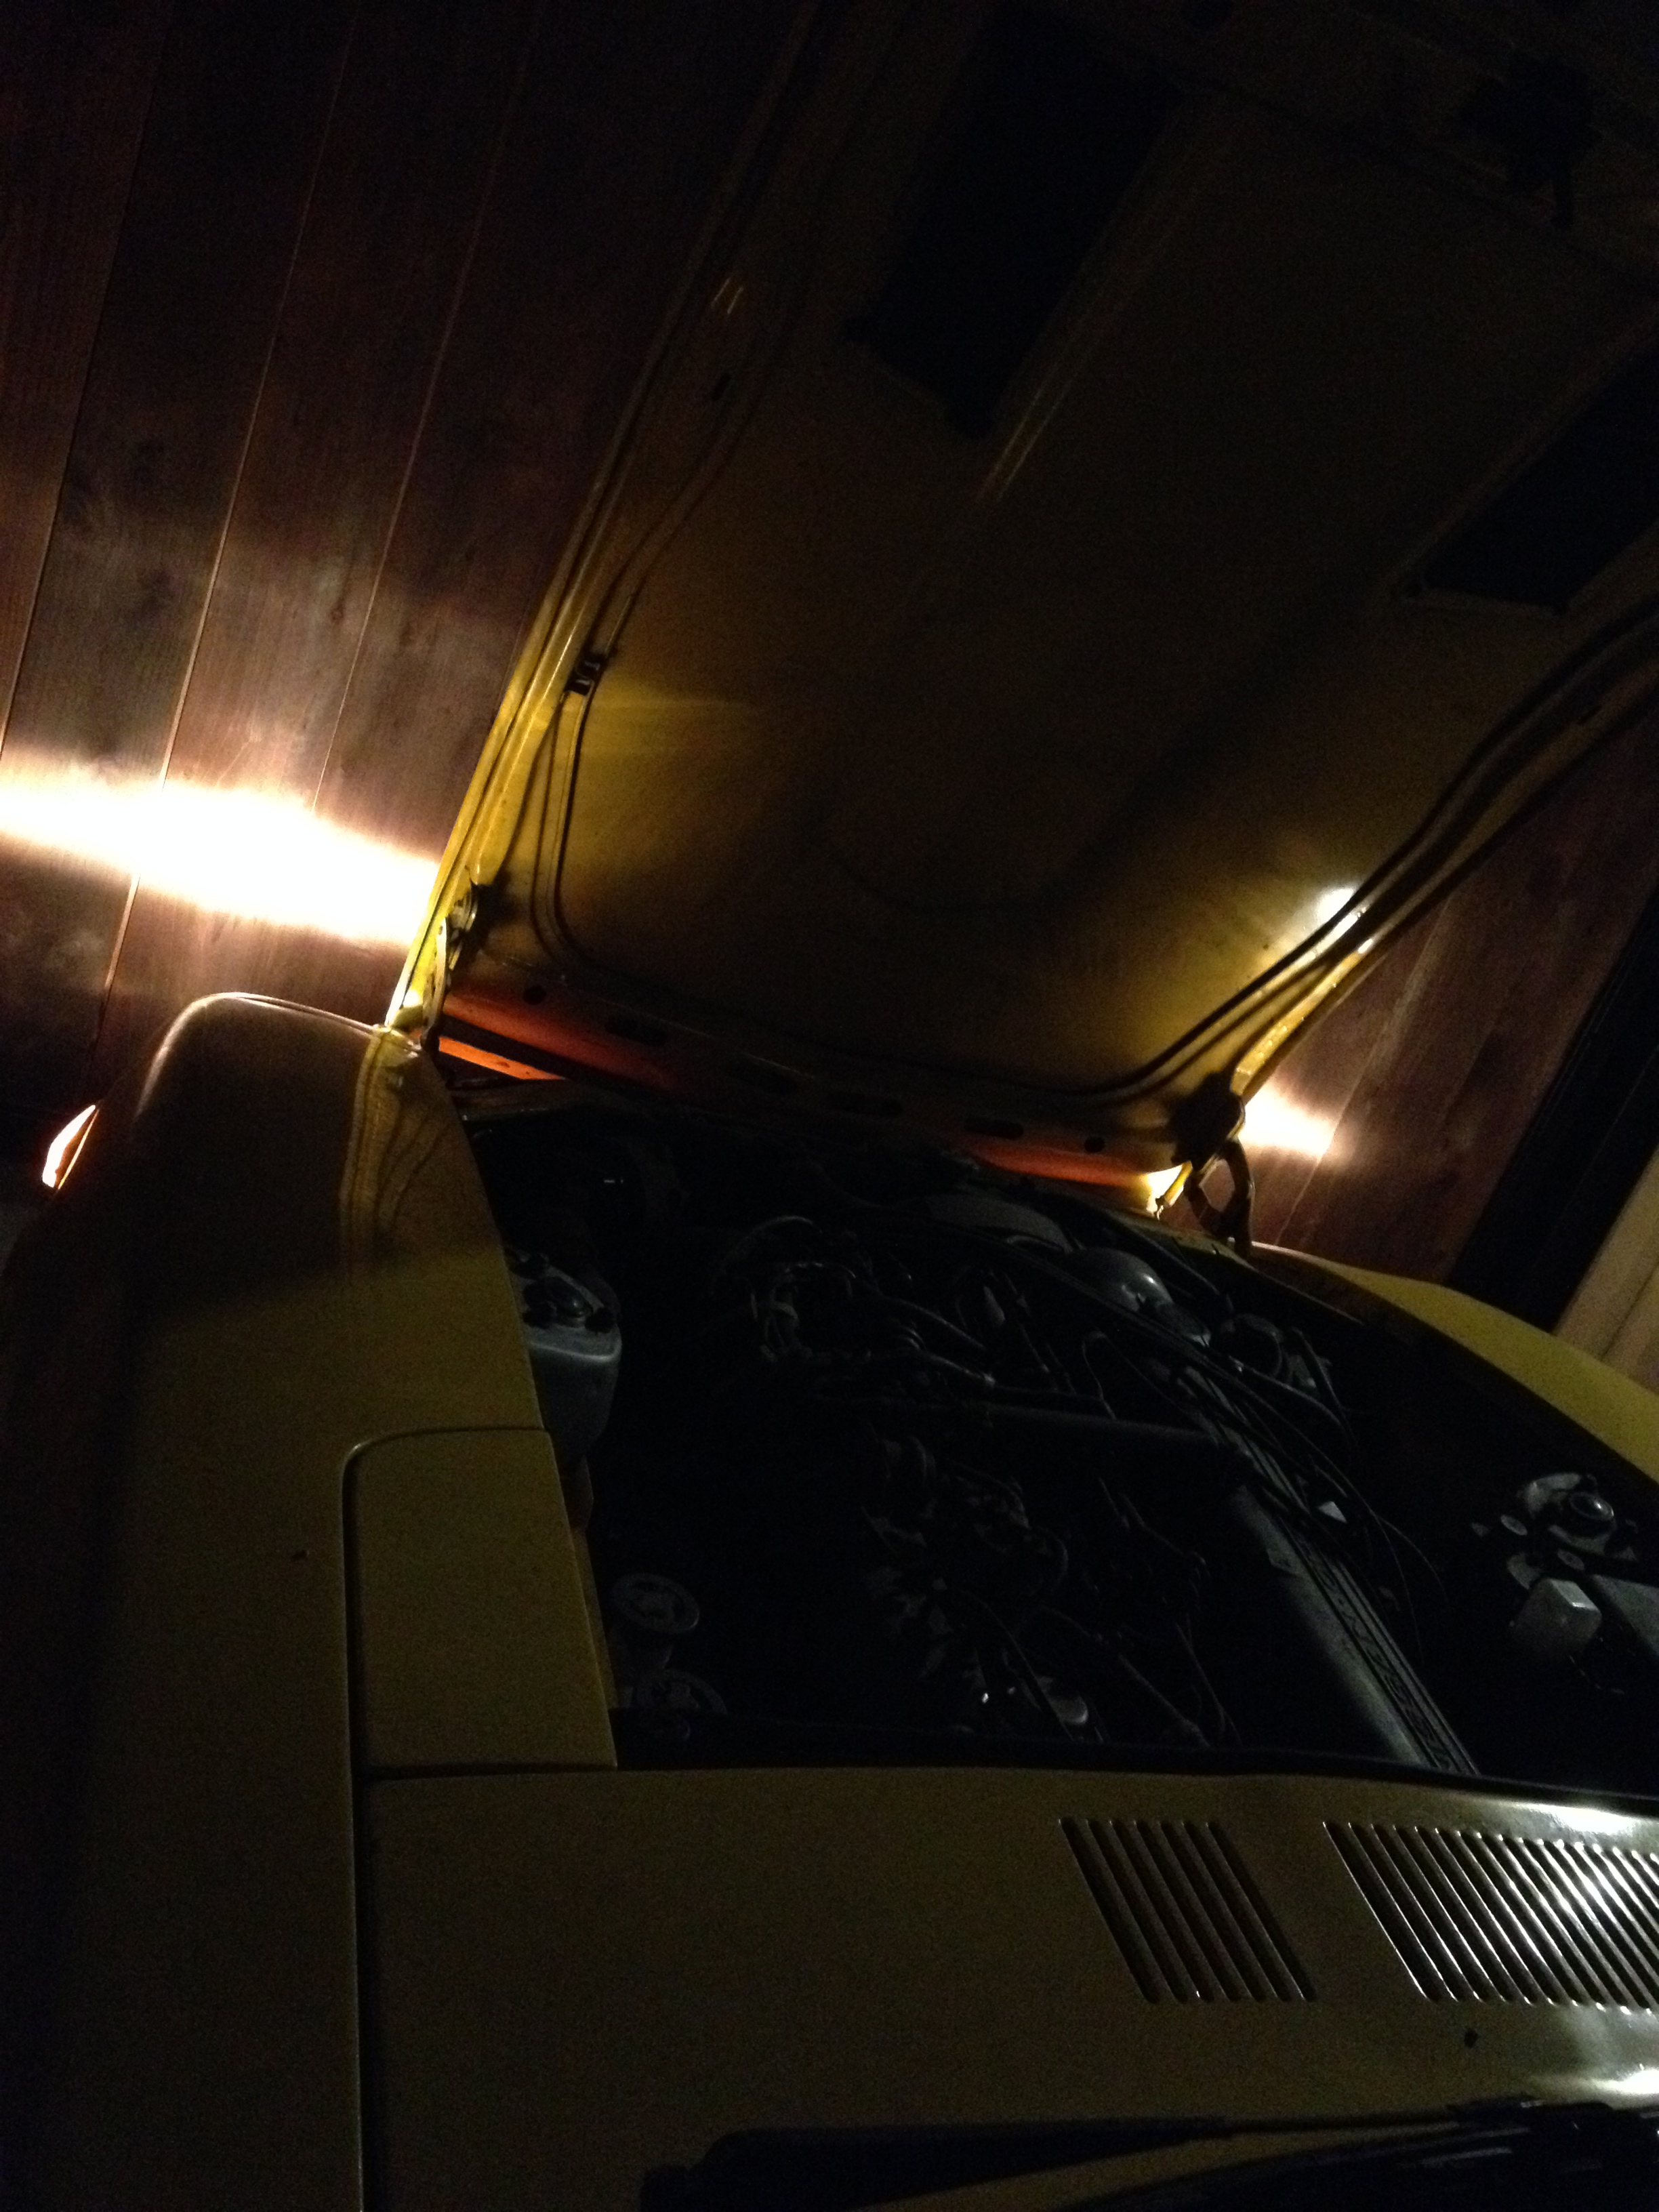
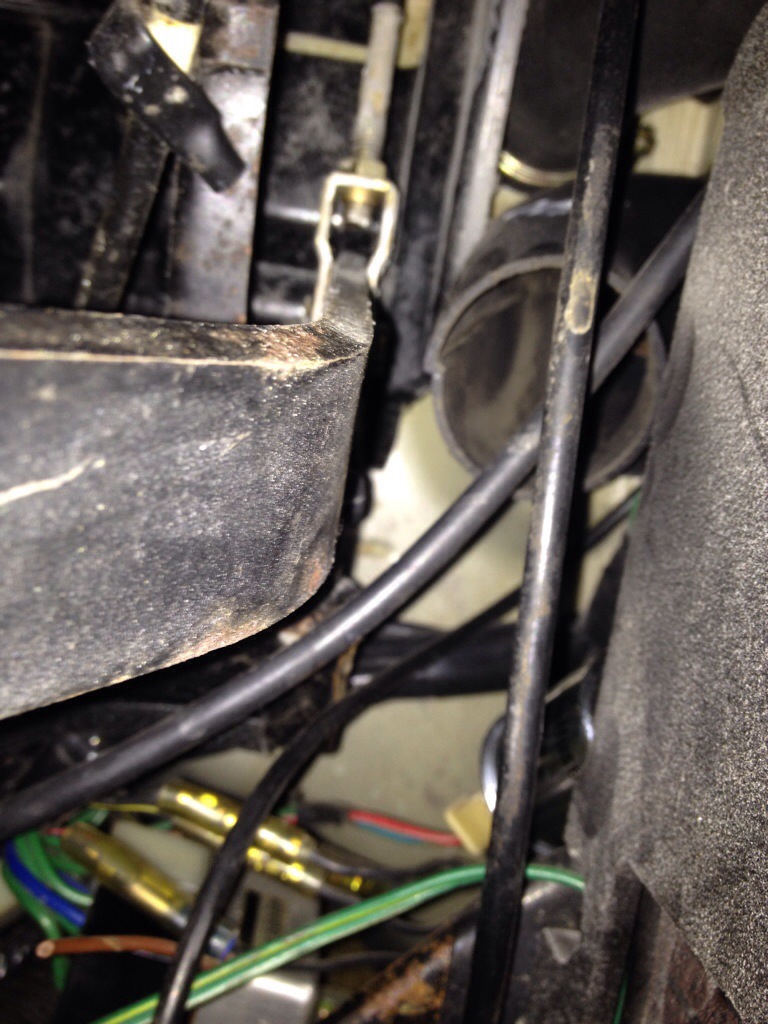
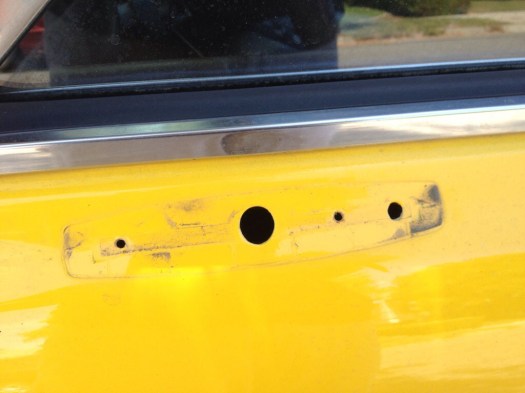
Huh? The driver side door has two additional holes more than the passenger side?! aahh was this a 240z door? My first is that this maybe left over design from the 240z’s classic single side view mirror…or the door was replaced (not likely as the original paint was spot on). Eh, whatevs – let’s install this thing.

20140720-121838-44318819.jpg

20140720-121913-44353429.jpg

20140720-121929-44369567.jpg

20140720-121938-44378596.jpg


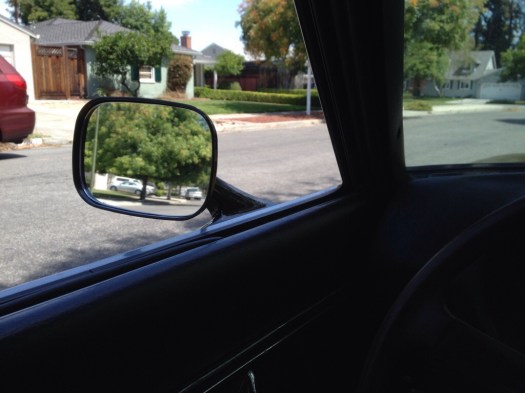
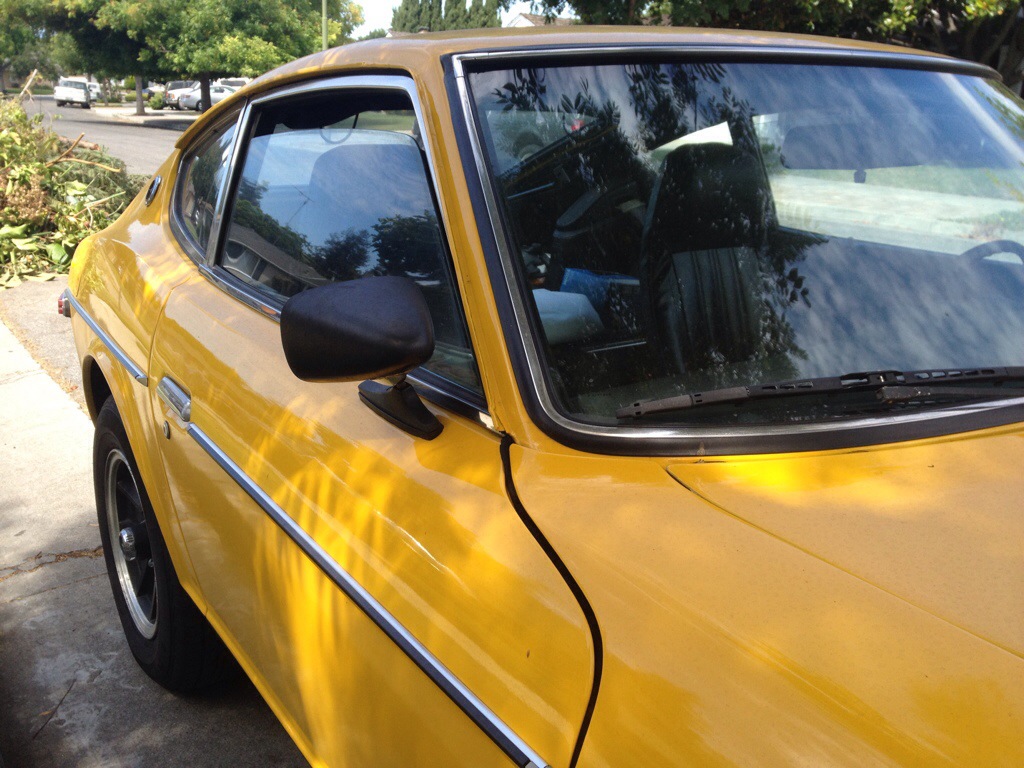
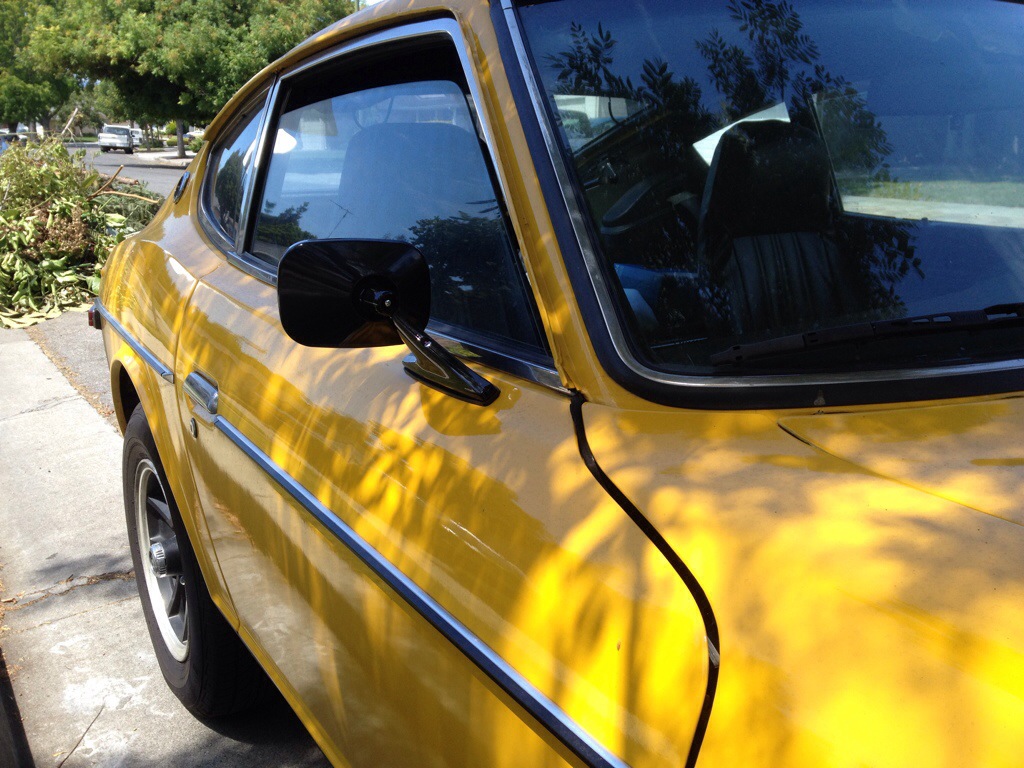
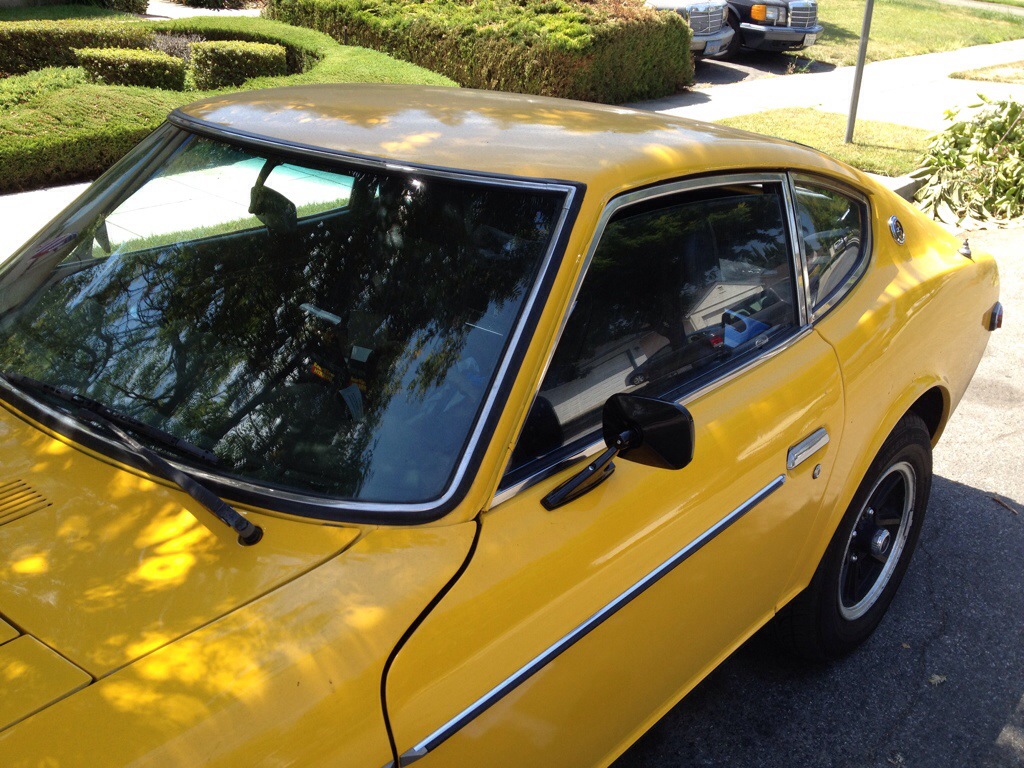
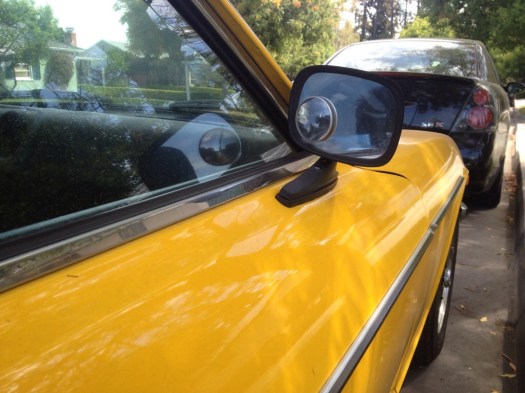
While I’m not fond of the shiny black base, it’s not completely hideous either. I do mind more that the mirror’s housing is a dull black, while the base is a shiny black (i mean, come on!). If i have time, i may spray paint them the same black I’ve been using on the rest of the black parts on the car (matte black). Overall, not a bad purchase – you always get what you pay for. We’ll see how these hold up over the course of the year.

Squeaky clutch…

…meet your greasy doom. That is, if i can get to you.

For over a year now, my clutch pedal has been squeaking and squawking every now and again, just asking to be oiled, greased, lubed. And oh i have before, trust me.. I’d get on a latex glove, blindly find my way up the pedal arm till I hit something mechanical…there…some lithium grease here, some lithium grease there, a few pumps of the clutch pedal and the sound is gone… but it always comes back. Imagine what that’s like with the Z being a manual transmission. For me, I’m used to it. For anyone else, annoying!

I thought maybe the grease was just wearing away – lithium grease doesn’t seem to have the staying power as traditional automotive grease. Until I finally decided to take the plunge, seat all the way back, lay under the dash with my head on the floor and see what the heck is going on down there.

It’s hard to see, but the 280z has this nice metal wall between the clutch and brake pedal arms. Ah! so that’s why I could only get so far up…And now i need smaller hands, because the space to get to the actual mechanism that’s squeaking is for child-like hands only. You can also see from the pic where all that lithium grease went – haha!


20140616-222527-80727034.jpg

20140616-222528-80728719.jpg


How to get up there without training my nearly 2 & 3 year old nephew and niece to be grease monkeys? WD-40. This probably should have been my first go-to solution for reasons beyond it’s extended spray nozzle: dad would’ve used this first.

20140616-222532-80732188.jpg

The extended straw allowed me to shoot up high into the hard to reach places. And I kinda just blindly shot stuff up there too for good measure. Viola! No more embarrassing squeaking every time I use the clutch.

Zpotted: champagne gold

My buddy Nick sent this over while he as in town. A 911 owner himself, he was still excited to tell me all the aspects he liked about this gold / champagne ’75/’76 Datsun 280z he zpotted in the parking lot.

Check it out – super clean! Krager / Centerline – like rims (probably original from the dealer), OE beefy bumpers, and just smooth and shiny as any perfect example would be. He was really keen to point out the louvers on the rear winshield – love’m.

Actually my 280z originally had the louvers; how can i tell? there’s a wear line on the glass! hmm gotta think about getting those before the summer sun really comes in!

Thanks Nick!


20140530-090630-32790177.jpg

20140530-090642-32802043.jpg

100k!


Still feels like a brand new car.

I was heading back home from an appointment, when i noticed the miles counting down… 99991….99992
ok, ok, i’m not too far from home, maybe i’ll make it to my driveway…

99993…99994…99995…
shoot.. only at 280 / 87 (or somewhere around there)

99996…99997…99998…
ah ah! where’s my phone? okok recording… where’s the light, ok, light on

99999…

what? why are you turning off?! no no, wheres my car charger? WHERE?!

99999… 00000!

woohoo! after pulling over the side of the road, fumbling for the charger in excitement, I was able to record my first mile. Sigh, my first 100k ever.

20140307-092430.jpg

Re-solder Re-light


This guy’s a little nuisance – the headlight solder point attached the combo switch.

I already had the 280z’s column covers off earlier in the week month because my headlights wouldn’t turn on (switch was broken), but now the wire when ahead and popped off. That white wire is an iPhone charger cable wrapped around the steering column to hold the wire down while I solder. Sigh – one day at a time…

20140306-085928.jpg