Wipers, Hazards, Turn Signals.. oh my!

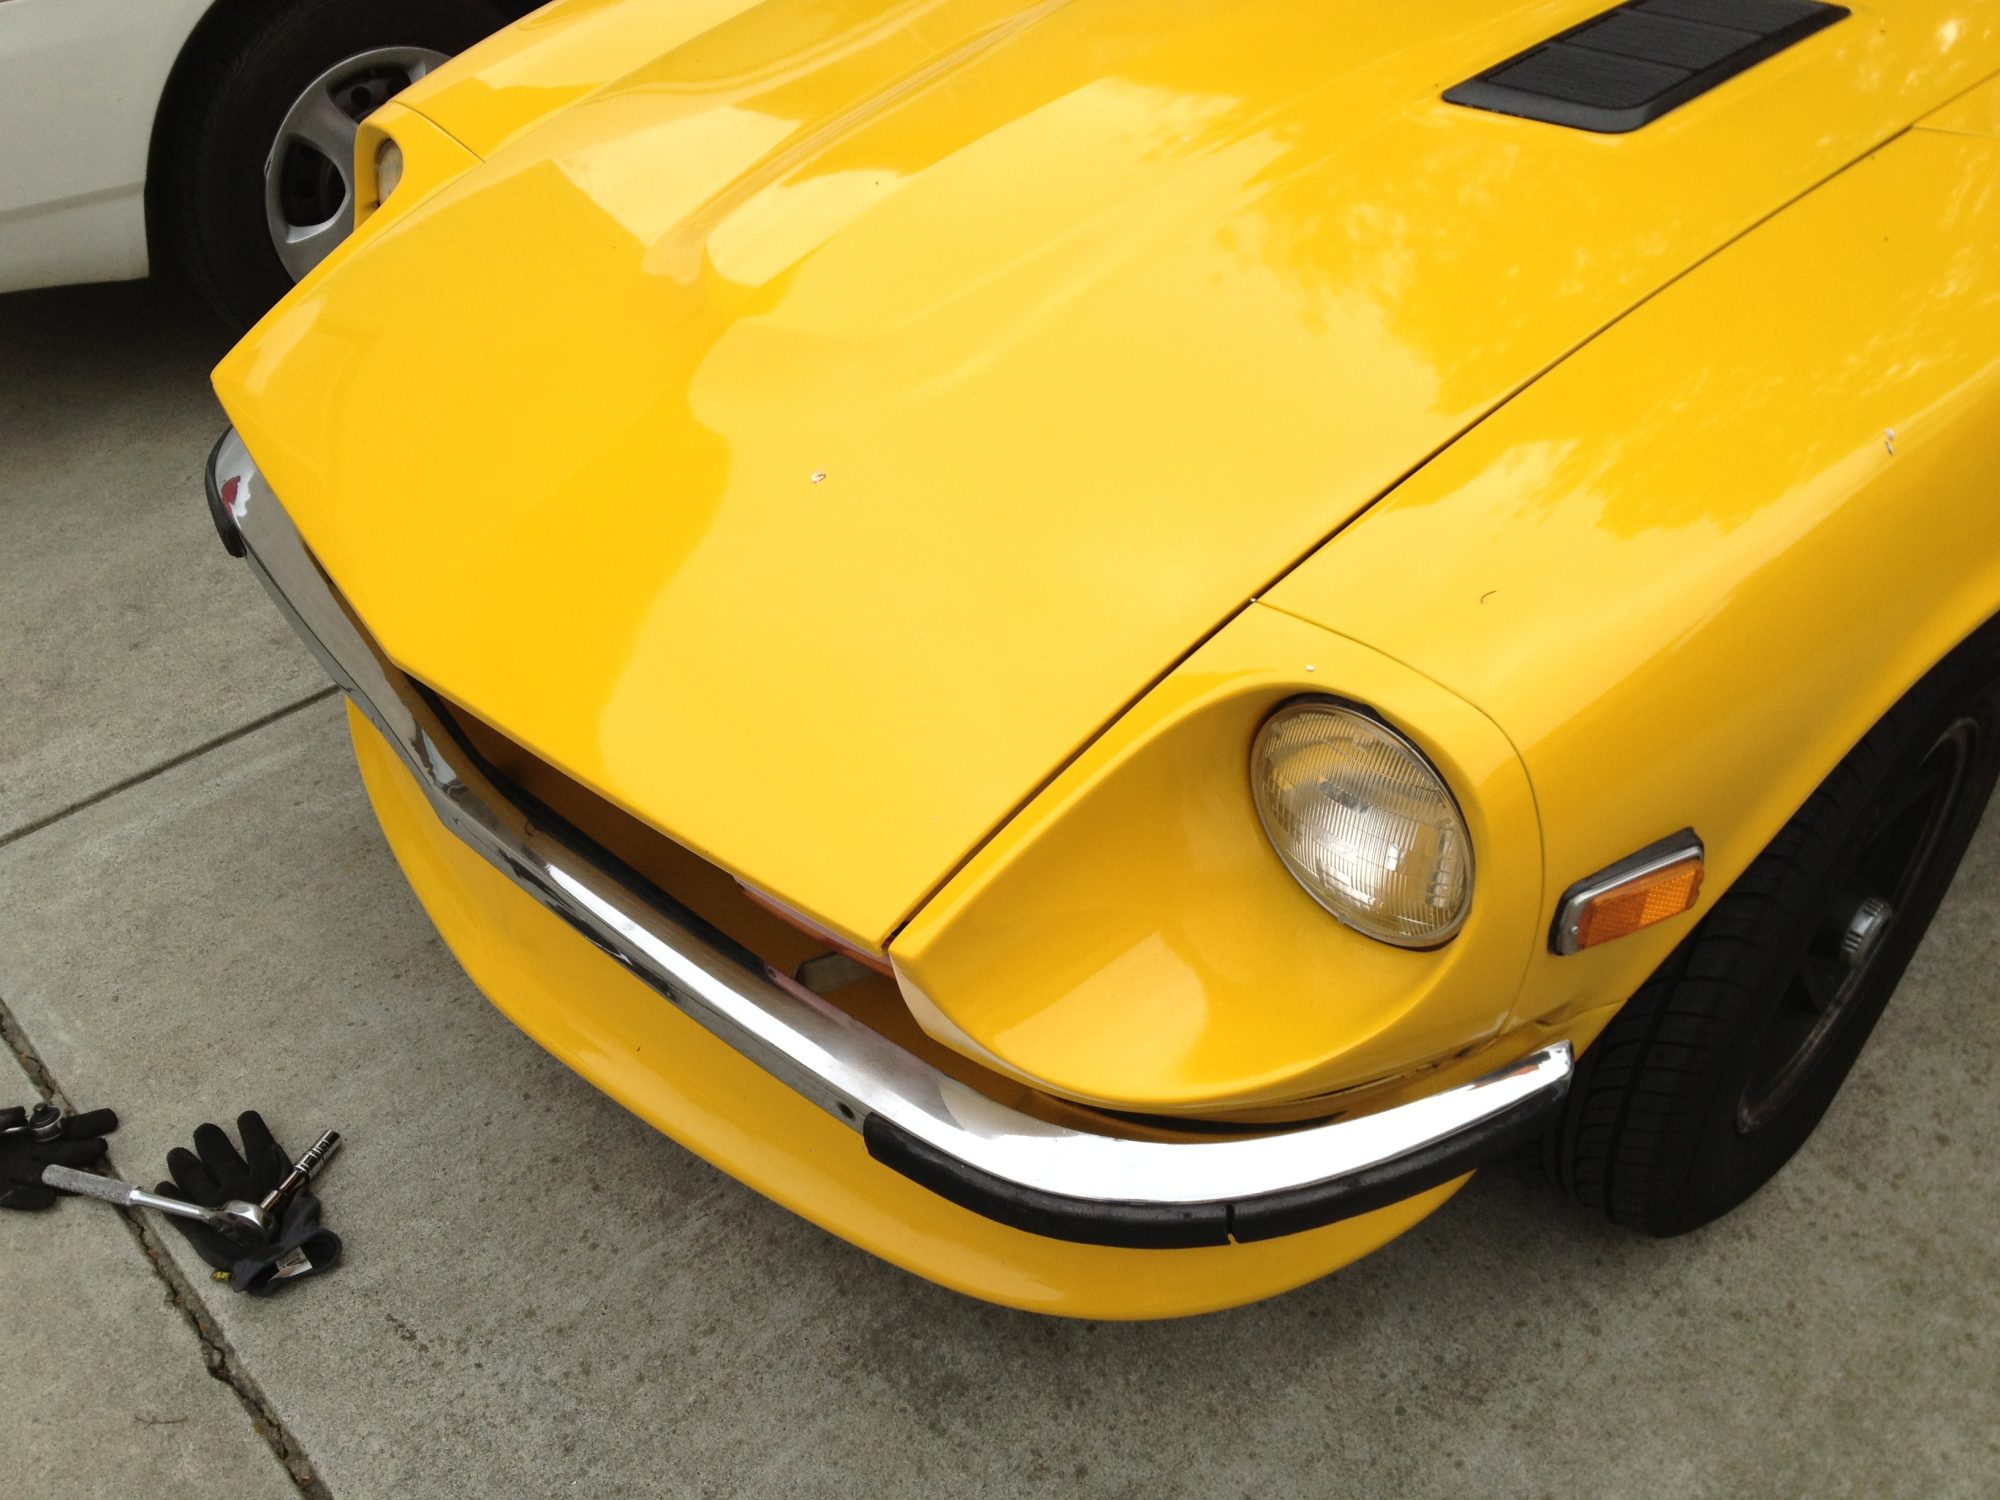
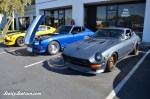
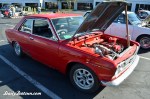
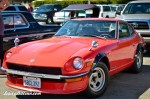
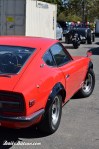
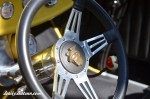
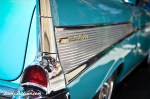
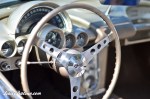
Winter is upon us in California, or as I like to say, ‘spring time’. Only because it’s just a few rainy months till the only other season: summer. There’s been a long intermittent problem that wipers haven’t worked, and with the coming rain, I thought it would be a good idea to get that fixed. Along with the trusty 280z manual and a little luck, all three systems worked brilliantly.

Previously, the wipers weren’t working because of a corroded contact in the steering column switch, in which a few on/off turns cleared it up. This time it wasn’t the case. Not only were the wipers not responding, but also the blinkers and turn signals had also failed! My hunch was that since the same lights used for the hazards / turn signals were still turning on, it was perhaps a relay or fuse. Fuses looked okay, so on to the relay.

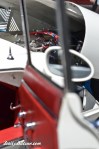
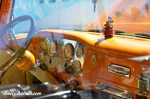
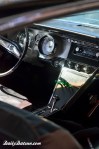
Both the hazard and the turn signal relays are located under the steering column area in the cabin. Yanked both of them, headed straight to the auto parts store, and was greeted with a, ‘whoa, those are hecka old’. Unfortunately, O’Reilly’s only had the hazard relay but luckily: it was the only one I needed.

The original hazard relay for a 1977 Datsun 280z is a Niles HF566-12V, 32CP Max 6, 80C/M relay.
The replacement hazard relay is a Littlefuse FLR577BP 12V relay with the same markings.

I reconnected everything…low and behold, the hazards flash. Doesn’t hurt to try the others, right? The turn signals started blinking, and the wipers precariously make their way across the windshield. Nice – ready for the rainy season.


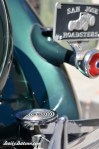
Old relay – found just hangin’ out…

Hazard relay - Littlefuse FLR577BP - Daily Datsun

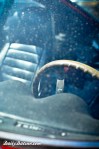
New relay – still hangin out.


Datsloco, Livermore – My 1st Meet

Dat’s right! Datsloco!

My previous posts have all been car shows (which i’m quite fond of) like the Willow Glen classic, but this was my 1st MEET! I was super excited to say the least. Datsloco is a local meet organized by a guy named Gino, usually held in the Livermore area, and simply just peeps and their Datsuns.  Well of course they had plenty of parts for sale, bbq (supposedly Gino makes an off the hook carne asada), and even a guy workin on his tranny in the parking lot.

Before the meet though, first things first: a pint.  Campfire stout @ Tap25.

Highwater Campfire Stout

Though we got there a few hours from the end, there were plenty of Datsun trucks, and every variety of 510’s possible: 2-dr, 4-dr, Bluebirds, Coupes, and even a RHD from Japan. Two other Z’s remained when we rolled in. Additionally, a Nissan 240sx and 70’s Toyota Corona rounded it out. OK, HOODS UP!

Gino’s Bluebird Coupe – if this doesn’t make you want one…


You can just hear the snarl on this one.


Super hilarious!


Dean’s 240z w/ Fairlady Z432 grill


Hoods up!


Triple carbs on a L28 engine w/ polished valve cover – love it.

There were a few Crown Royal bags around


A RHD Bluebird Coupe from Japan!


Someone testing out some gold Watanabe wheels. I like Wats, but the wheels he had on already looked great.


Powder blue wasn’t no slouch – just check out where all the color is…


Review: Motorsport Auto (MSA) Floor Mats

Swiftly got a package in from Motorsport Auto (MSA) – my new floor mats!

With summer ending and rain just around the corner, it’s always been on my mind to get some floor mats since putting in the carpet kit. Question was, which one?

Could go with a logo’d version, a $50 – $70 ebay one-size-fits-most specials, or even one those Weathertech versions you always see ads for in car magazines. Since the MSA floor mats weren’t that much more, I decided to go with simple. And coming from them, it’ll probably have the best fit. Check them out:

Pros:
1) Great solid looped carpet top
2) Very well stitched binding all the way around
3) Excellent fit, perfectly sized

While the above images show otherwise, the actual color matches quite well with their molded carpet kit. It’s nice when things match. The carpets feel solid and we’ll see how well they last through the rain.

Cons:
1) No heel pad on the driver’s side. So that heel pad that’s on the carpet kit.. covered…and i’m going to wear a hole in these.
2) No clear markings on which side was which. Yeah yeah, they’re only floor mats, but actually it took me a few trys to figure out which one was which. It’s odd there’s an undulating side that runs along the transmission tunnel which is straight… sorry, maybe i’m nit-picking.
3) Foam backing…can’t wait to see how these hold up after a year as it’s been my experience that this type of foam doesn’t last too long. Especially in such a high traffic, elements exposed area. It seems to work for non-slip against the carpet floor, but let’s see how long the foam backings last before making any more comments. I would have thought they used rubber backings.

Other than that, I’m currently satisfied with the floor mats, but the upcoming rain should prove it’s real worth.

What can you fit in your Z?

Dear DailyDatsun,
Can an 8-foot tripod projector screen fit in a Datsun 280z? – puzzled, Mr. Didn’t-quite-plan-ahead

Why, yes. Actually, you can fit TWO 8-foot projector screens.

Long story short, I needed those projector screens for a friend’s wedding, and this was the car to do it in. The take away from this? If ever I need 8ft long pieces of 2″x4″ wood, i know how to fit it in. After 15mins of puzzle solving, here’s how you do it:
1) Remove the lower dash valence on the passenger side. This is necessary to get long piece down in the back. An additional 3″ in front that goes up, means 3″ in back that goes down.
2) Remove the luggage bar. Gain an 1″ to work with.
3) Finally, remove the rear hatch inner panel. This was a brilliant move because now you can fit the full length w/ the few inches that goes into the frame of the hatch! haha

or just pick up a Datsun truck.


Cruise for a Cause – Willow Glen Car Show 2012

This past Sunday, I get a text from my brother: willow glen classic car show.

To which i responded: i’m there.

Willow Glen’s Cruise for a Cause car show has been about family, fun, a food drive and, of course, classic cars. And I was hearing it has been for over 50 years. This was truly a wonderful spectacle of classic cars ranging from oddities (like the purple Henry J) to the wild (a Jag E-type…w/ NOS). And believe it or not, it was the first car show the 280z has ever been to!

Despite the Z being a spectator, I gotta mention, it got plenty of looks / comments. No sooner than a minute after parking did a friendly guy named John come over w/ his girl and family. “Hey, you’ve gotta park next to me”, he smiles out. See, John rolled over to the car show in his red 240z. :]

I got there around 1, but for the few hours it took to roll around all the cars, we were the only two w/ Z cars. Actually, it might even be safe to say, the only two vintage Japanese cars from what i saw! Not a bad thing – we certainly stood out among the gorgeous Caddies, awesome Ford Duces and the rest of the American muscle that dominated the show. 280z’s first show, but certainly not it’s last! On to some pics!

Datsun 240z - Daily Datsun
John just picked up this fantastic lookin 240z after getting t-boned in his 280zx. Lucky he’s unharmed and even luckier he now drives a 240z.

Datsun 240z - Daily Datsun
While rockin’ the fender flares and mirrors (a look originally on the Japanese version), the American Racing rims keep it USDM grounded.

Datsun 240z - Daily Datsun

Datsun 240z - Daily Datsun

Definitely a head turning daily driven, daily datsun!

Datsun 240z - Daily Datsun

Datsun 240z - Daily Datsun

Additionally it sported Fairlady Z badges and a stacked Monza exhaust.

Cadillac - Daily Datsun

Amazing rims on this Caddie

Bel-Air - Daily Datsun

Ford - Daily Datsun

Check out the underside! Notice where the rotors are?

Chevy - Daily Datsun

Gorgeous Chevy truck interior – simply gorgeous

Camaro - Daily Datsun

Challenger R/T - Daily Datsun

My favorite car of the show – all business

Jeweled suicide knob - Daily Datsun

Check out that jeweled suicide knob! At least you can loose your thumb in style.

Barracuda - Daily Datsun

This Barracuda was jet black and easily one of the best cars there.

Millimeters off the ground - Daily Datsun

You could squeeze the flyer under here, that’s about it.

Corvette - Daily Datsun

I like interior shots, especially this Corvette’s.

Milestone: 88,000 miles

The Datsun 280z just hit 88,000 miles.

I was prepping for this at 79,900 which seemed only a  day ago, but somehow the next time I glanced down at the odometer… well, see for yourself. :]

Datsun 280z odometer

I was coming back from my brother’s on the other side of downtown, and there it stood, ready to click right over. Normally, it would make sense to note the 50k or the often celebrated 100k mile mark. But it’s something about the ’88’ that deserves a post [albeit it’s been nearly a month since the last!].

1) 88,000 IS a lot of miles for any car over 35 years old – horray! he’s made it w/o falling apart!

2) 8’s are lucky in the Chinese culture, so having two of them? yep, double it

3) 88..mph! do i need to explain? (Back to the Future) But even more so, it’s probably the fastest i’d ever taken the 280z… and probably the fastest it’ll ever go (for now!).

Here’s to another 88,000 more miles. Cheers!

280z Body Side Molding – Inserting the rubber molding

Finally found some time to start inserting the 280z body side molding!

Last time I riveted the 280z side molding channels onto the body. Now it’s all about inserting the rubber molding. I ordered the 5/8″ rubber molding from CustomAutoTrim.com, and it came to my door in decent time. The size, perfect. The installation? Prepare to take some time to insert the rubber molding. It took a good 30mins to put on just one rubber molding!

280z rubber molding - Daily Datsun

What you’ll need to install:
1) 5/8″ Vinyl / Rubber molding (see previous post about 280z body side molding for sizes)
2) Razor
3) Something thin / plastic like a spatula or a guitar pick
4) Tape measure

First, making sure it’s sized correctly! Last time, I ordered in the incorrect one… This one from CustomAutoTrim – perfect.

280z rubber molding fit - Daily Datsun

“Measure twice, cut once” – no no, measure three times. Whenever my mom was showing us how to cook, she’d always say, ‘you can always add, but you can’t take away’. The methodology is still true here, but reversed – you can always take away, but you can’t add. So measure w/ a little excess, you can always trim the molding later. And since I ordered 16ft of molding, I should have some excess…but only for trimming, not enough to complete another channel if i completely screw up.

The vinyl / rubber molding is a tight fit, and getting in that channel can take some time. Here i’m using a guitar pick to help feed the vinyl / rubber molding into the 280z body side molding channel.

280z rubber molding install- Daily Datsun


Another technique i found to work really well in getting the molding on was to bend the molding like the picture below. This actually allowed me to use the molding itself to help press fit it into the channel.

Inserting 280z rubber molding - Daily Datsun

At the end, i was only left w/ a 1/4″ excess.  A razor helped create a clean edge to butt up against the molding darts ends. Don’t mind the dirty car… after giving a nice wash and wax last sunday, i parked it in lot that ended up getting “cleaned”… meaning leaf blowers. ugh.

Trimming 280z rubber molding - Daily Datsun


280z side molding completed! It’s a super clean installation that takes some time / effort, but really completes the period look.

Finished 280z rubber molding - Daily Datsun

Z Owners of Nor Cal Annual Car Show – Brisbane Marina

Z Owners of Northern California (ZONC) are having their Annual Car Show at the Brisbane Marina on July 28th, 2012!

Wow, that first sentence just sums it all up. There’ll be plenty of 240Z, 260Z, 280Z, 350Z and 370Z cars you can shake a stick at, with a special section just for the older cars. Of course plenty of 510’s, Datsun Roadsters, G35 coupes and GT-Rs will also be there in full force. I won’t be entering in 280Z just yet (plus i don’t want to spend 5 hrs there), but I’ll certainly be there to check it out. Should be a blast to see what everyone’s done with their Z cars up close and personal.

For more information go to ZONC’s website: http://zonc.org/

For photos of last year’s event, check out Z-Car Garage’s page. Rob’s got a host of photos to gawk at.

Flyer for ZONC's Annual Car Show at the Brisbane Marina


Body Side Molding – Rubber Molding

My last post was about putting on the aluminum side molding channels with rivets, so now it’s time to pop in the rubber molding. However… it looks like the molding I purchased is NOT the right one.

Unfortunately, I ordered the incorrect rubber molding from BlackDragonAuto.com. I must have missed that the ‘Body Side Molding’ section was for a 280zx (1979-83), and just looked at the description for part# 97-650 “Adhesive Molding-Black, 16ft roll, cut to fit 280”. Oh well, we’ll try to get that returned if possible.

Adhesive molding from BlackDragonAuto catalog

So I did a little research this morning, and found the CORRECT rubber molding is actually hard to find (neither MSA nor BlackDragonAuto sell it). The proper rubber molding for the 280z can be found at CustomAutoTrim.com. 

[Update, 9/12/24: CustomAutoTrim no longer sells this type of rubber moulding (hence the broken link), but have updated their stock to a slightly different shaped (round) albeit more flexible vinyl insert] updated link


Rubber molding for the 280z from CustomAutoTrim.com

This is the correct version because it locks into the side molding “stick” or channel, rather than be affixed by adhesive. CustomAutoTrim also sells the ends of the side molding channels, however the “bullet” and “chisel” ends used on the 280z seem to be discontinued at the time of this post.

If you’re looking for side molding for your 280z you’ll need (at least) the following lengths:

front fender: 23″ per side
door: 32 3/8″ per side
rear fender: 37 1/2″ per side

Total:  185.75″ = 15.48 ft = 16ft (since they sell by the foot) @ $2.25/ft = $36

(Lengths serve as a guide only. Measure your Z for rubber moulding lengths)

[update, 9/12/24: prices haven’t changed that much! Price above was back in 2012. As of this writing it’s available in 7.5ft sections for $24 ($3.20/ft). Not bad!]

Side Molding / Door bumpers

Since re-assembling the 280z prior to the wedding, there’s still remains a few items to be added to the car – yesterday morning, I tackled the side molding (or if you’d like to call them, door bumpers).

These come in 6 trim pieces, each piece having 4 parts: two ends (one pointed, one squared), the side molding rail, and the rubber molding itself. They’re held on to the 280z’s body panels by simple rivets; unfortunately, putting them on initially wasn’t as simple as I had thought!

The information out there on rivet specs for attaching the side molding is scarce. But hopefully with this post, it’ll be a lot easier for someone else to tackle the easy-once-you-have-the-right-info task. Let’s take a look:

Here’s what I used:
Arrow RL100 rivet gun – pick up at Home Depot or Amazon
1/8″ – 1/2″ (3mm-12mm) rivets – you can get an assortment of rivets on Amazon cheap, or you can make life easier and just purchase the rivet tool and rivets in one kit!
A little nut or spark-plug screw head – this will be used to help distance the rivet tool from the rivet head
Painter’s tape – if you don’t have a spare hand to help you, Amazon
#0 and #0000 Steel wool – to clean up the aluminum molding, Amazon

Since the side molding is all metal (save the rubber part), the chromed steel ends and aluminum rail can easily cleaned up with #0 and #0000 steel wool. The ends can be pulled off for further cleaning (there can be lots of dirt underneath). Additionally, Mother’s Aluminum and Mag polish can be used to restore them to a clean shine.

Cleaning the side moulding

Steel wool does the job very well!

Cleaning the side moulding

If you don’t have a spare hand, painter’s tape works well holding up the side molding as you put in the rivets. That way it doesn’t swing on you, and you don’t scratch up that Z car’s paint!

Holding the side moulding with tape

Through some trial / error, I figured out that you need to use the right rivets in order to have a tight hold:
Type – Use the aluminum ones. Since the steel ones are NOT stainless, nor galvanized, they’ll eventually rust on you. Use the aluminum ones.
Ends –  Diameter: 1/8″ (3mm), Grip: 1/4″ (6mm) or 1/2″ (12mm)
Middles – Diamter 1/8″ (3mm),  Grip: 1/8″ (3mm) or 1/4″ (6mm)

Note that for the Ends because they’re thicker, you have to use either the 1/4″ (6mm) or the 1/2″ (12mm). Because the middle portions are thinner, you can use 1/8″ (3mm) or 1/4″ (6mm).

Because the rivet tool head is too large to fit into the channel of the Z’s side molding rail, you need to use a spacer (something to extend the rivet tool head without losing the grip on the rivet stem). I used the head off a spark plug, and it worked great. You can probably also use a small nut. Find something that has a hole large enough to fit the stem, but not too large that the rivet head pulls through. Be careful not to use a spacer too tall, otherwise the tool won’t be able to grab the rivet stem. This trick will allow you to get that rivet head flush against the side molding channel, and set it snug ‘n tight!

Diagram of the side moulding rivet setup

Side molding up on the 280z.

280z side moulding is on

280z side moulding is on

Tomorrow, i’ll cut the side molding rubber to length and pop them in.