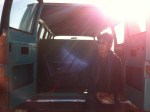
Yesterday Kris and I spent the whole day mulling over the 280z!
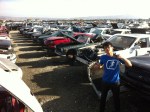
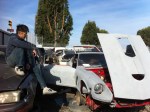
First, it was off the the Pick n’ Pull in Newark. They have a 260z there, which at the time was unknown as to what condition it was in, or what parts were left… well, now we know – PICKED OVER! Some nice parts still left (temp / fuel gauges, tach, blue 240z drivers seat, a few interior panels, tail lights / bezels). I picked up a center console air-controls bezel, and two seat belts… for which the seat belts were incomplete.. so.. gotta figure that one out.

Pick n’ Pull is great – i met two other Z enthusiasts who’s whole family had Z cars (dad, son, daughter, uncle); and you get to spot a whole history of cars (datsun trucks, MGs, Ford Maverick). But the prices.. ugh.. why do they have to be so pricey, they’re used!
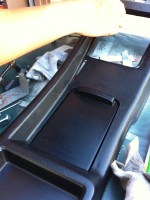
Kris and I got back, worked on the center console I got from whale-tail Andrew. The replacement console also had some micro cracking in the plastic in the same area as the original (must be a common failure point). Kris fixed it up w/ some epoxy and used fabric as a sub-straight for increased strength.


Ah shoot – exposing my unsightly garage…
Sanded / spray painted the ashtray – looked so nice the lady in the paper was smiling at it

Cleaned the switches – the original ones (right) were just as caked w/ 35 year old grim as the ones from the replacement console (left). Toothbrush and pointy cotton swabs (good thinking Kris!) did the trick for all the crevices.

The whole console looked like it hasn’t been cleaned… that’s where Armor-All came in – fantastic.

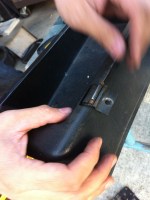
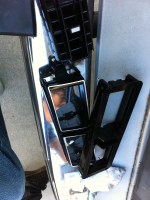
The air control bezel is very easy to take off – 4 screws, 3 wiring connectors. 2 screws hold in the air vents, and everything else is easy to disassemble.
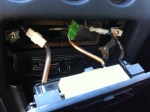
A few things I didn’t notice before – the replacement console has a slot for the choke lever… and the rear defroster / seat belt light panel was cut out! So I made my own out of a computer case side i had laying around.

Spaces for the Rear Defogger / Fasten Seat Belt lights are 1.125″ x 2.75″, while the radio i measured out for 2″ x 7″.

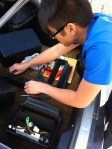
Kris installing the cleaned up console