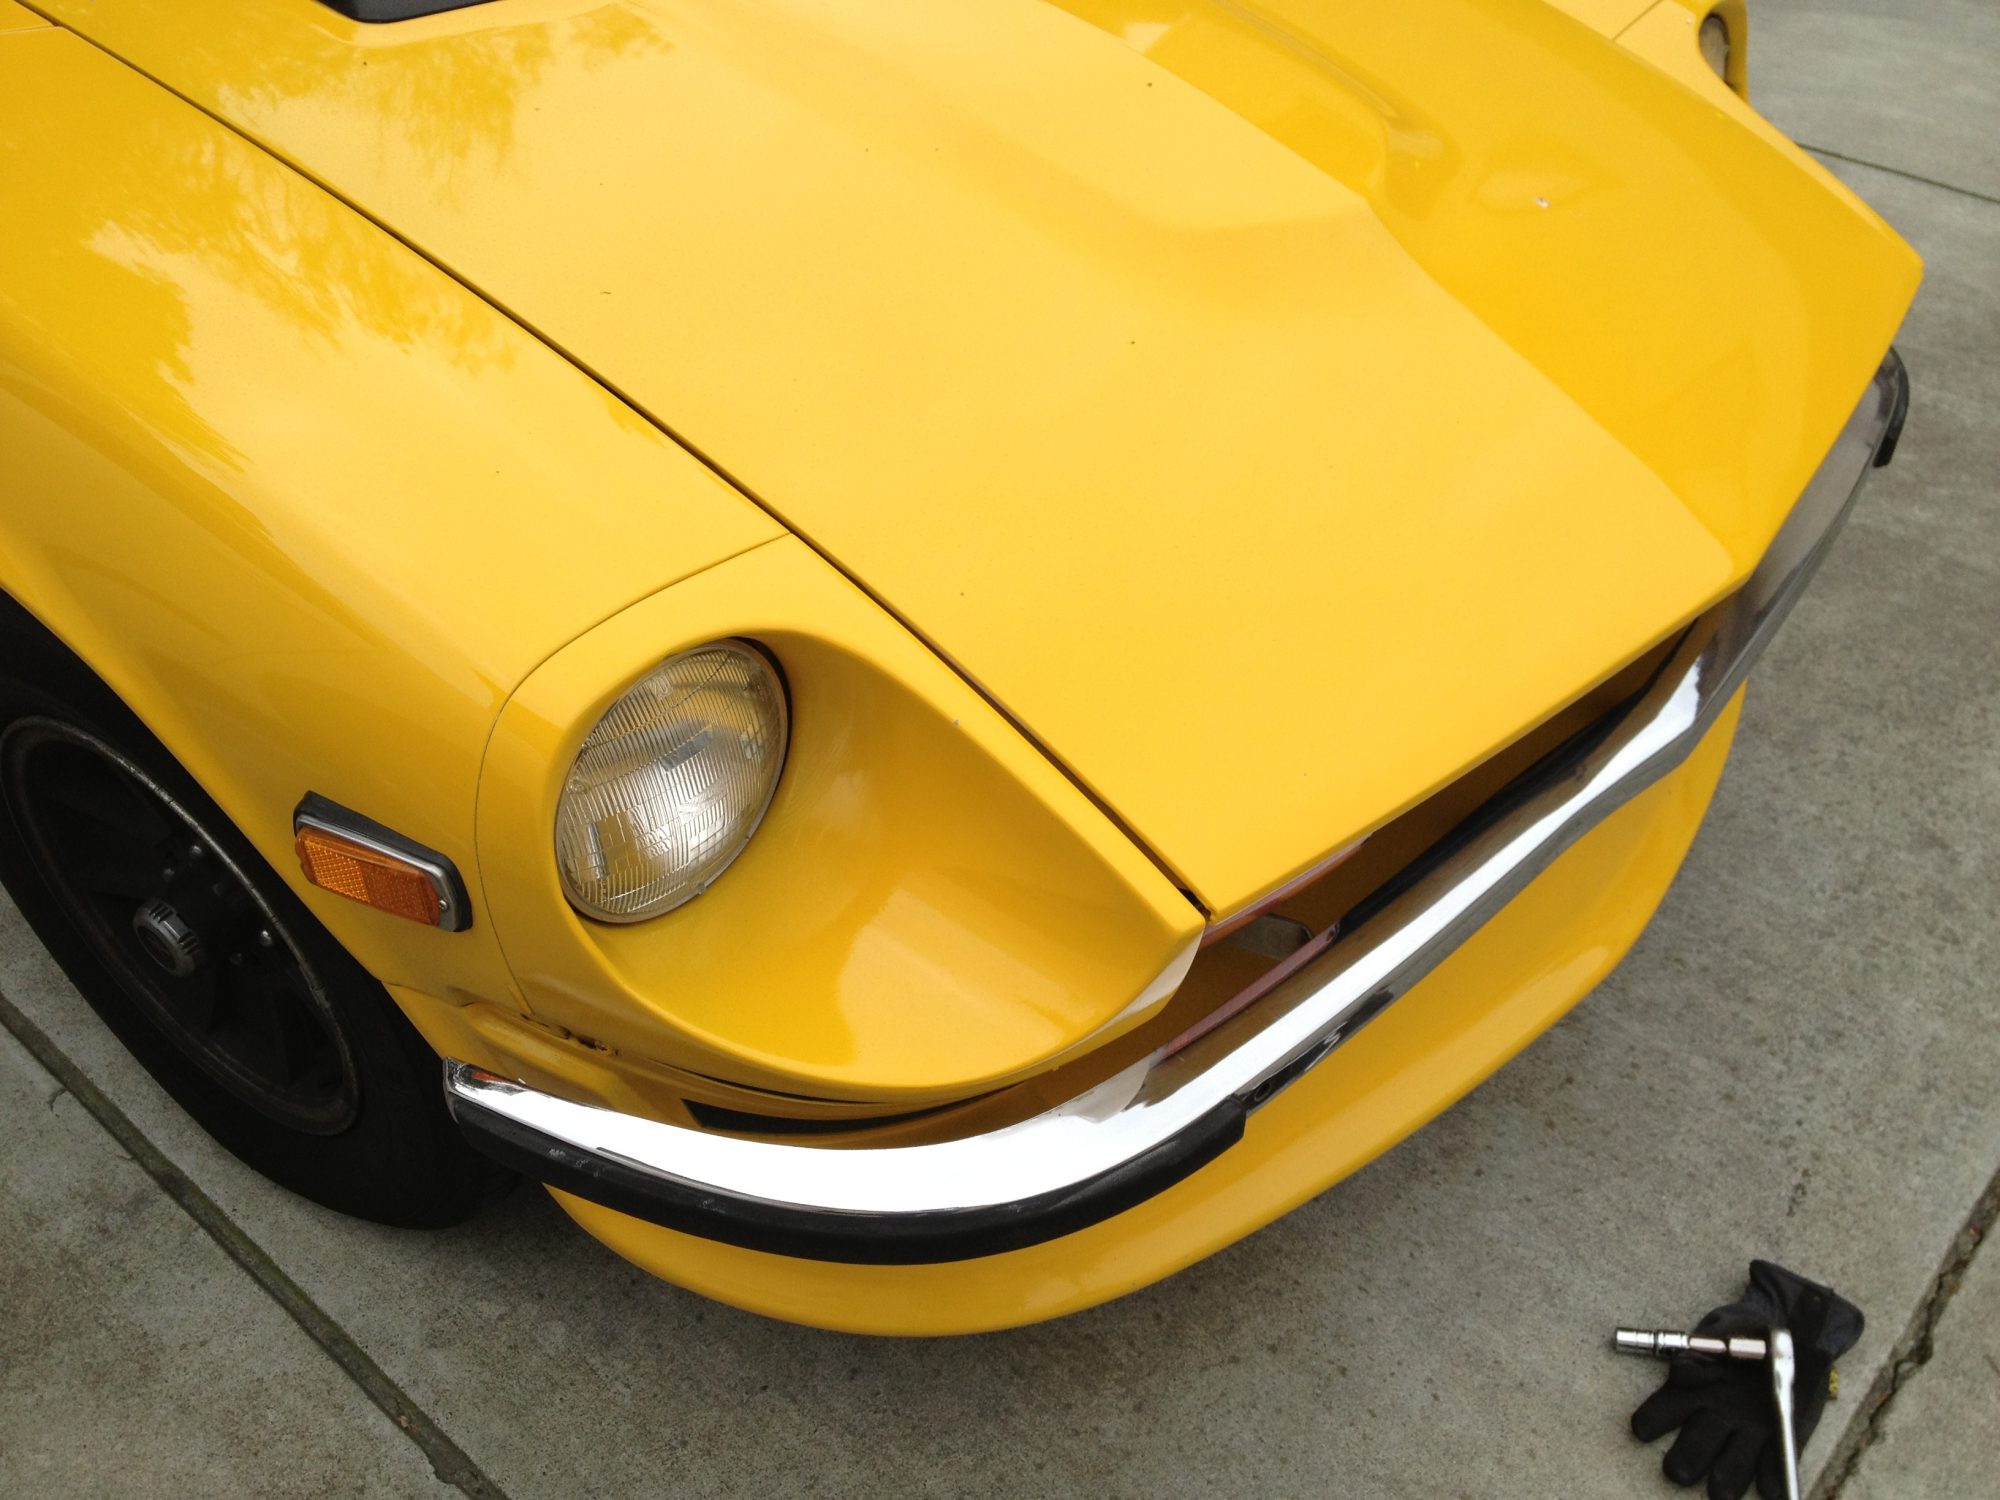
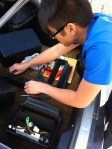
For a little while, the right turn signal was pretty intermittent. Left worked dandy, but the right… Every time I used the right turn signal, it would blink on and off reeeall slow. Additionally, when the either the parking or headlights were on, the turn signal would just stay on.
Symptom:
No lights on – right signal blink on / off real slow (function correct, speed incorrect)
Parking lights on – right signal blinks on / off real slow, sometimes not at all (function / speed incorrect)
All lights on – right signal blinks on /off real slow (function / speed incorrect)
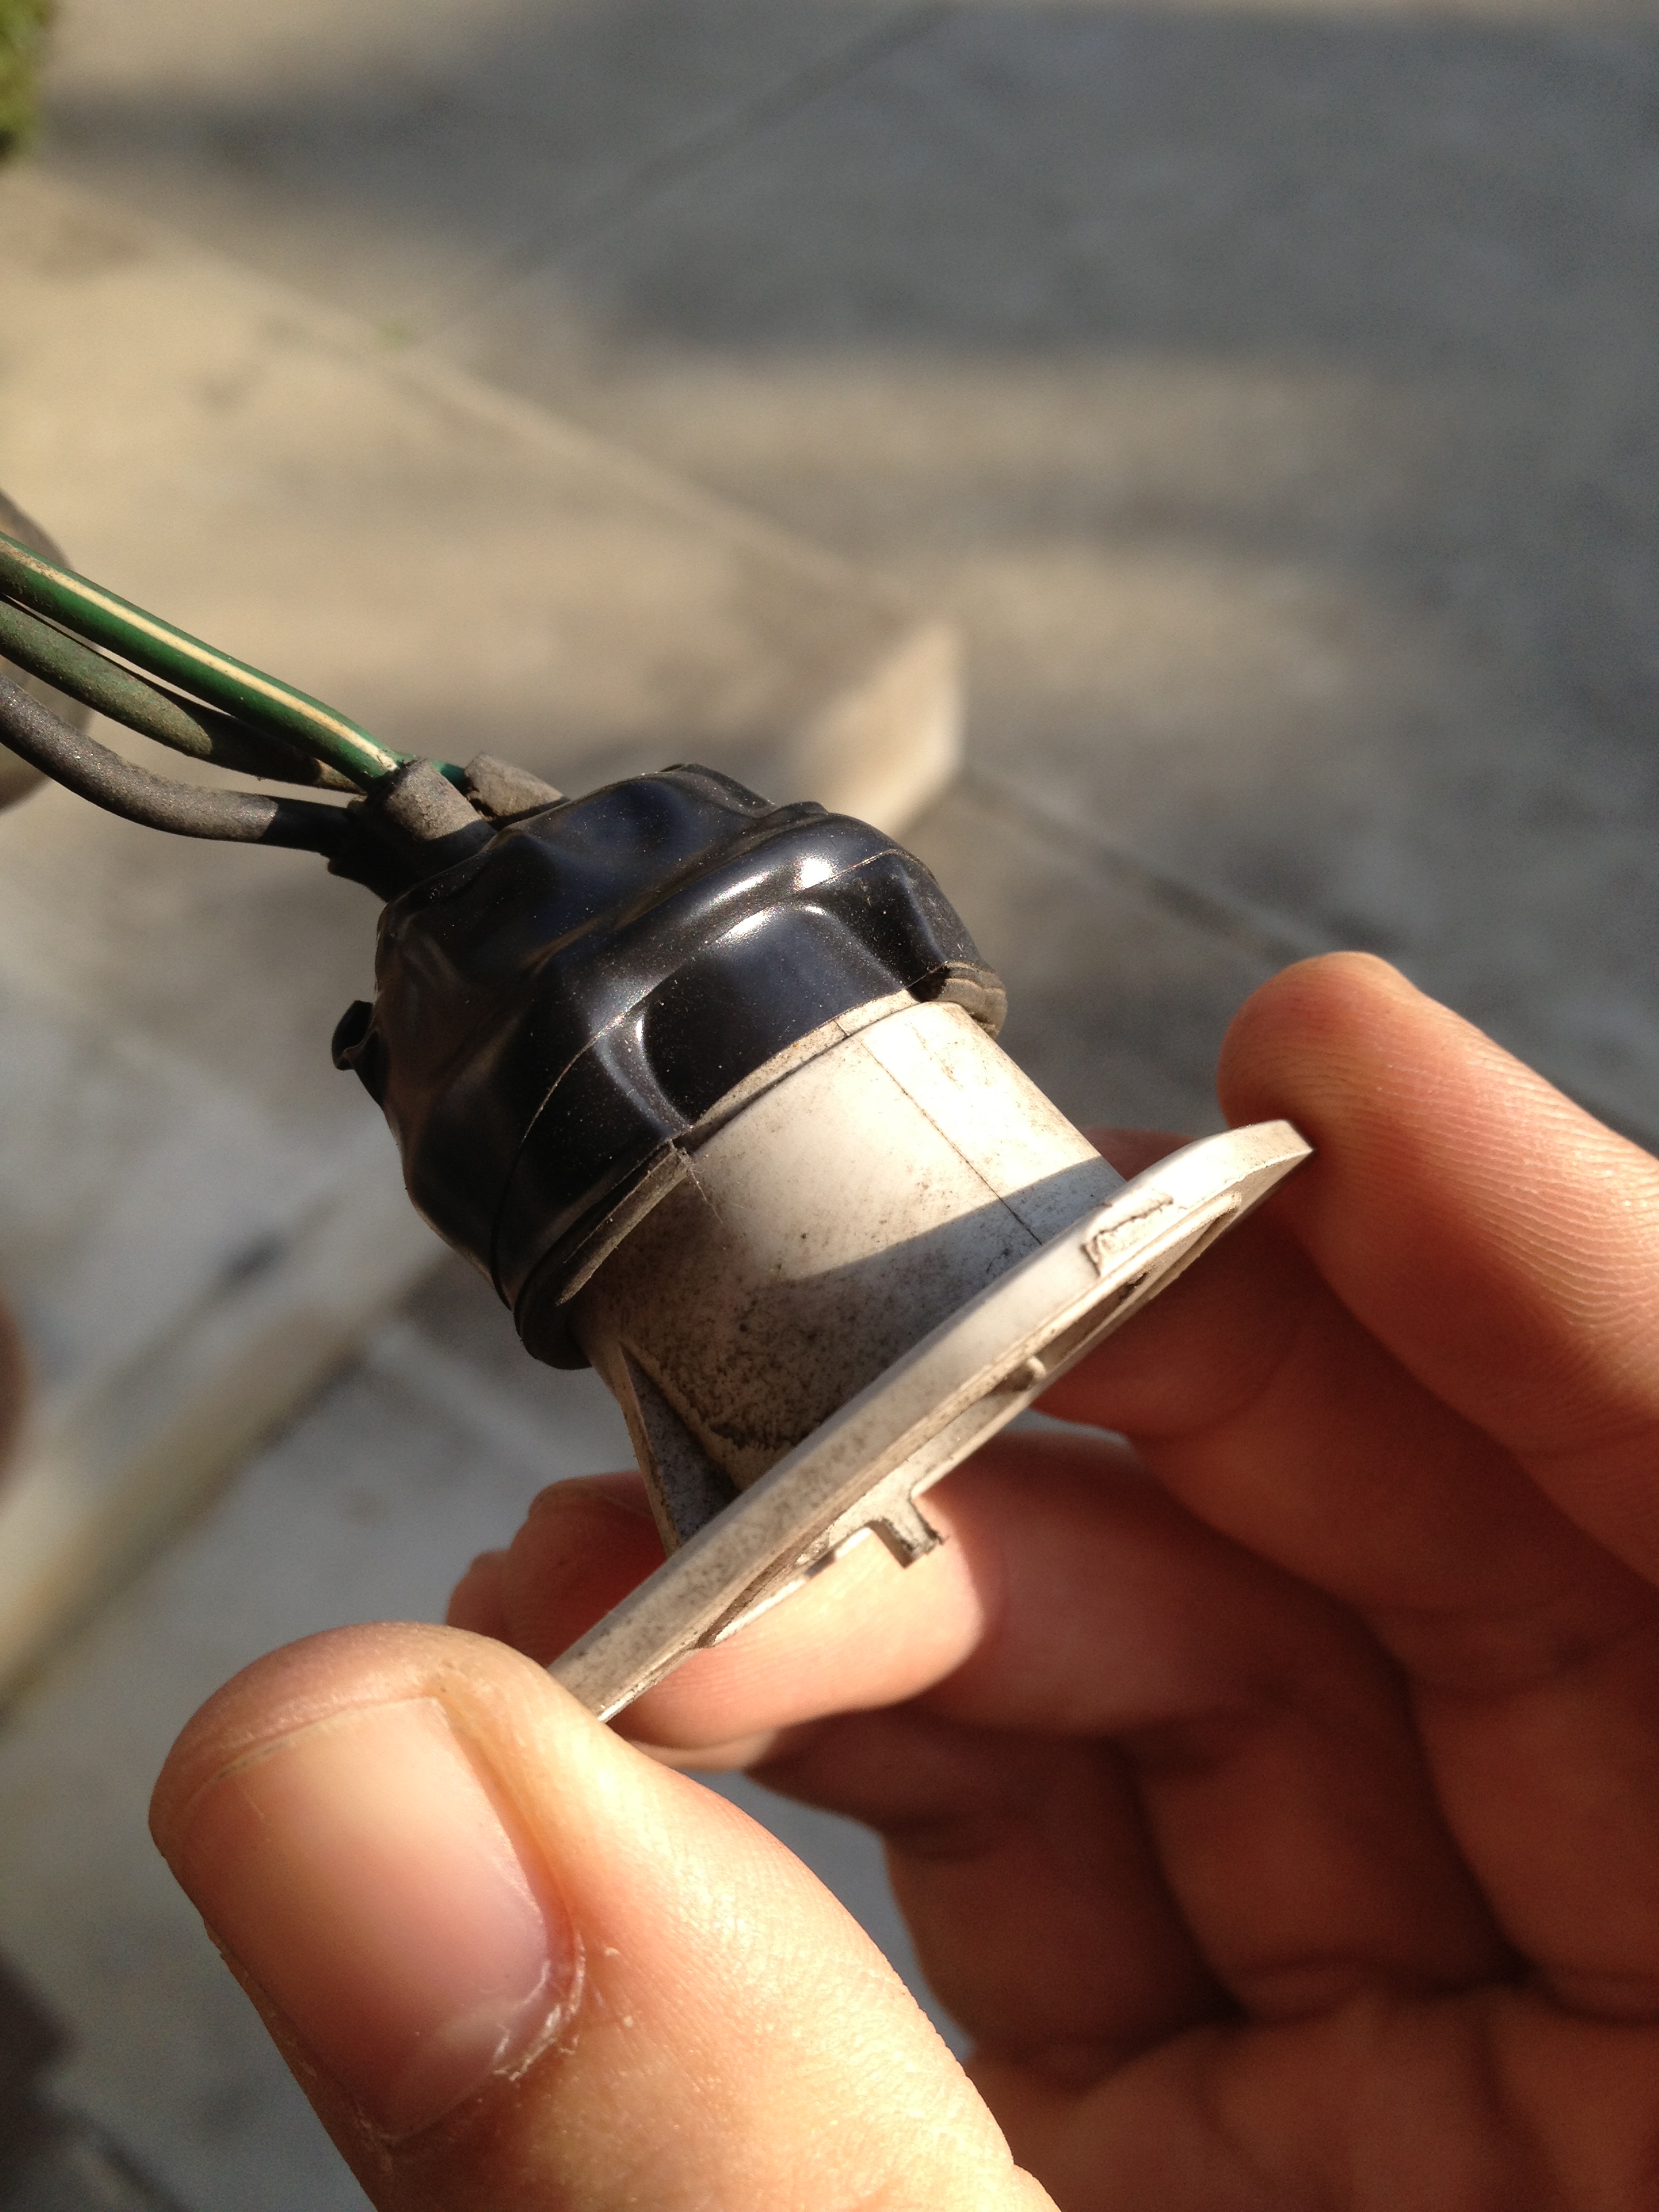
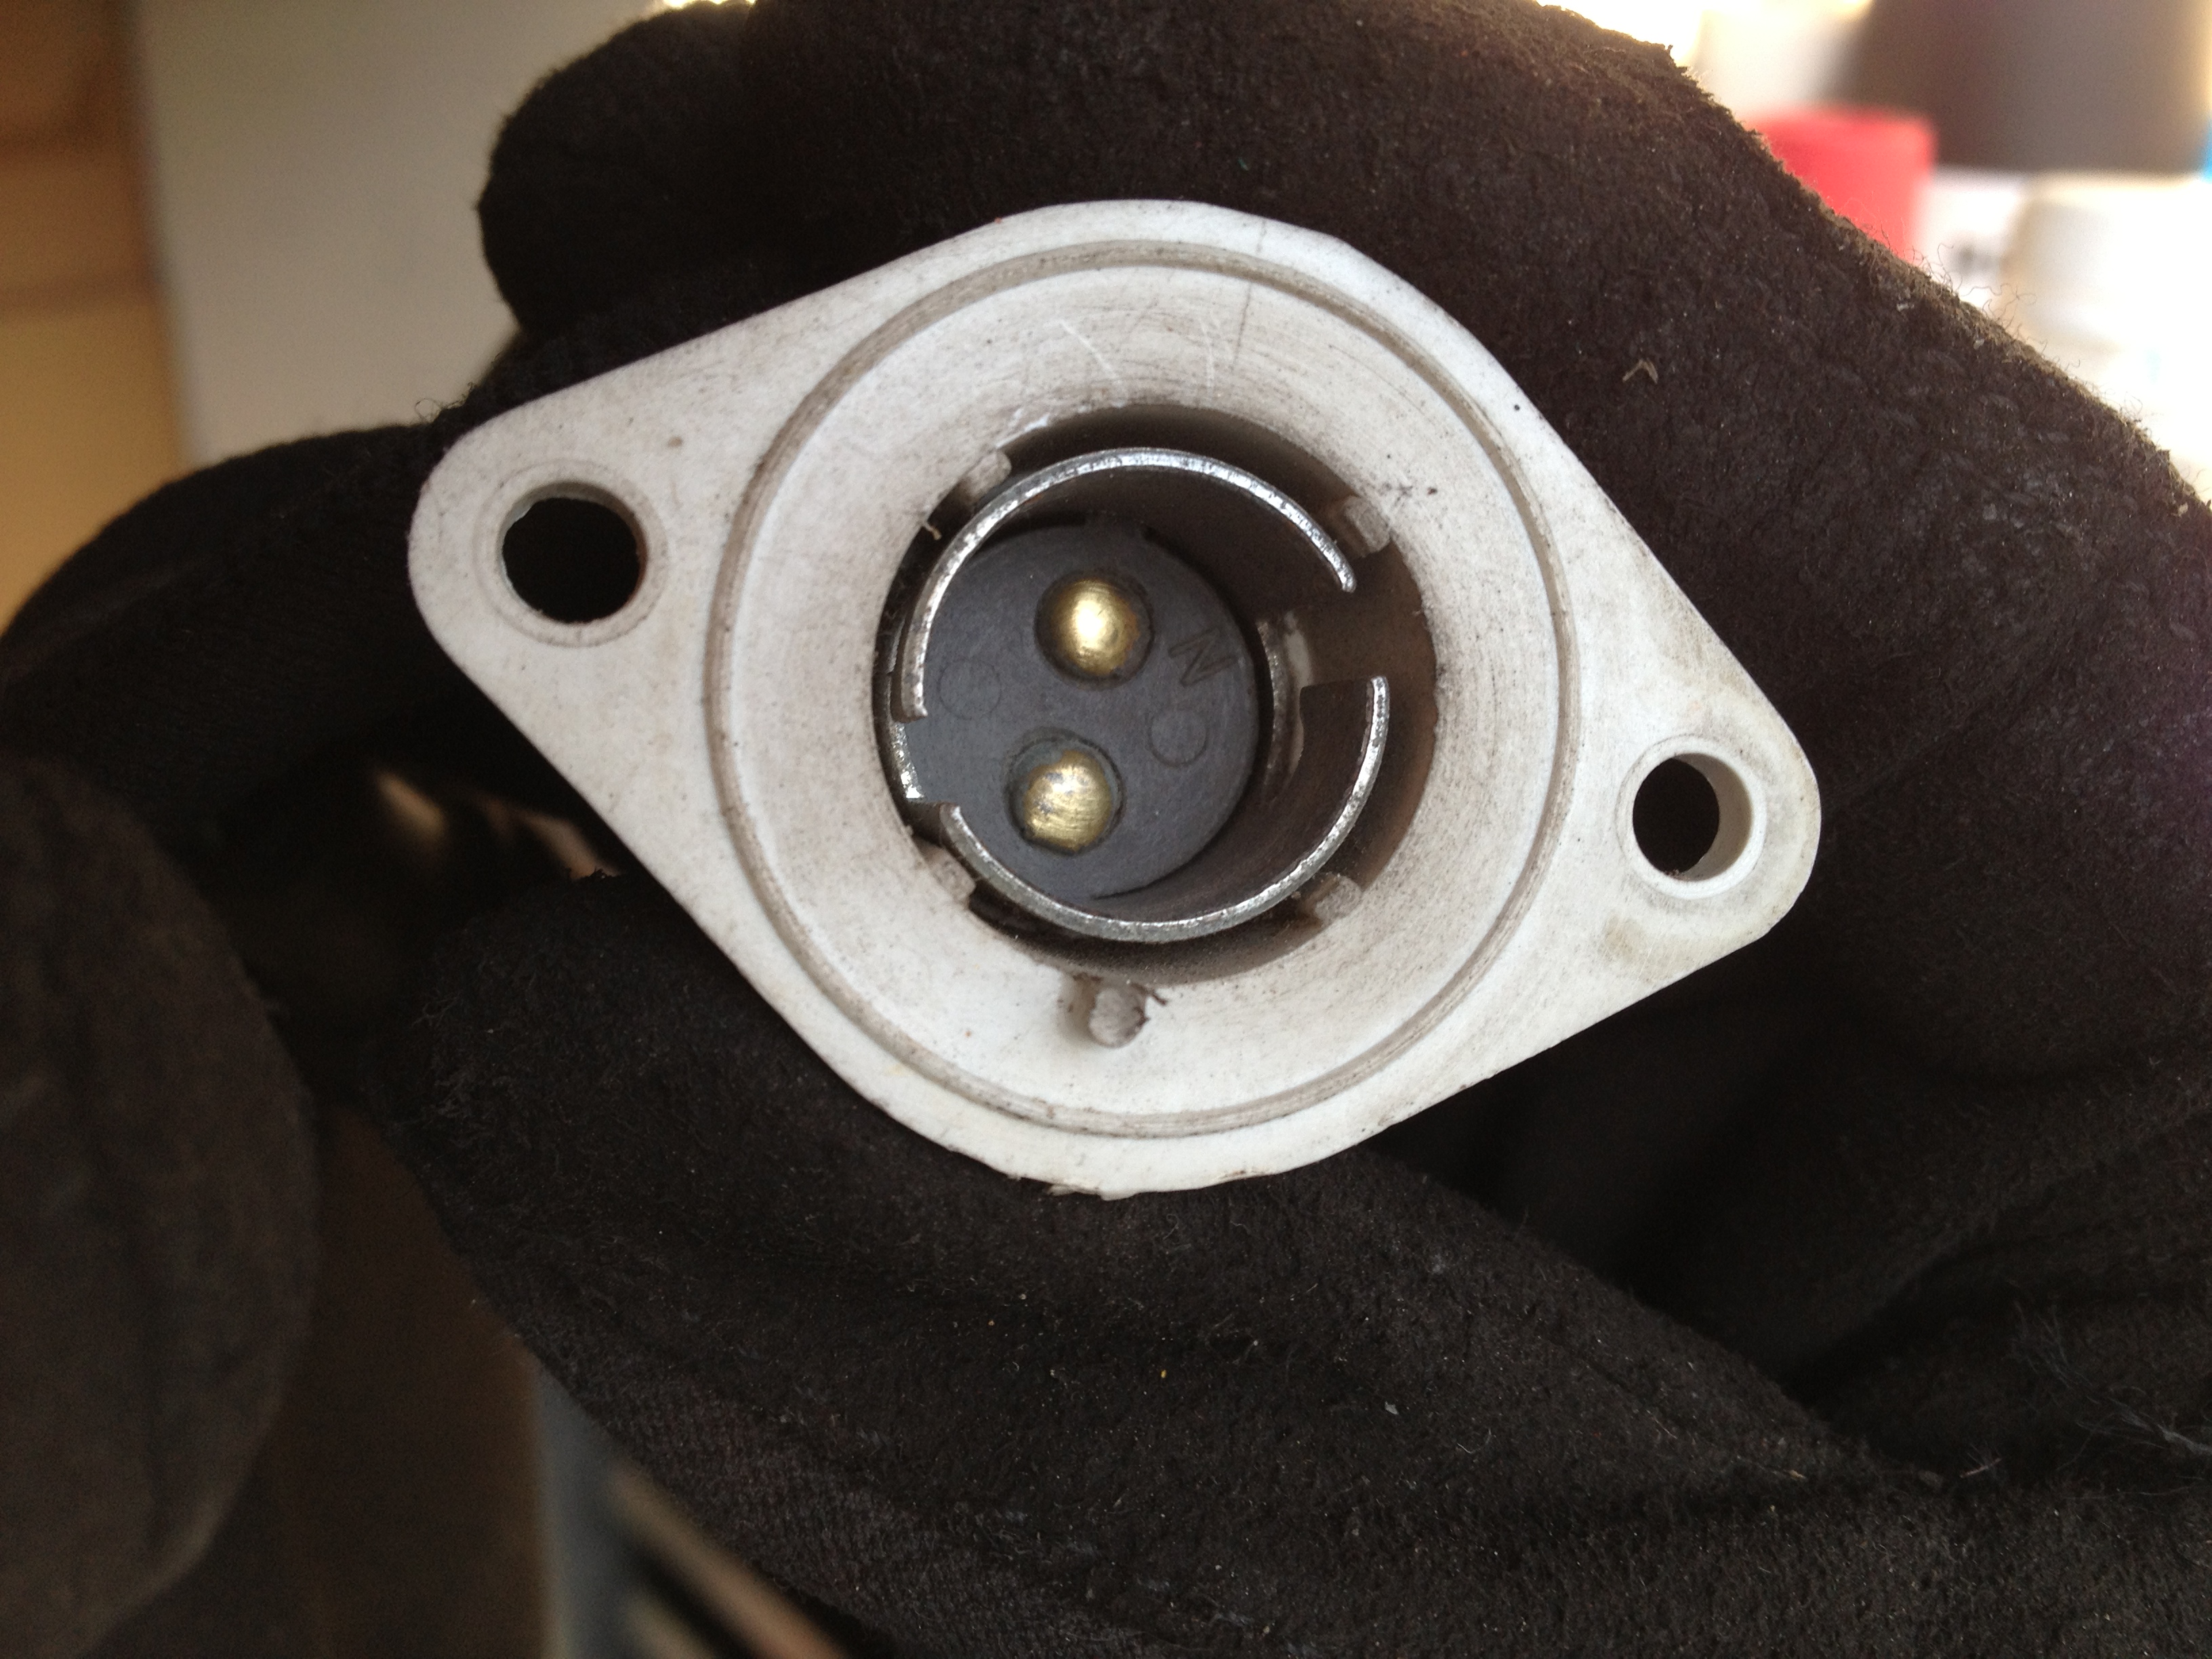
Of course, the first step would be to replace the bulb, but that didn’t do anything. Upon replacing, the socket look fairly corroded. But when jiggling the socket wire.. there’s the problem!
Yah! Now i can tell everyone i’m turning Right.
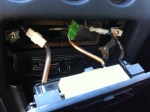
Before / After wiring to housing:
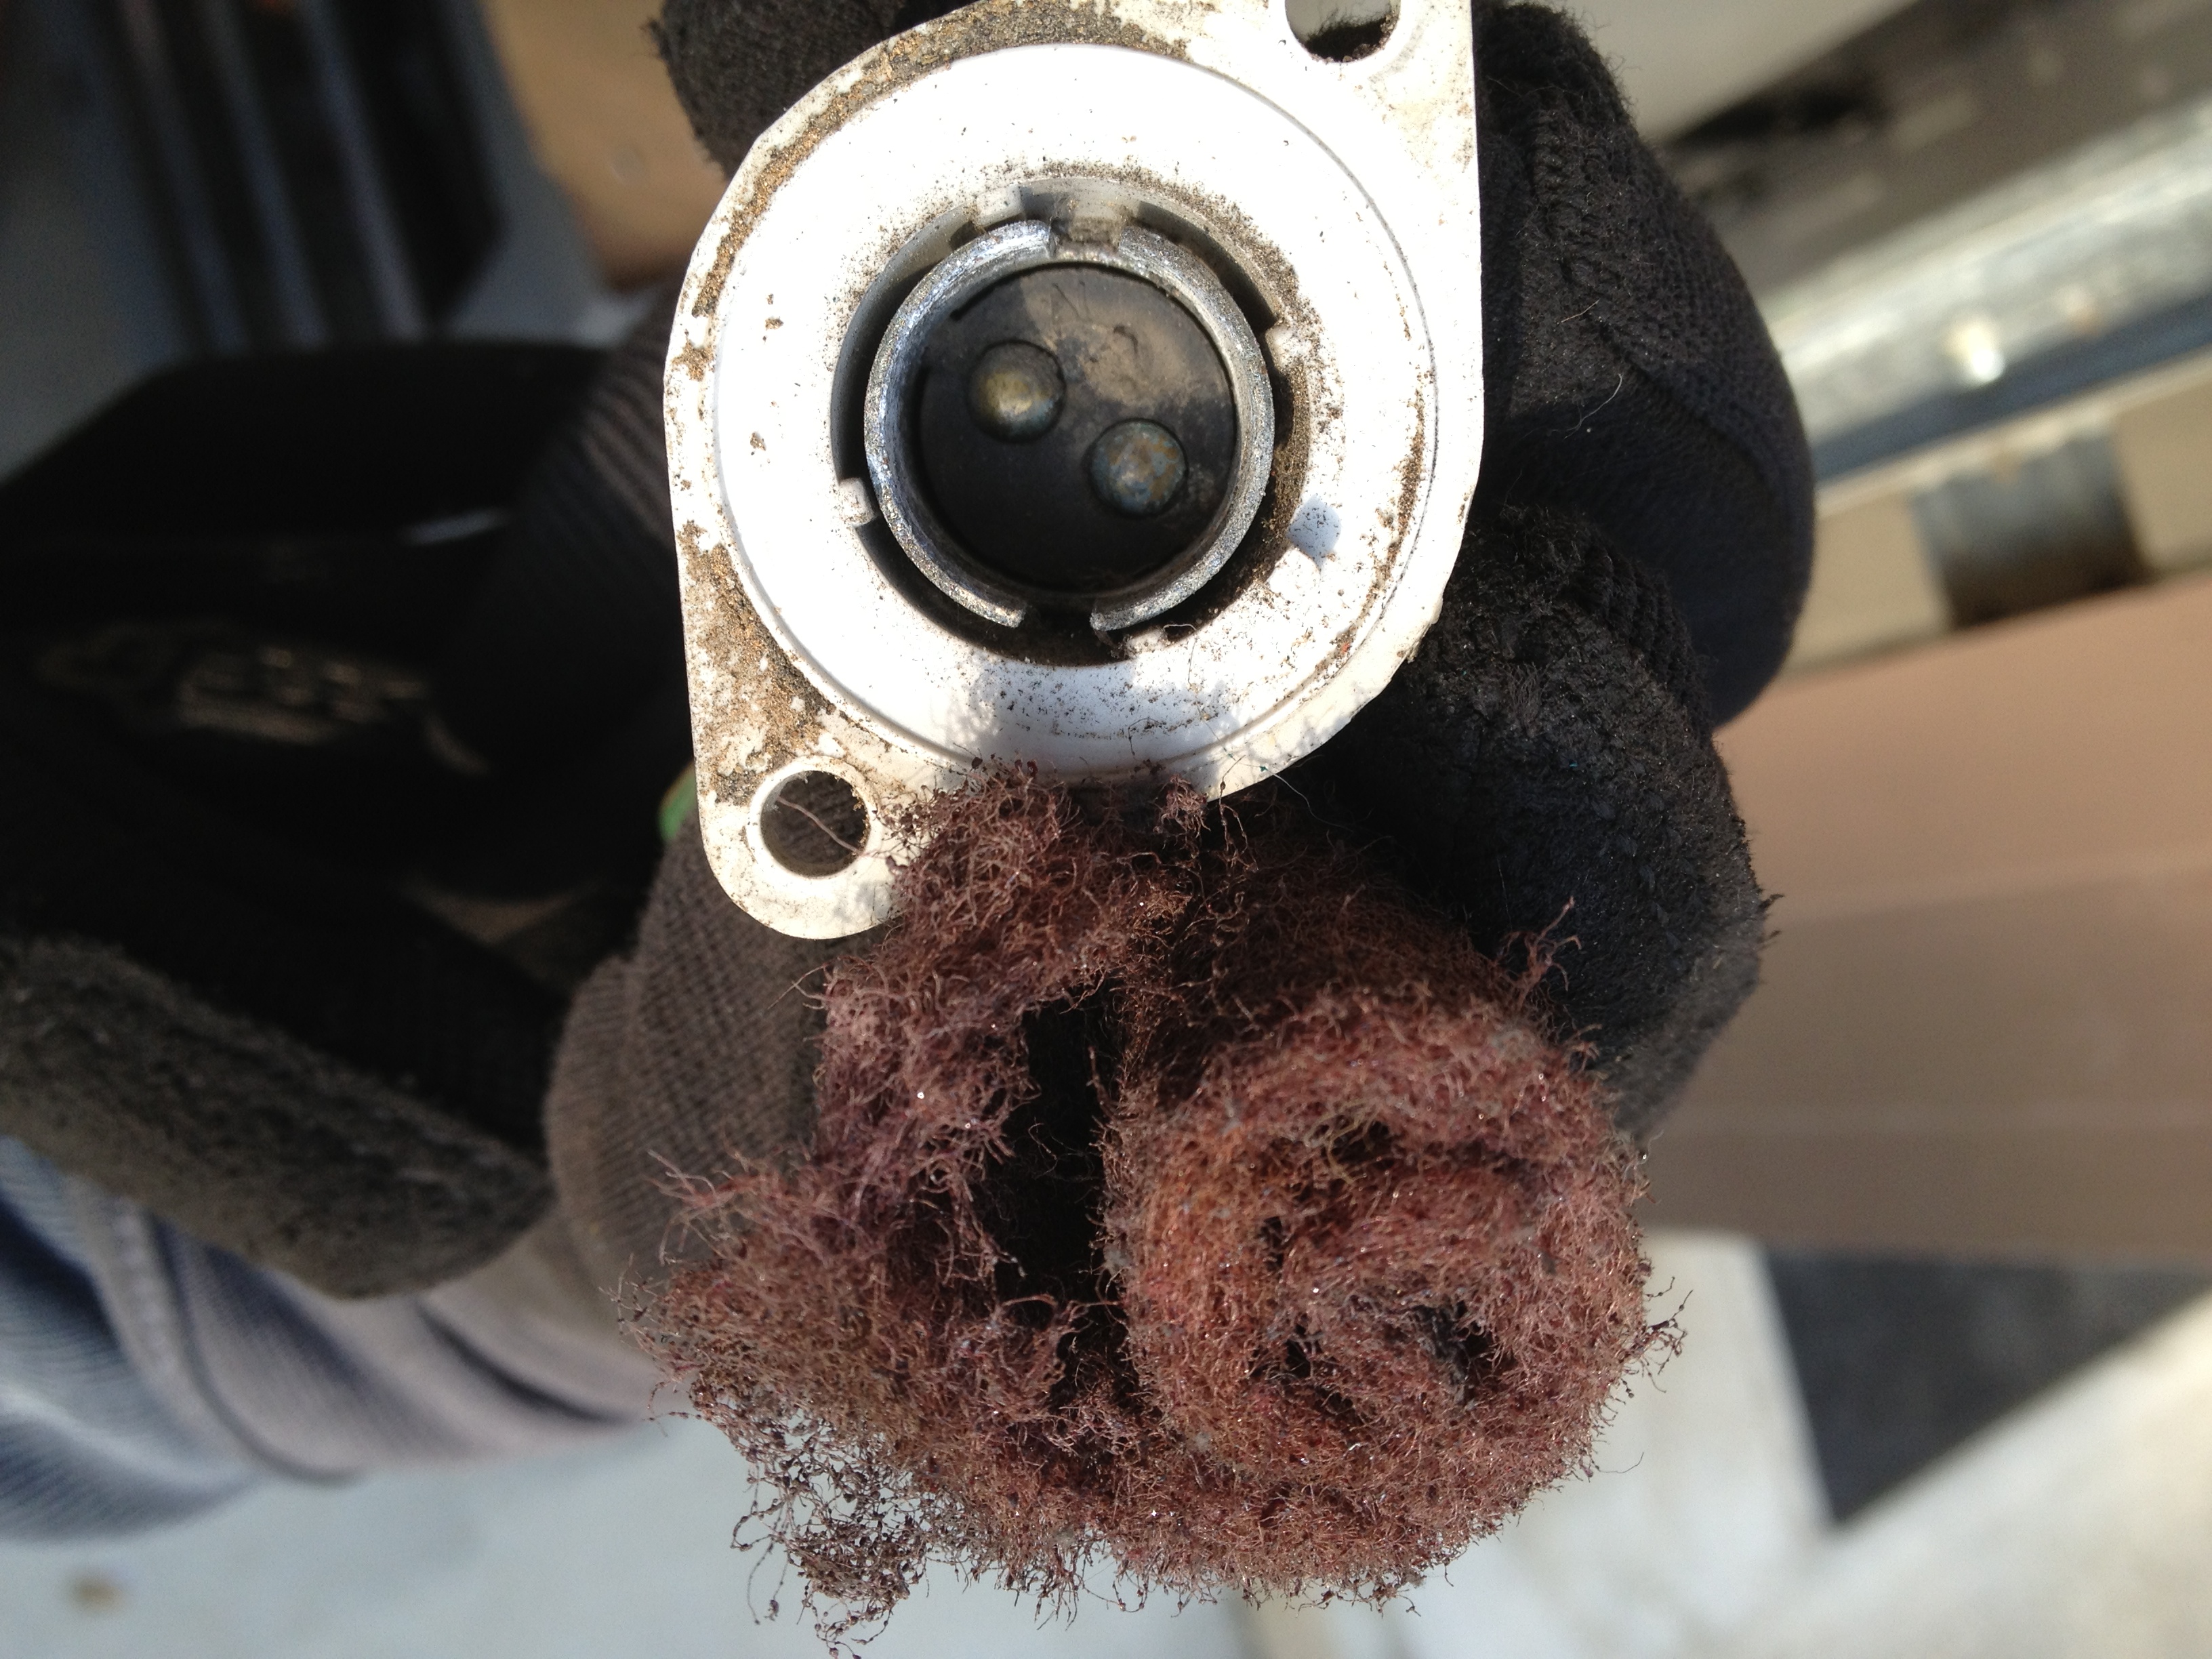
Before / after cleaning the socket. A rolled up a scour pad works like magic.
Since re-assembling the 280z prior to the wedding, there’s still remains a few items to be added to the car – yesterday morning, I tackled the side molding (or if you’d like to call them, door bumpers).
These come in 6 trim pieces, each piece having 4 parts: two ends (one pointed, one squared), the side molding rail, and the rubber molding itself. They’re held on to the 280z’s body panels by simple rivets; unfortunately, putting them on initially wasn’t as simple as I had thought!
The information out there on rivet specs for attaching the side molding is scarce. But hopefully with this post, it’ll be a lot easier for someone else to tackle the easy-once-you-have-the-right-info task. Let’s take a look:
Here’s what I used: Arrow RL100 rivet gun – pick up at Home Depot or Amazon 1/8″ – 1/2″ (3mm-12mm) rivets – you can get an assortment of rivets on Amazon cheap, or you can make life easier and just purchase the rivet tool and rivets in one kit! A little nut or spark-plug screw head – this will be used to help distance the rivet tool from the rivet head Painter’s tape – if you don’t have a spare hand to help you, Amazon #0 and #0000 Steel wool – to clean up the aluminum molding, Amazon
Since the side molding is all metal (save the rubber part), the chromed steel ends and aluminum rail can easily cleaned up with #0 and #0000 steel wool. The ends can be pulled off for further cleaning (there can be lots of dirt underneath). Additionally, Mother’s Aluminum and Mag polish can be used to restore them to a clean shine.
Steel wool does the job very well!
If you don’t have a spare hand, painter’s tape works well holding up the side molding as you put in the rivets. That way it doesn’t swing on you, and you don’t scratch up that Z car’s paint!
Through some trial / error, I figured out that you need to use the right rivets in order to have a tight hold:
Type – Use the aluminum ones. Since the steel ones are NOT stainless, nor galvanized, they’ll eventually rust on you. Use the aluminum ones.
Ends – Diameter: 1/8″ (3mm), Grip: 1/4″ (6mm) or 1/2″ (12mm)
Middles – Diamter 1/8″ (3mm), Grip: 1/8″ (3mm) or 1/4″ (6mm)
Note that for the Ends because they’re thicker, you have to use either the 1/4″ (6mm) or the 1/2″ (12mm). Because the middle portions are thinner, you can use 1/8″ (3mm) or 1/4″ (6mm).
Because the rivet tool head is too large to fit into the channel of the Z’s side molding rail, you need to use a spacer (something to extend the rivet tool head without losing the grip on the rivet stem). I used the head off a spark plug, and it worked great. You can probably also use a small nut. Find something that has a hole large enough to fit the stem, but not too large that the rivet head pulls through. Be careful not to use a spacer too tall, otherwise the tool won’t be able to grab the rivet stem. This trick will allow you to get that rivet head flush against the side molding channel, and set it snug ‘n tight!
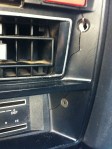
Side molding up on the 280z.
Tomorrow, i’ll cut the side molding rubber to length and pop them in.
Yesterday Kris and I spent the whole day mulling over the 280z!
First, it was off the the Pick n’ Pull in Newark. They have a 260z there, which at the time was unknown as to what condition it was in, or what parts were left… well, now we know – PICKED OVER! Some nice parts still left (temp / fuel gauges, tach, blue 240z drivers seat, a few interior panels, tail lights / bezels). I picked up a center console air-controls bezel, and two seat belts… for which the seat belts were incomplete.. so.. gotta figure that one out.
Pick n’ Pull is great – i met two other Z enthusiasts who’s whole family had Z cars (dad, son, daughter, uncle); and you get to spot a whole history of cars (datsun trucks, MGs, Ford Maverick). But the prices.. ugh.. why do they have to be so pricey, they’re used!
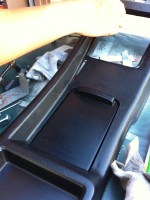
Kris and I got back, worked on the center console I got from whale-tail Andrew. The replacement console also had some micro cracking in the plastic in the same area as the original (must be a common failure point). Kris fixed it up w/ some epoxy and used fabric as a sub-straight for increased strength.
Ah shoot – exposing my unsightly garage…
Sanded / spray painted the ashtray – looked so nice the lady in the paper was smiling at it
Cleaned the switches – the original ones (right) were just as caked w/ 35 year old grim as the ones from the replacement console (left). Toothbrush and pointy cotton swabs (good thinking Kris!) did the trick for all the crevices.
The whole console looked like it hasn’t been cleaned… that’s where Armor-All came in – fantastic.
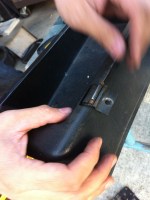
The air control bezel is very easy to take off – 4 screws, 3 wiring connectors. 2 screws hold in the air vents, and everything else is easy to disassemble.
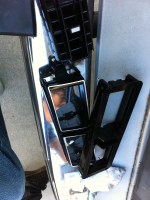
A few things I didn’t notice before – the replacement console has a slot for the choke lever… and the rear defroster / seat belt light panel was cut out! So I made my own out of a computer case side i had laying around.
Spaces for the Rear Defogger / Fasten Seat Belt lights are 1.125″ x 2.75″, while the radio i measured out for 2″ x 7″.