Wear from the car cover

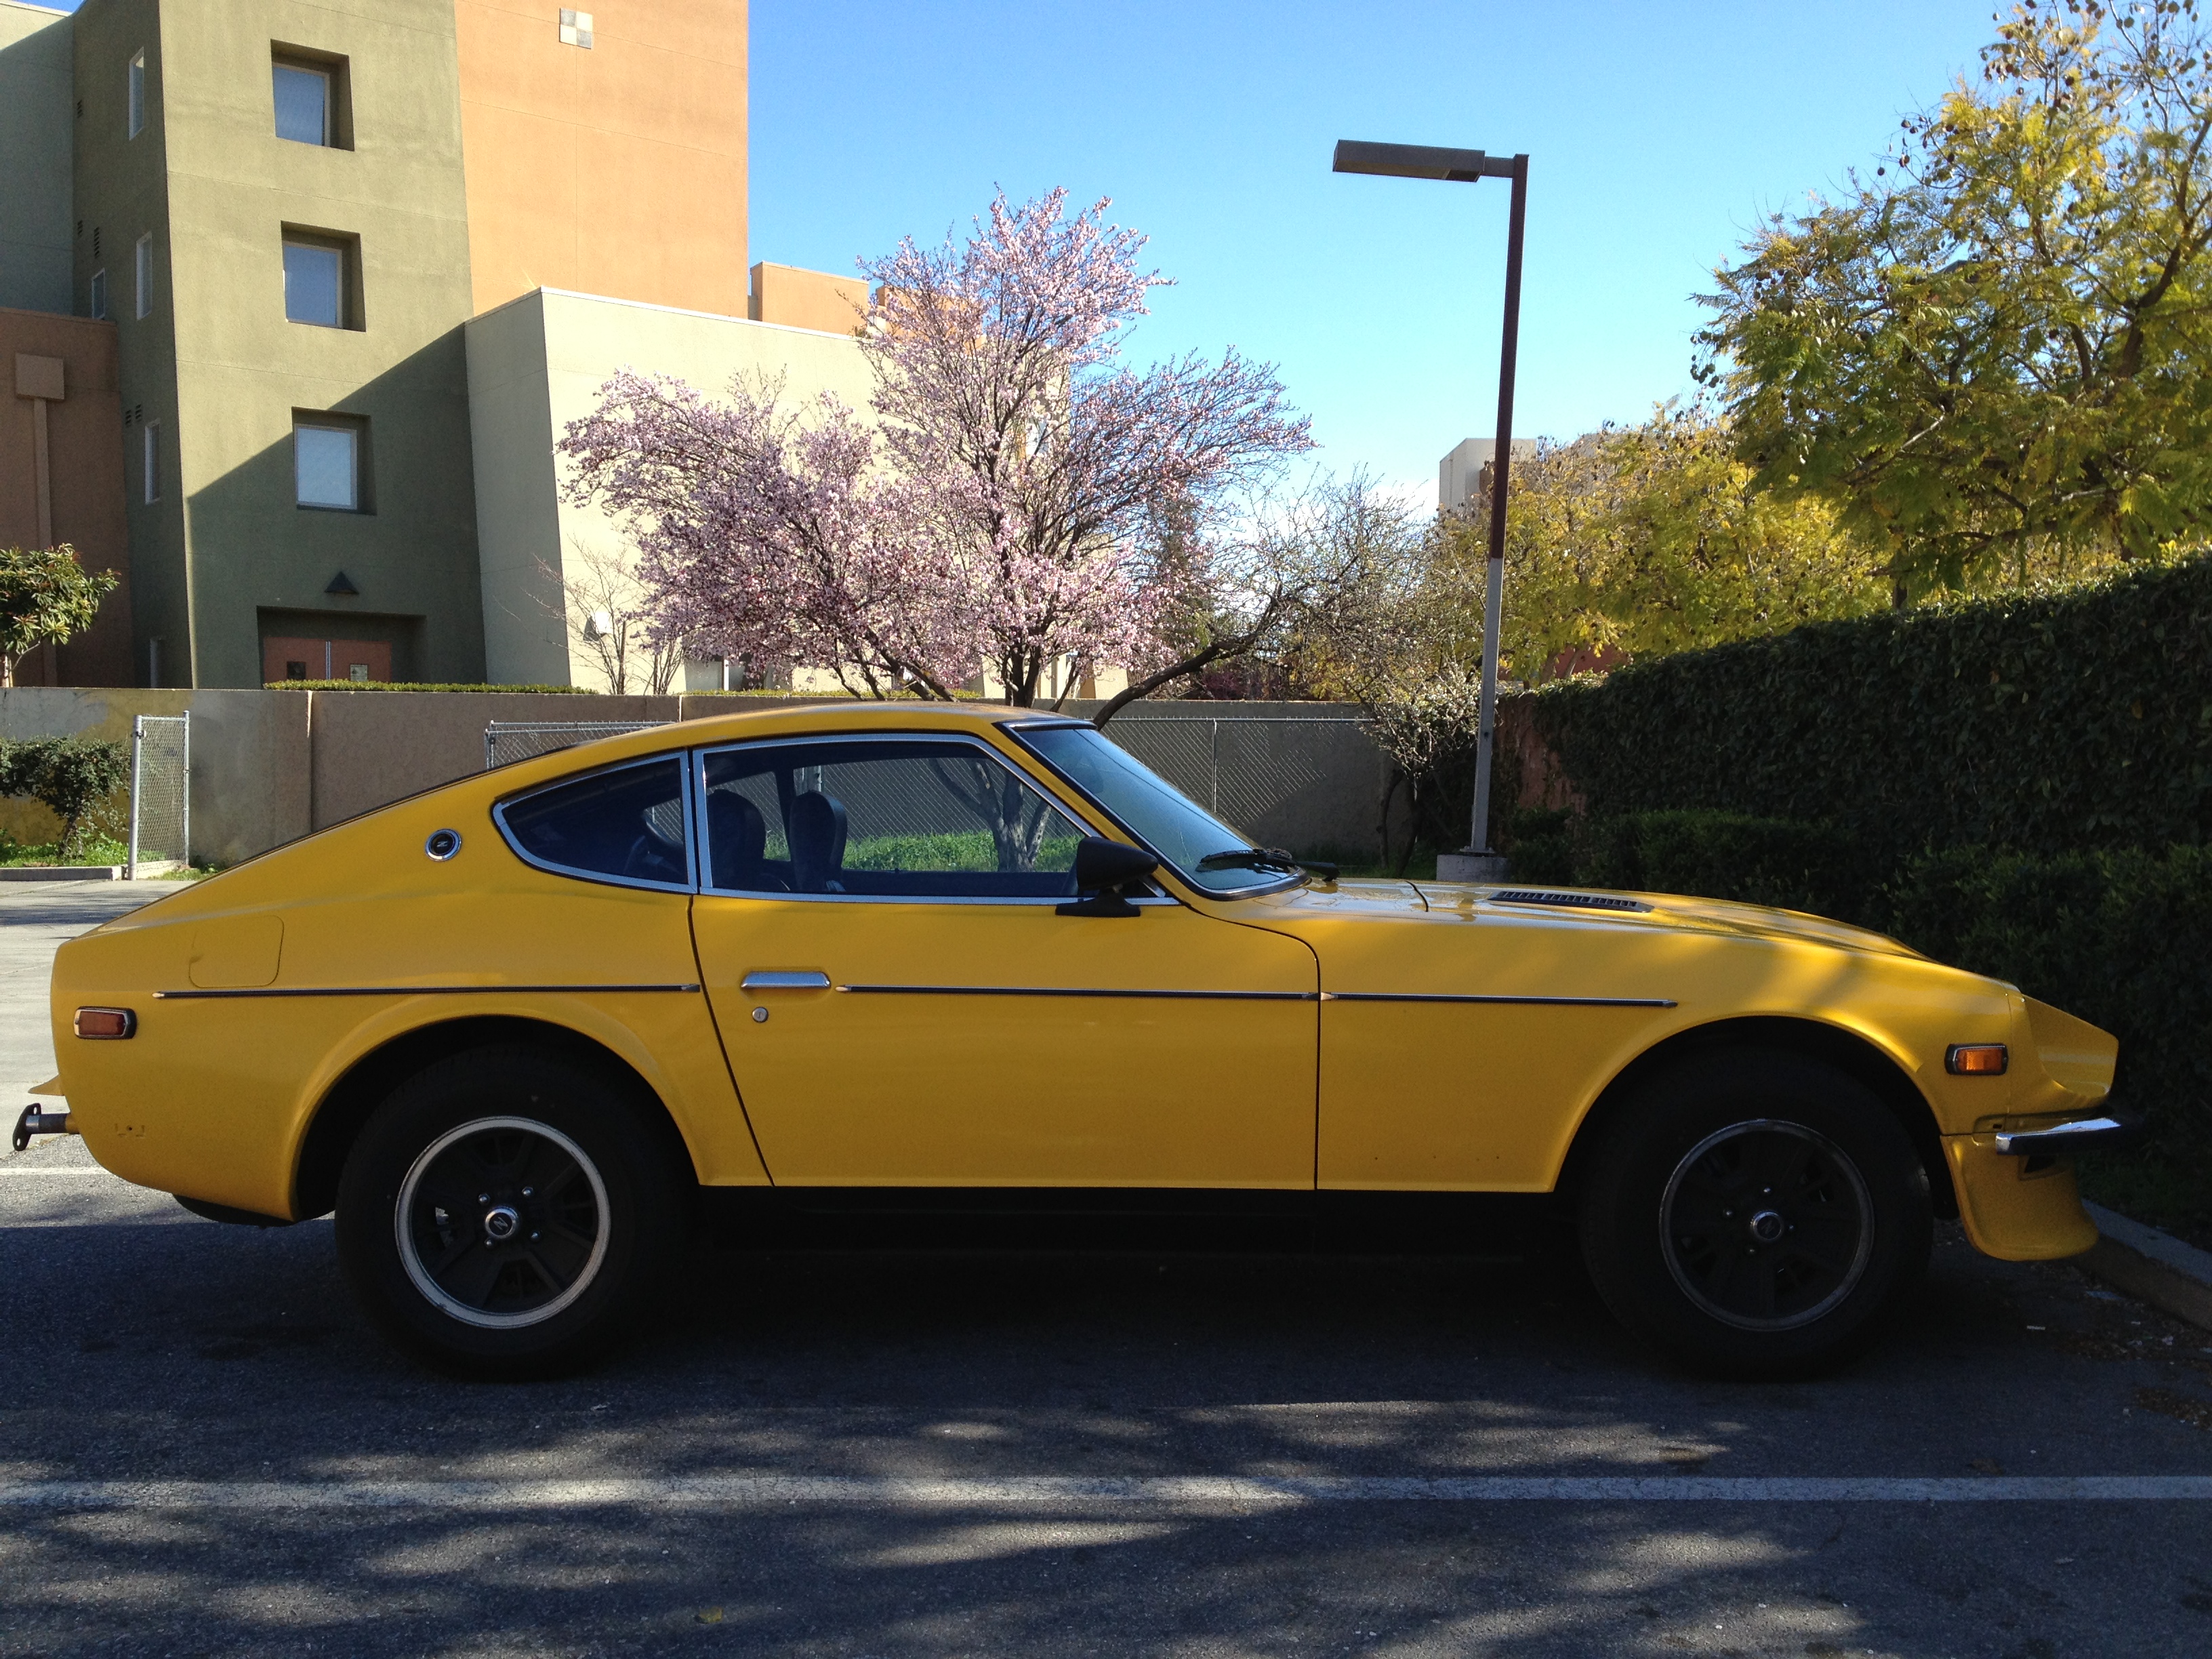
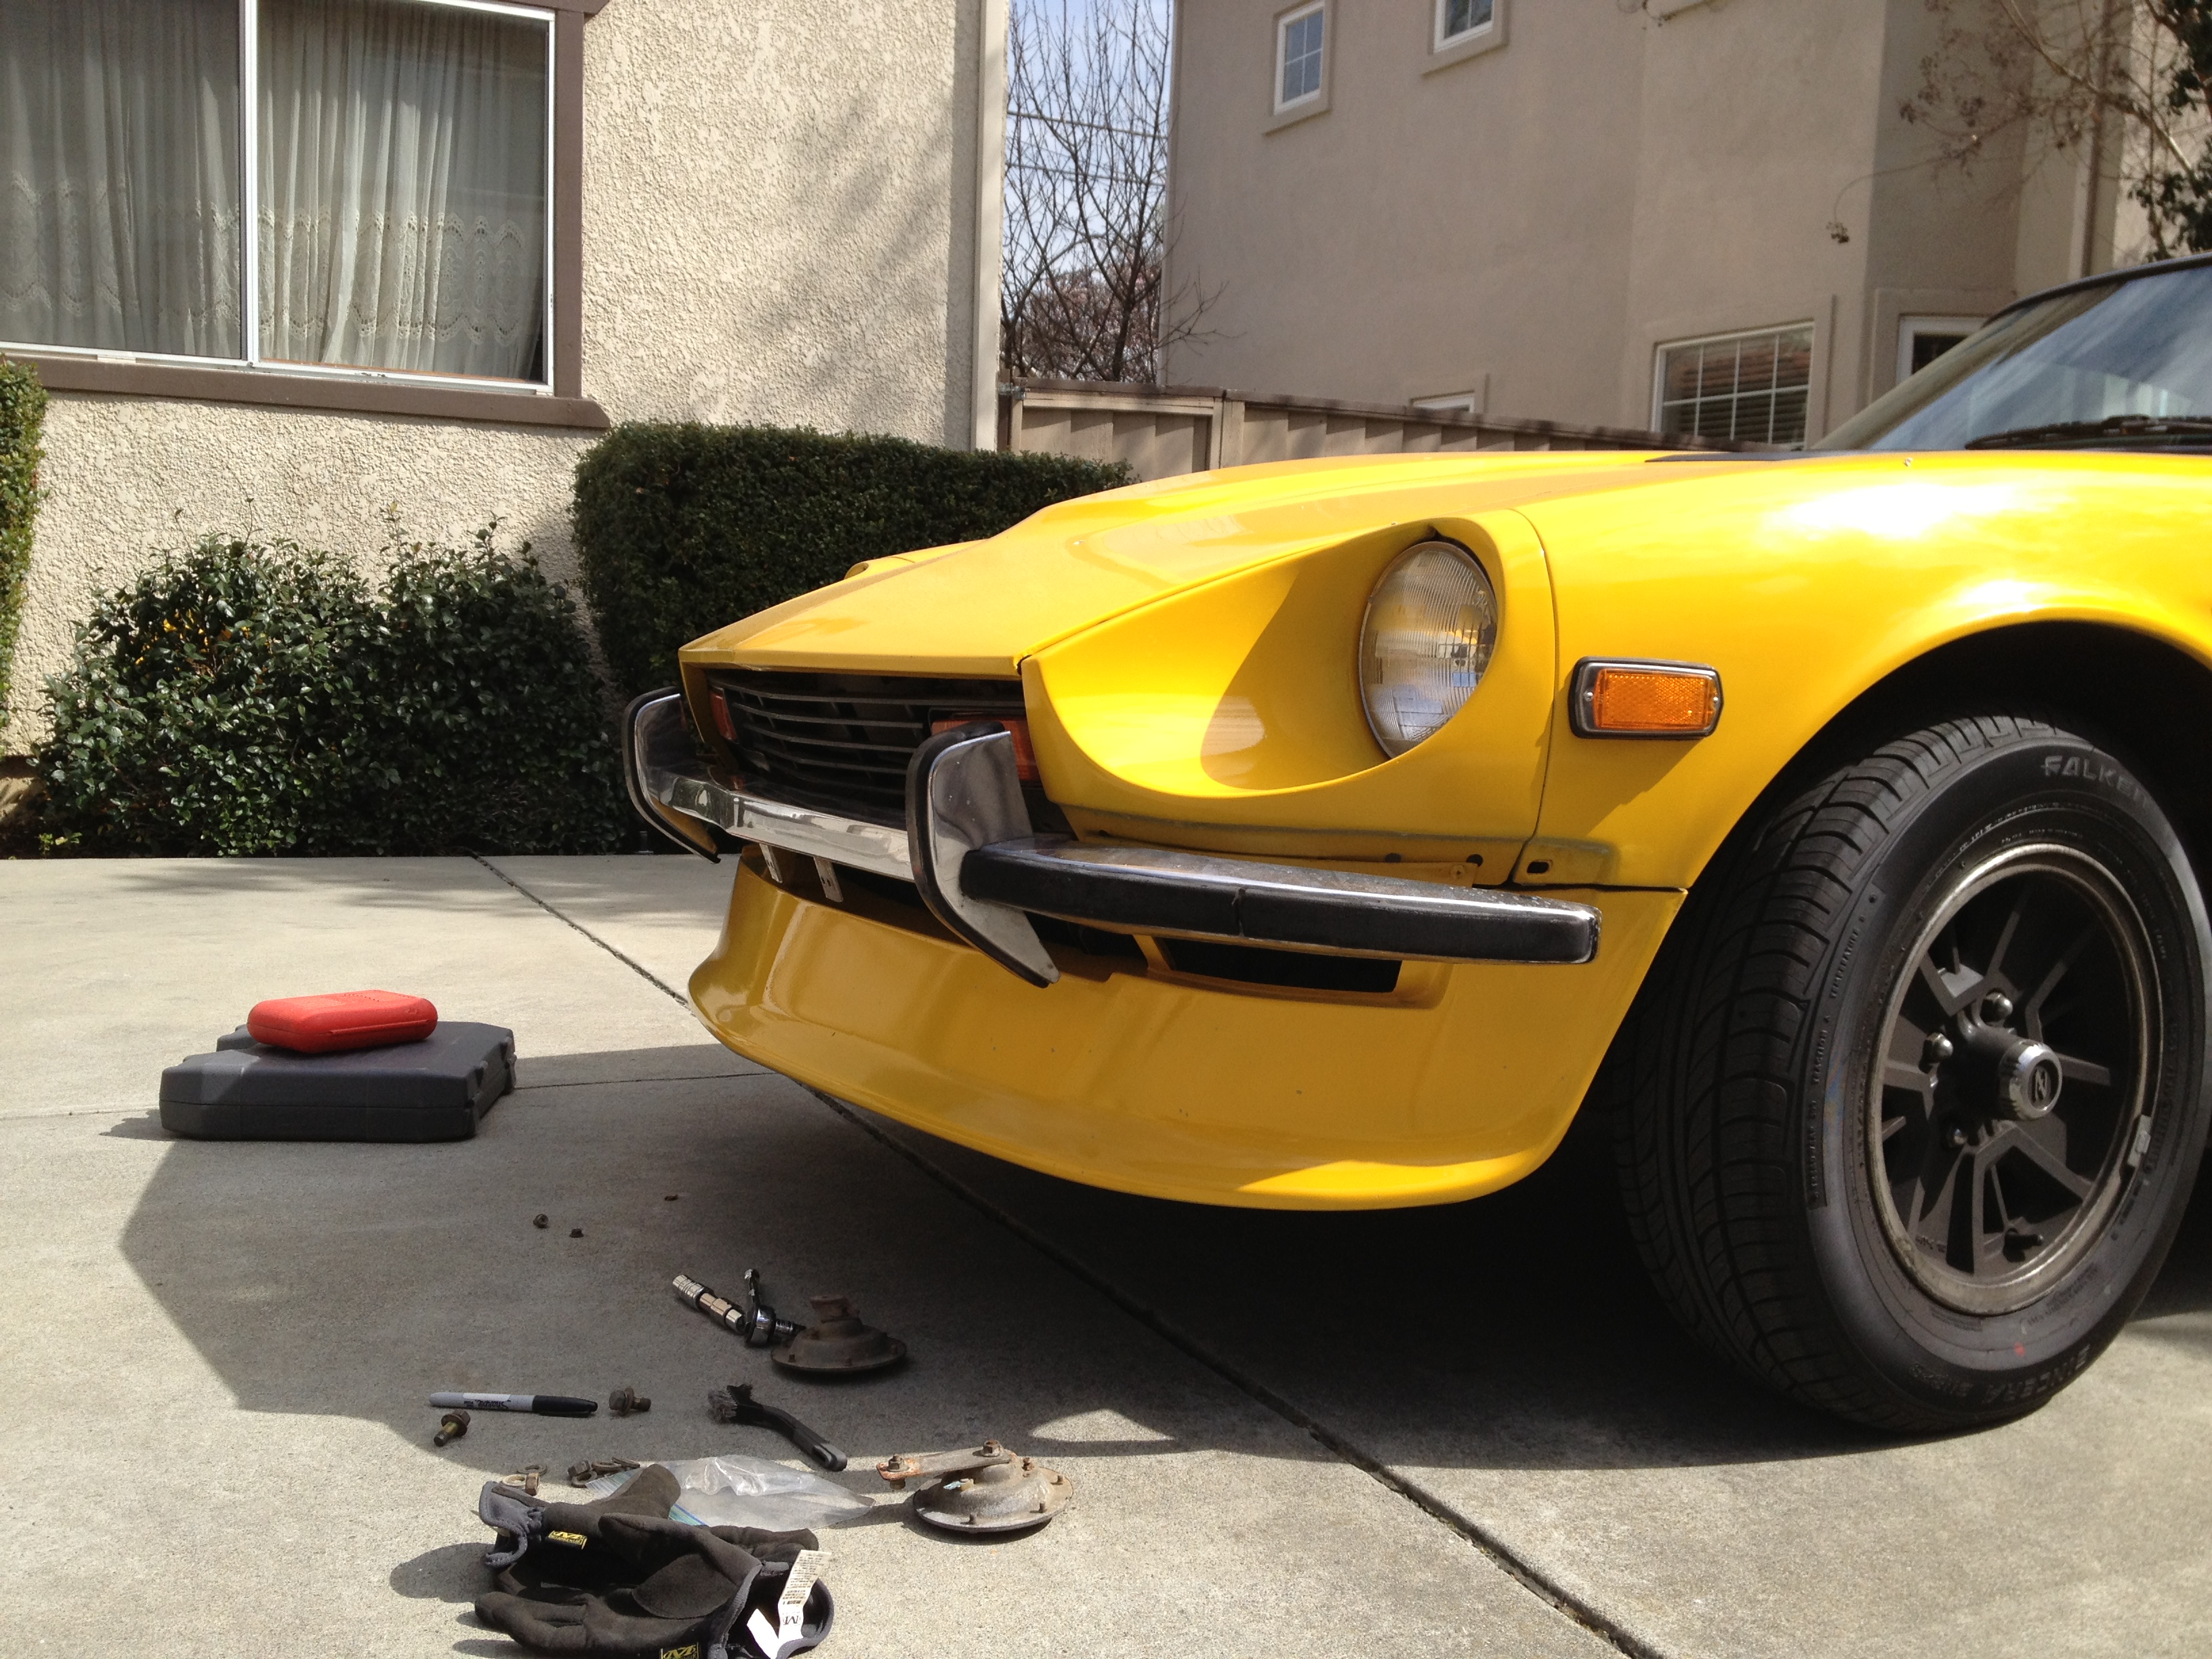
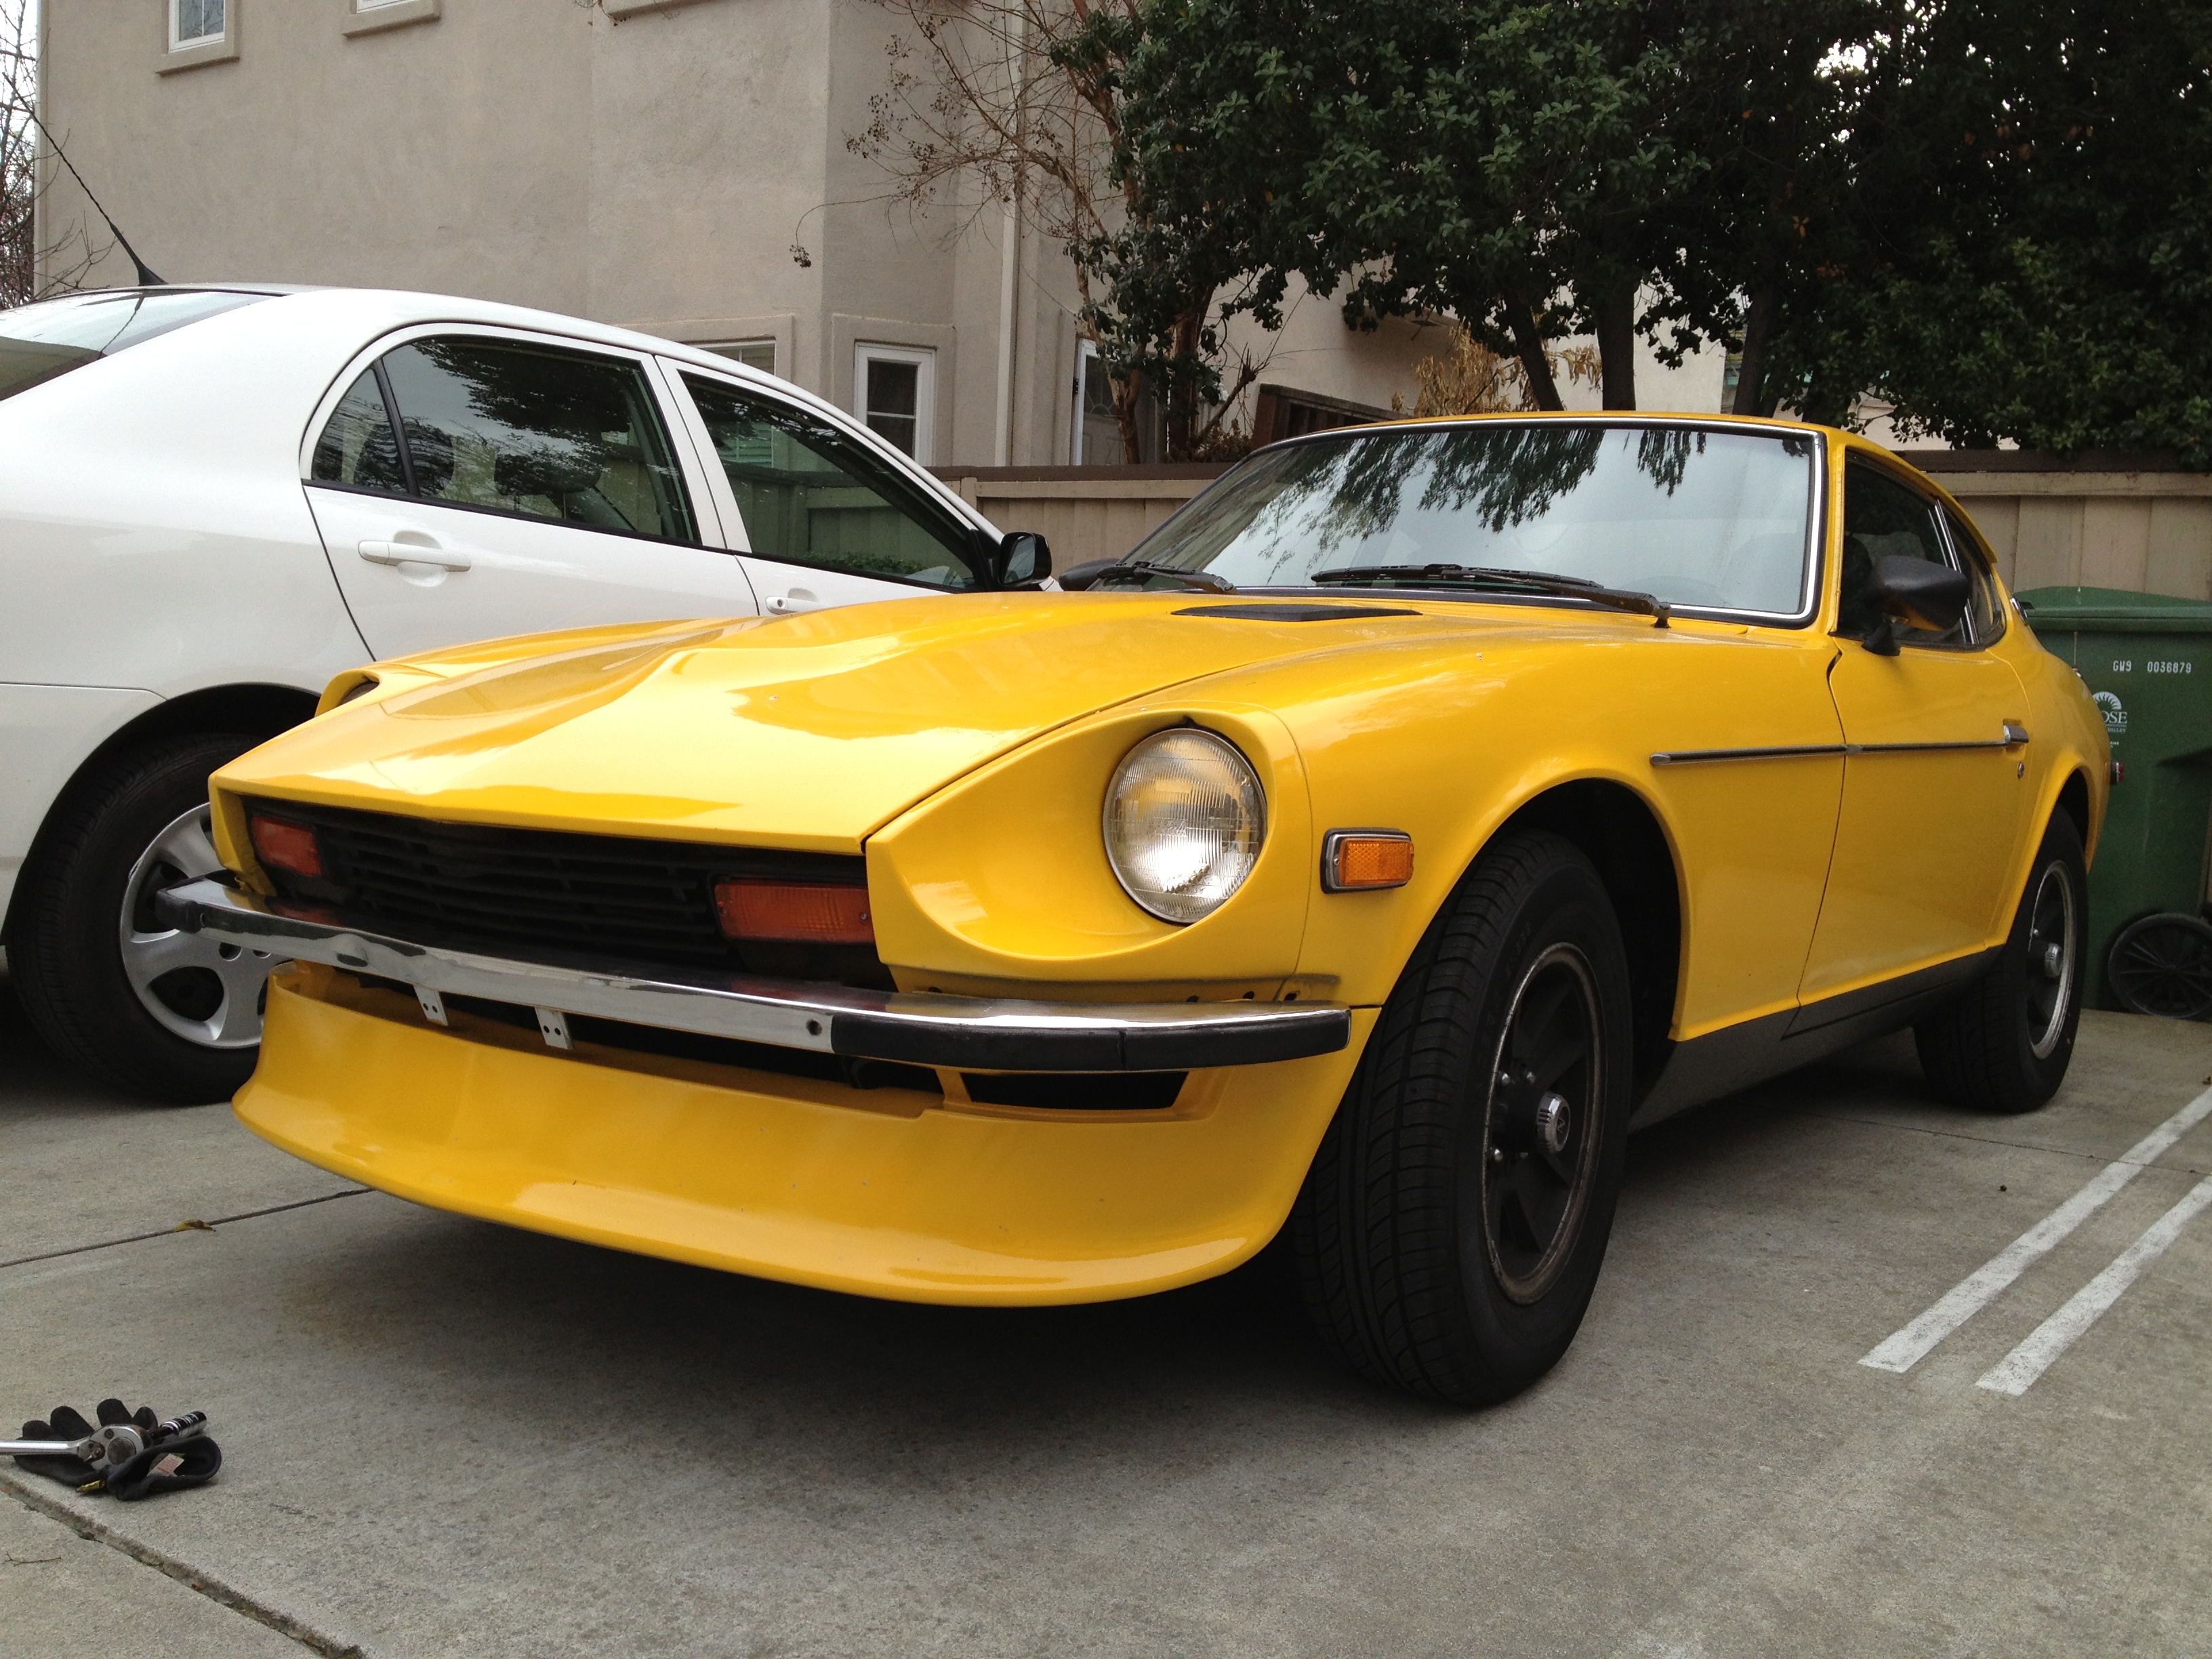
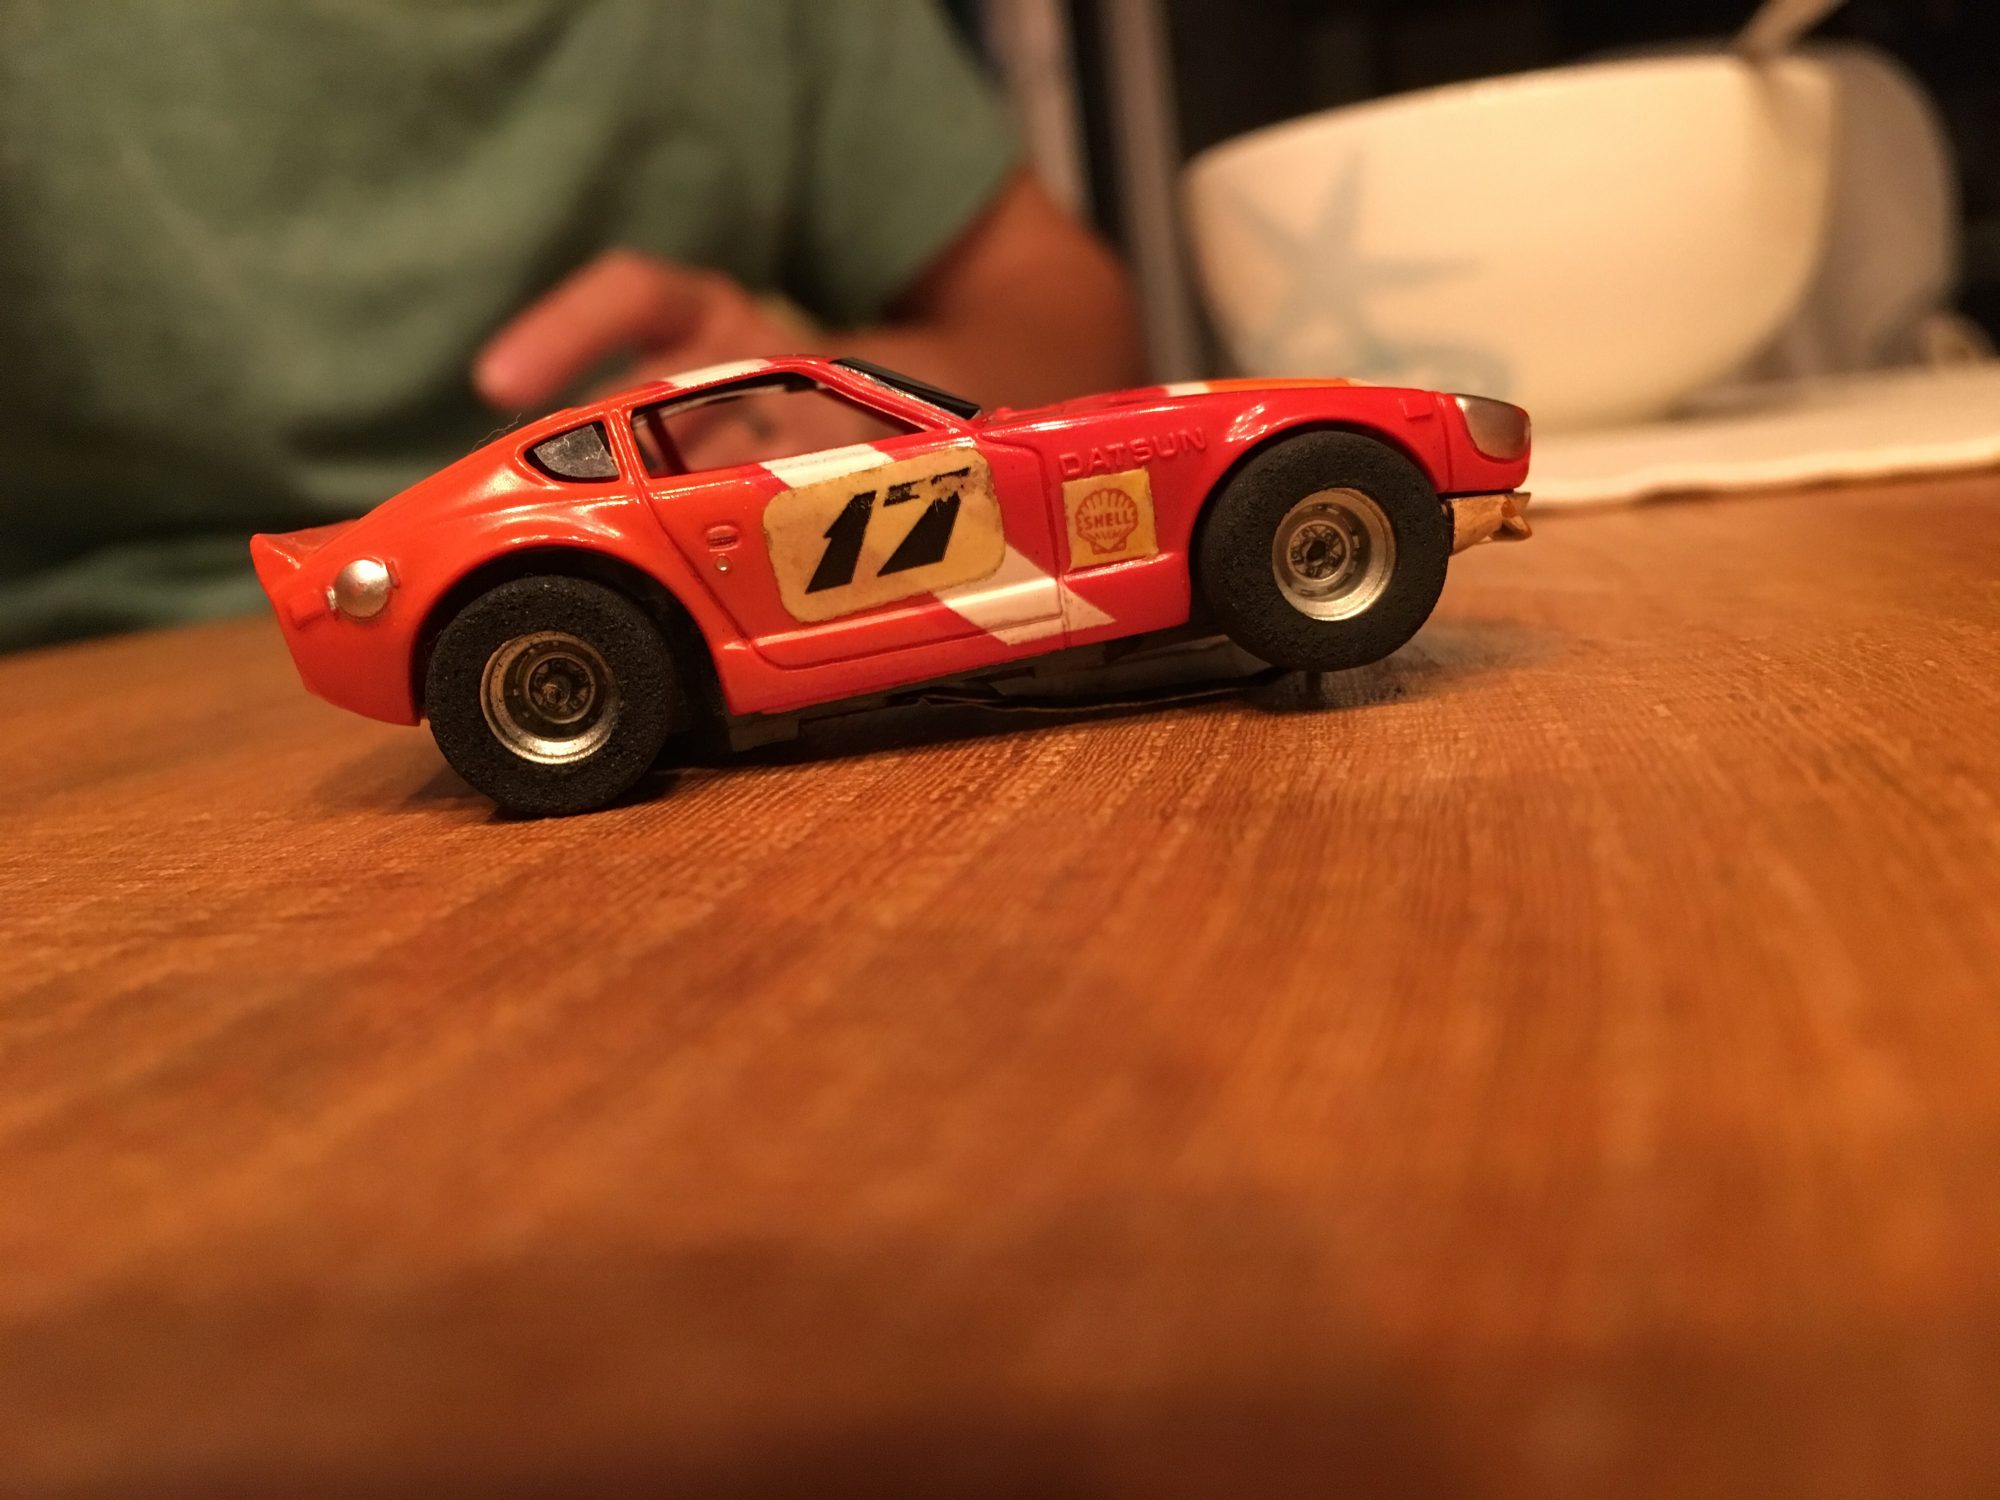
I love my Datsun 280z, so of course, I’m gonna get a car cover for the times i’m out of town for an extended period of time. From rain, sun and the occasional bird mishaps, it should protect it, right?

But goes it protect it from itself?! read on…

So I got a car cover the last time I went out of town, and needed it sooner than I could do mass amounts of research and still have it shipped on time – so off to the auto parts store it went and picked up a Budge “the Shield” car cover.

The Shield seemed like a decent, durable car cover – Tyvek material, elastic edging. It also has a 10 year warranty. For those who are looking to fit a Z, size 4, semi-custom fit worked well.

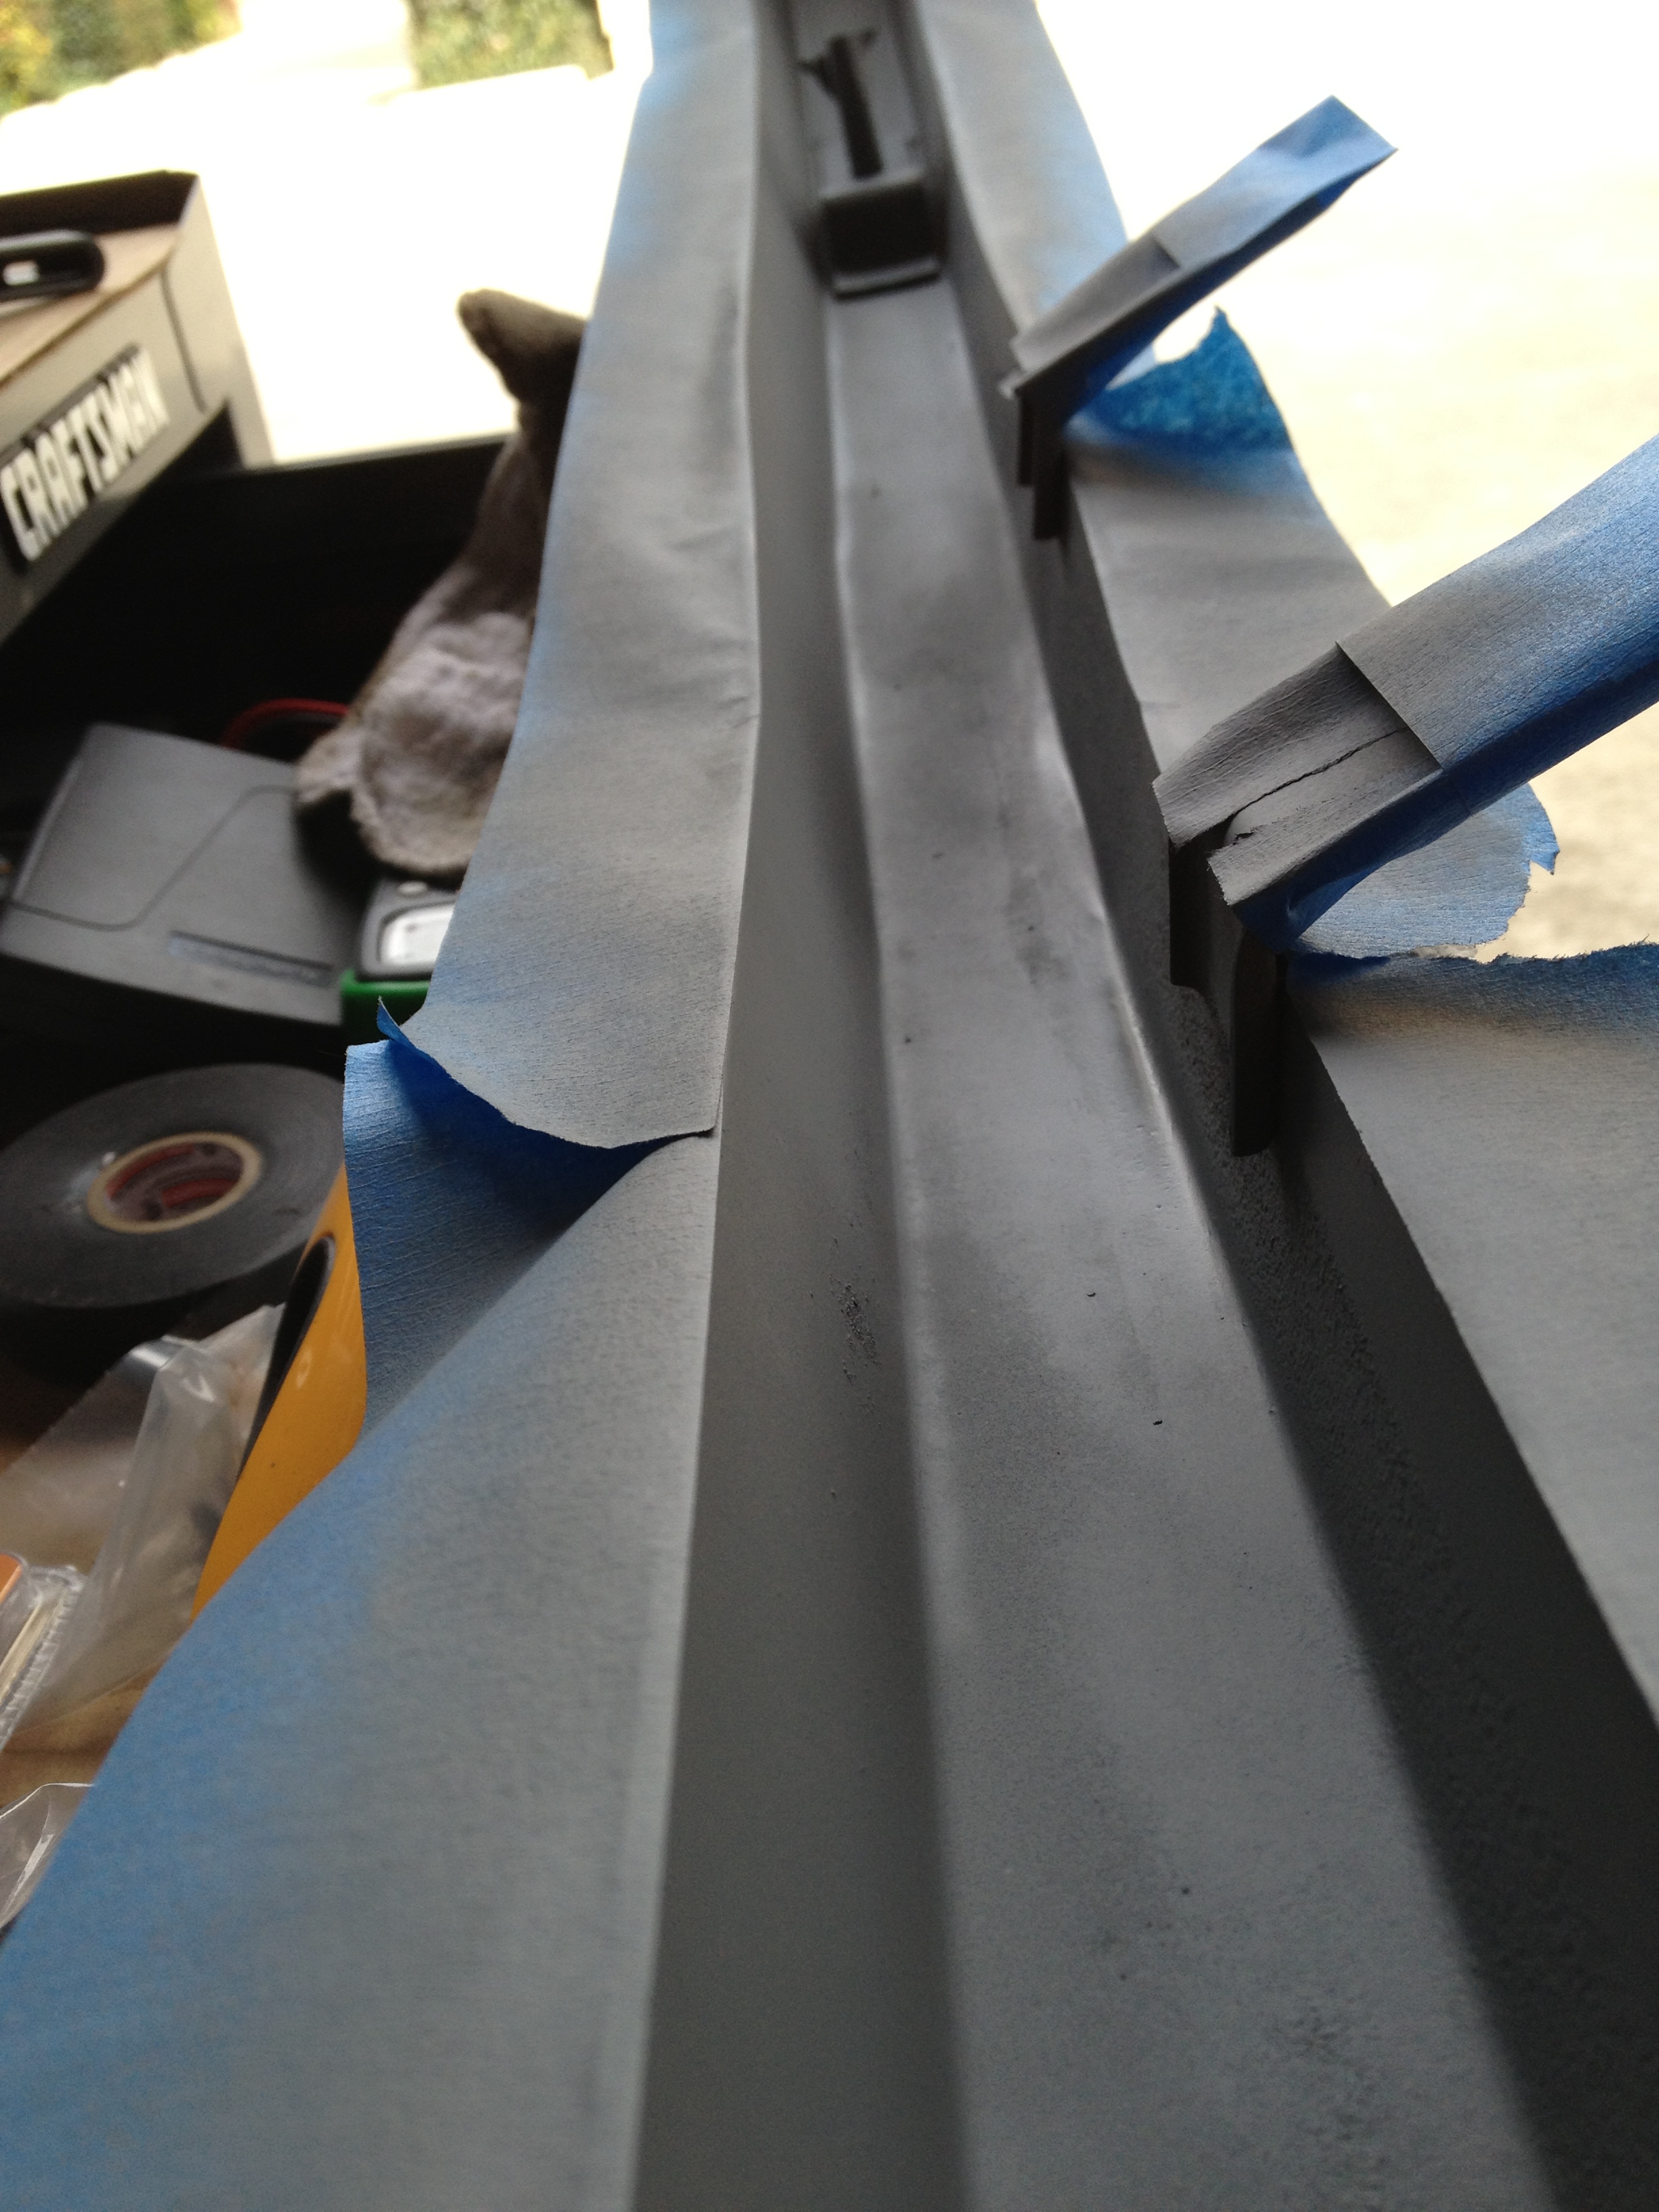
One thing I didn’t like was that there were no instructions.. haha yes, like most things, “who needs instruction?”. And for a car cover, “who really needs instructions? just put the thing on!”. Well there are two sides to the car cover: the white Tyvek side, and a gray side. There’s a tag that says which part goes in front.. but nothing about which side goes inside or out! Of course, the picture on the box doesn’t help, it looks like grayish-white.

My guess was, white on the outside. The Tyvek on the Shield car cover should be smooth enough to wipe off bird doo-doo, and it’s the best to reflect sun off the car. That protects it from the outside, but what about the inside?

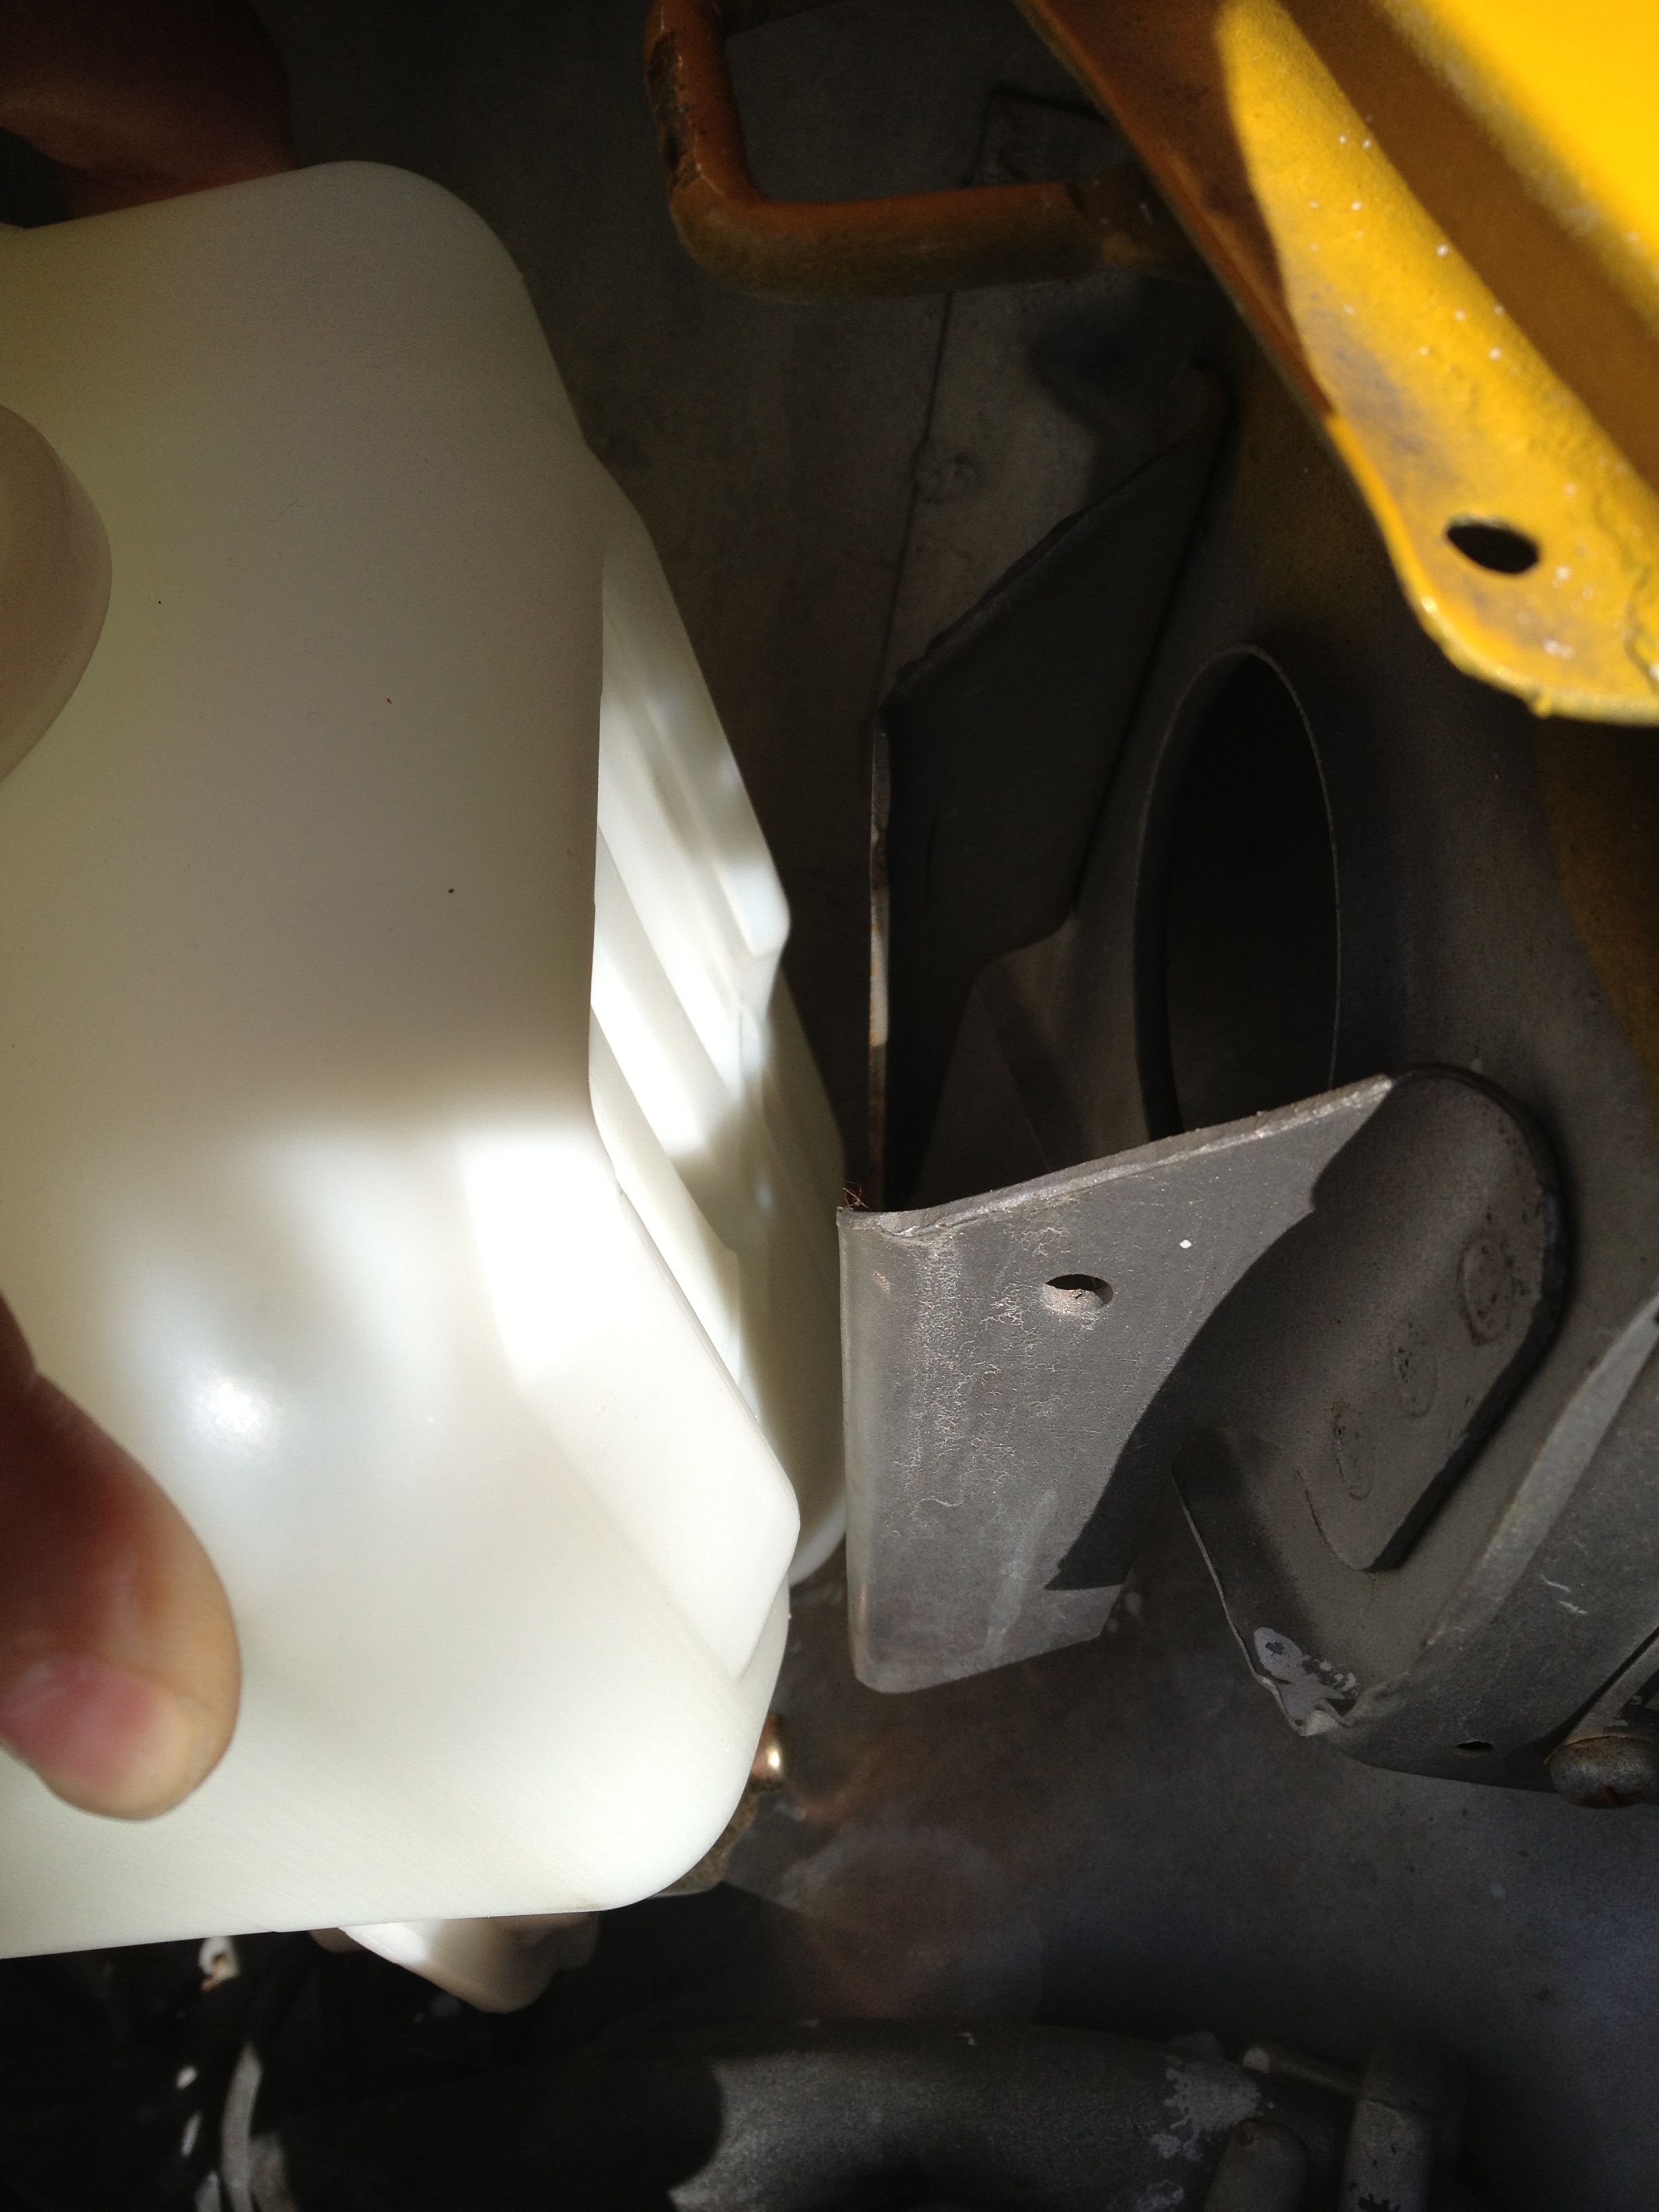
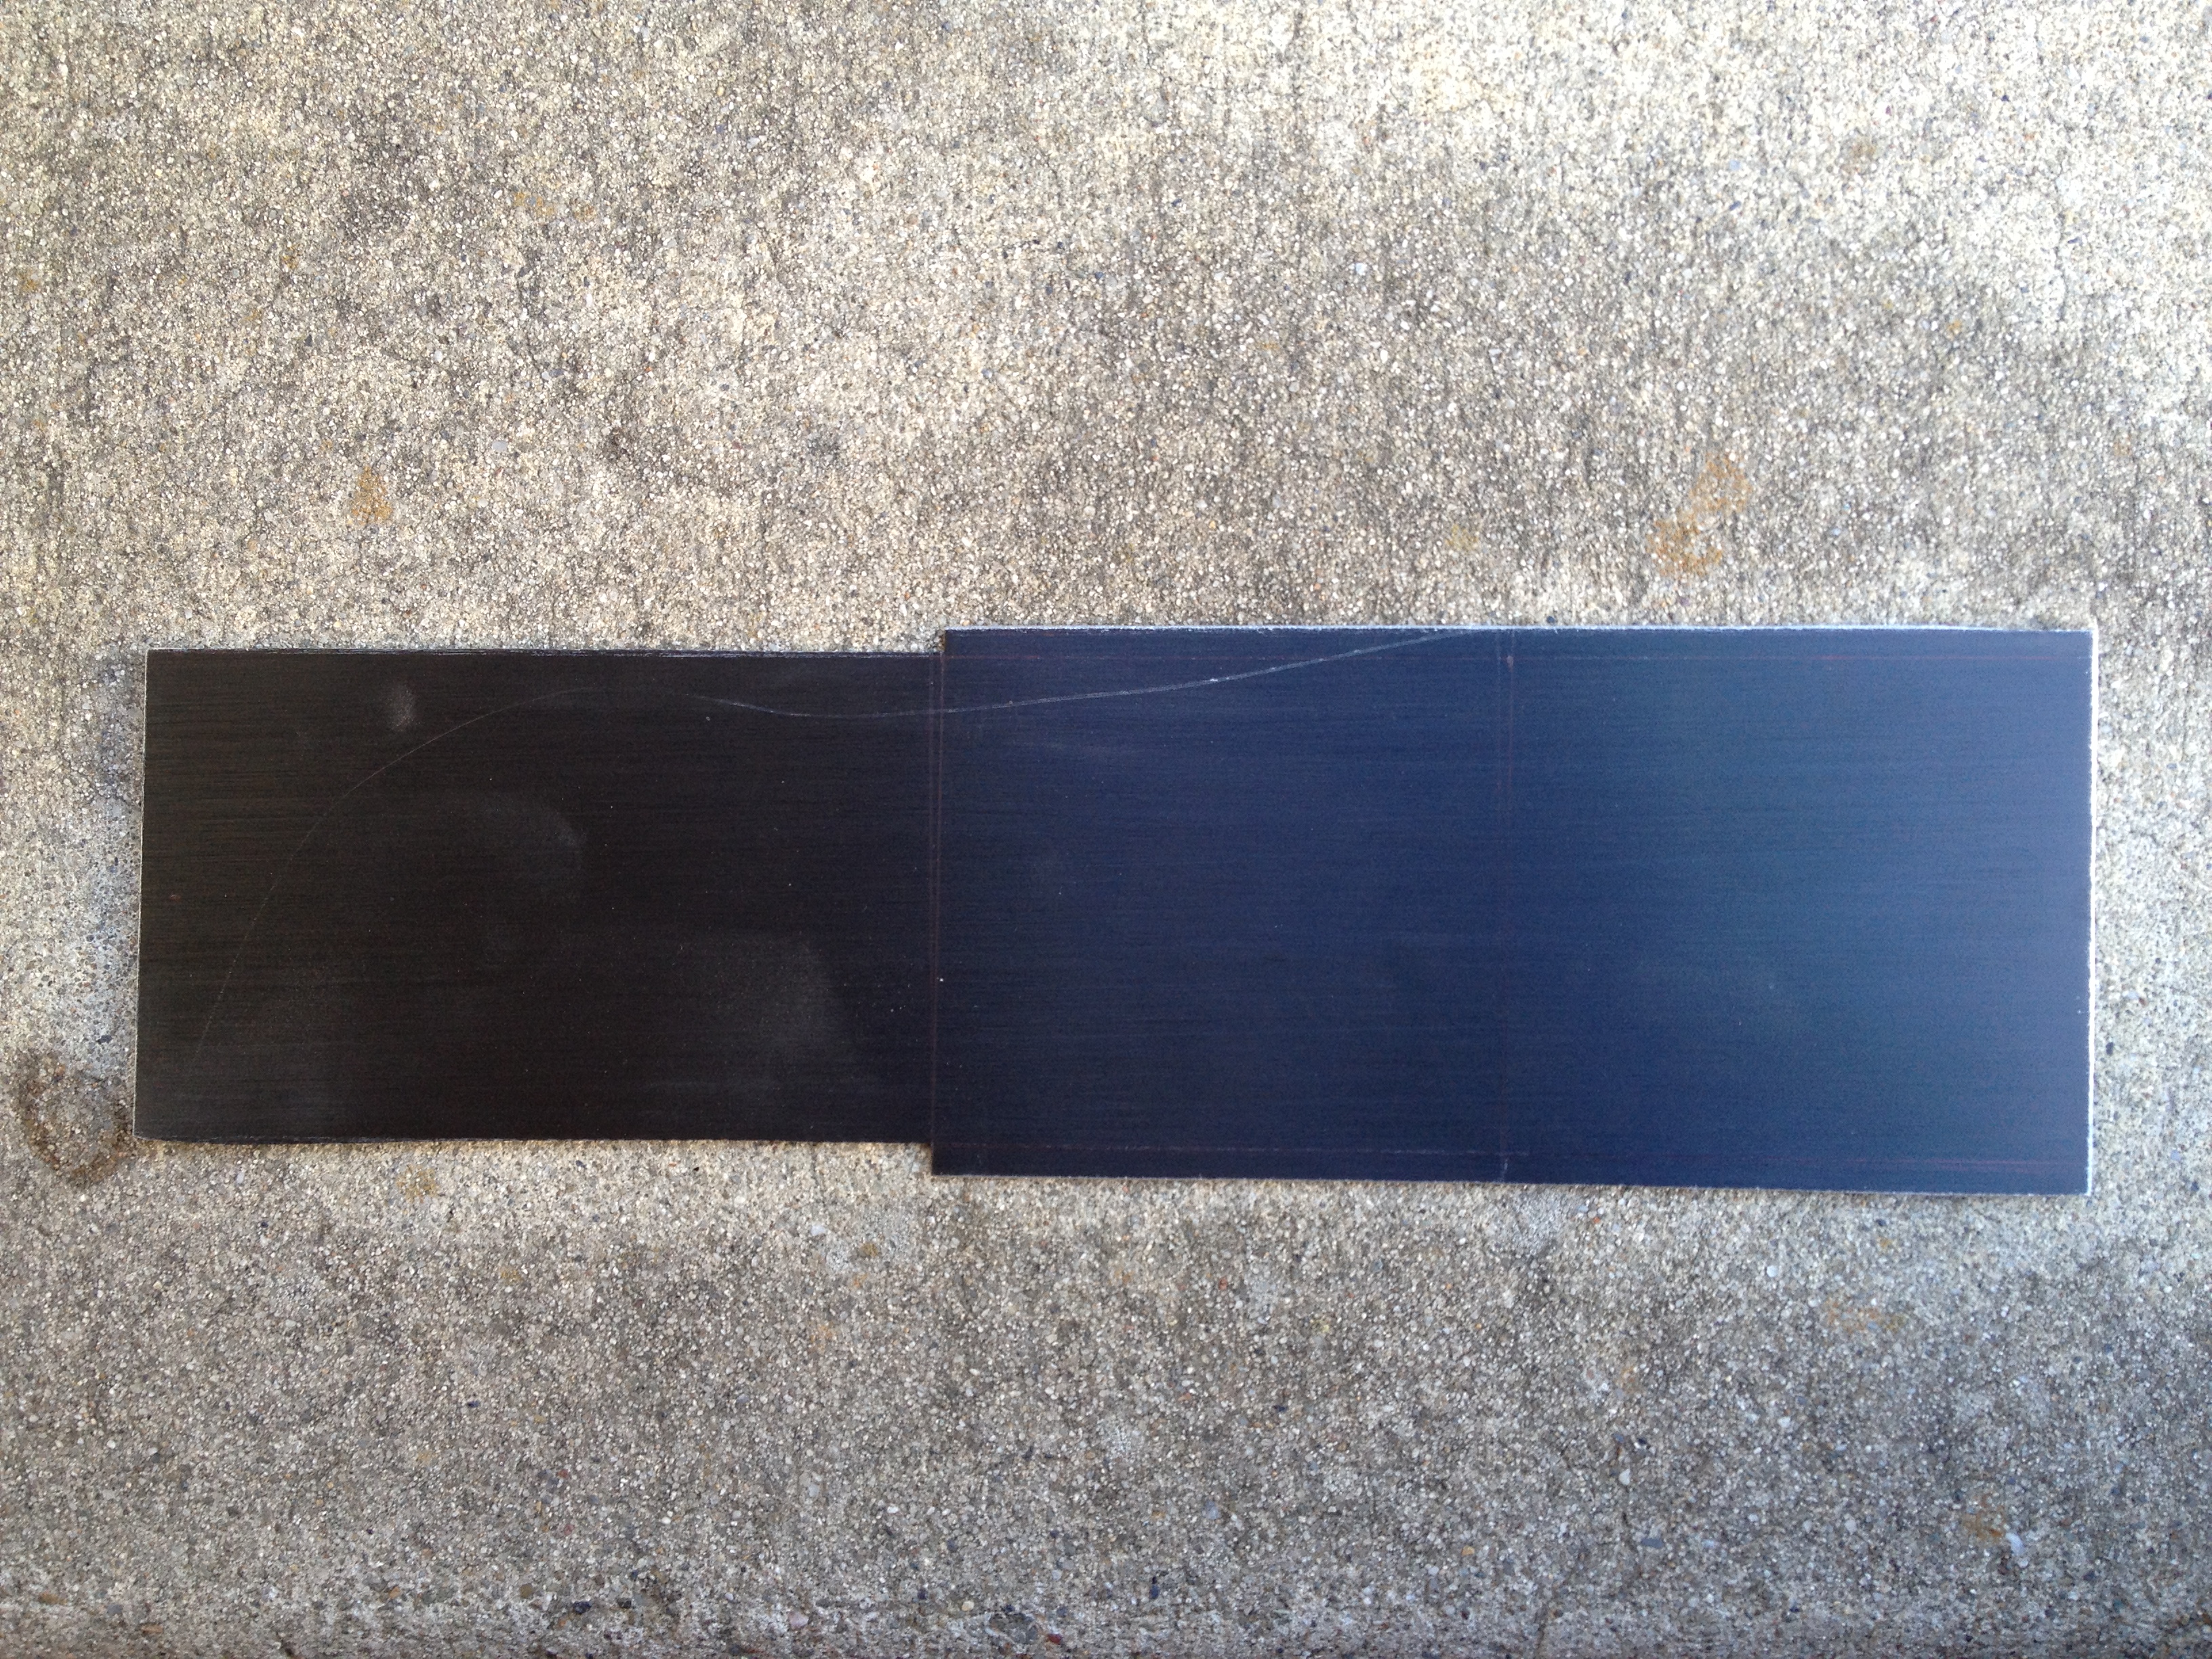
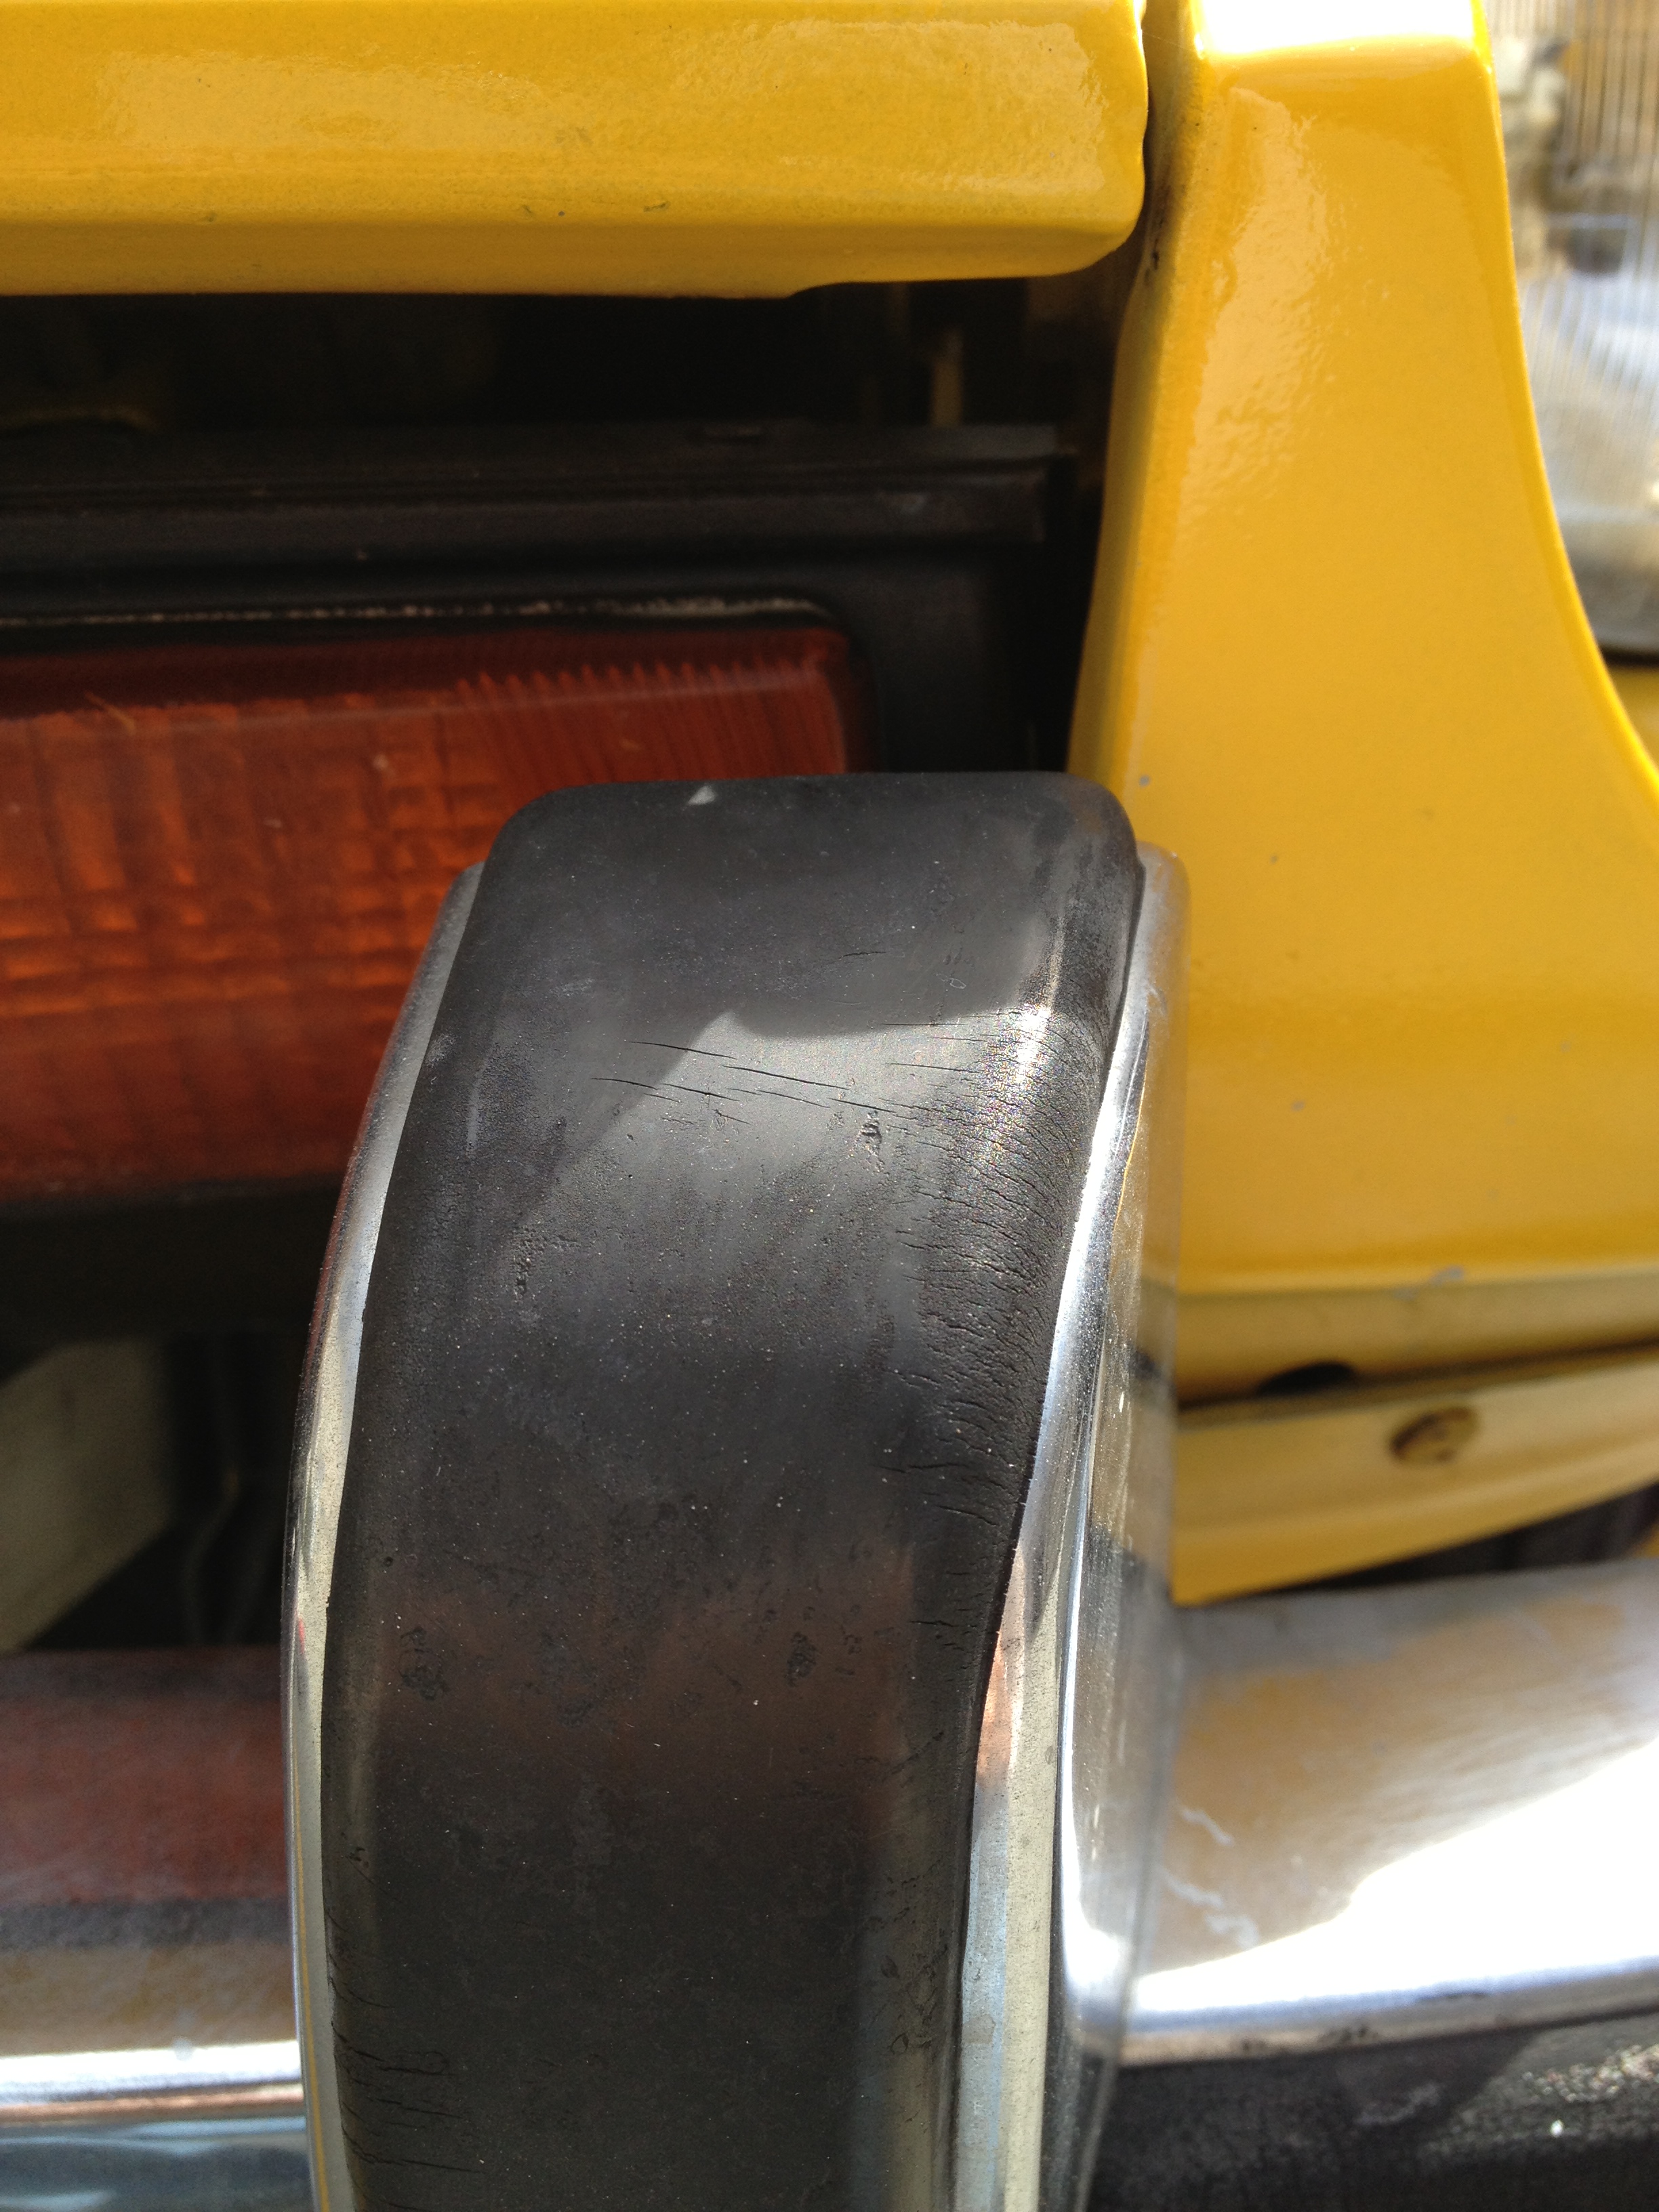
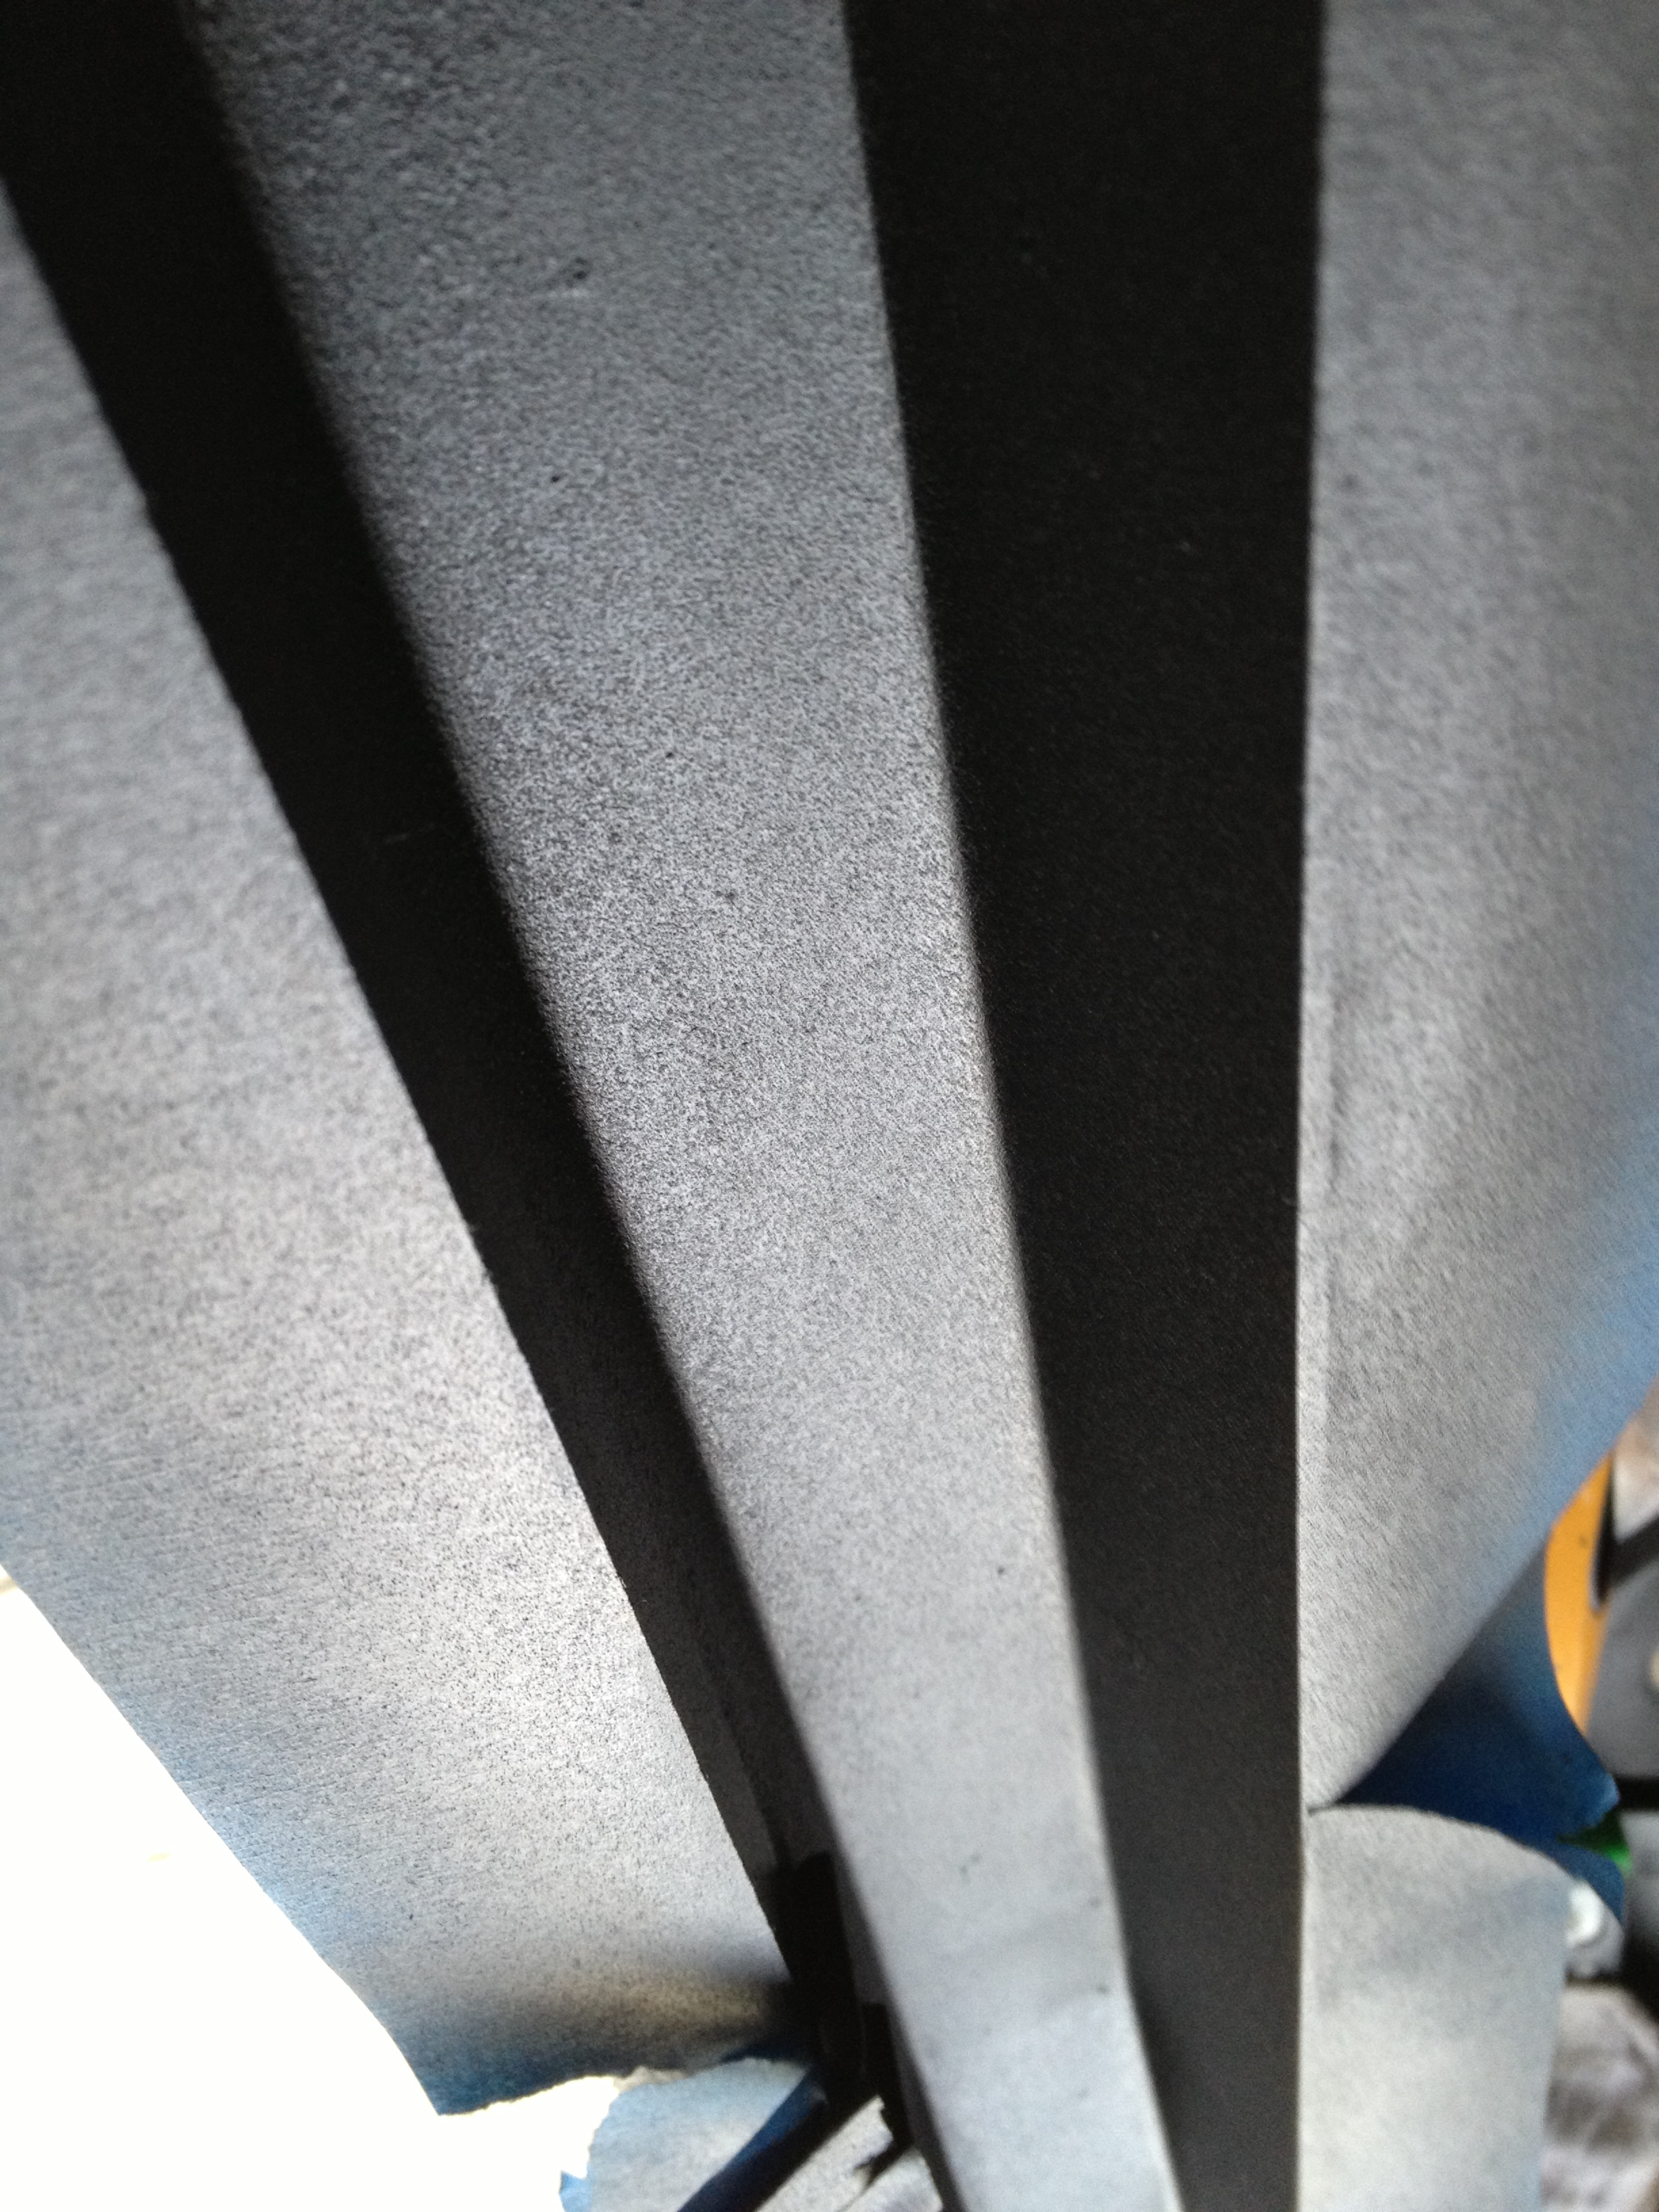
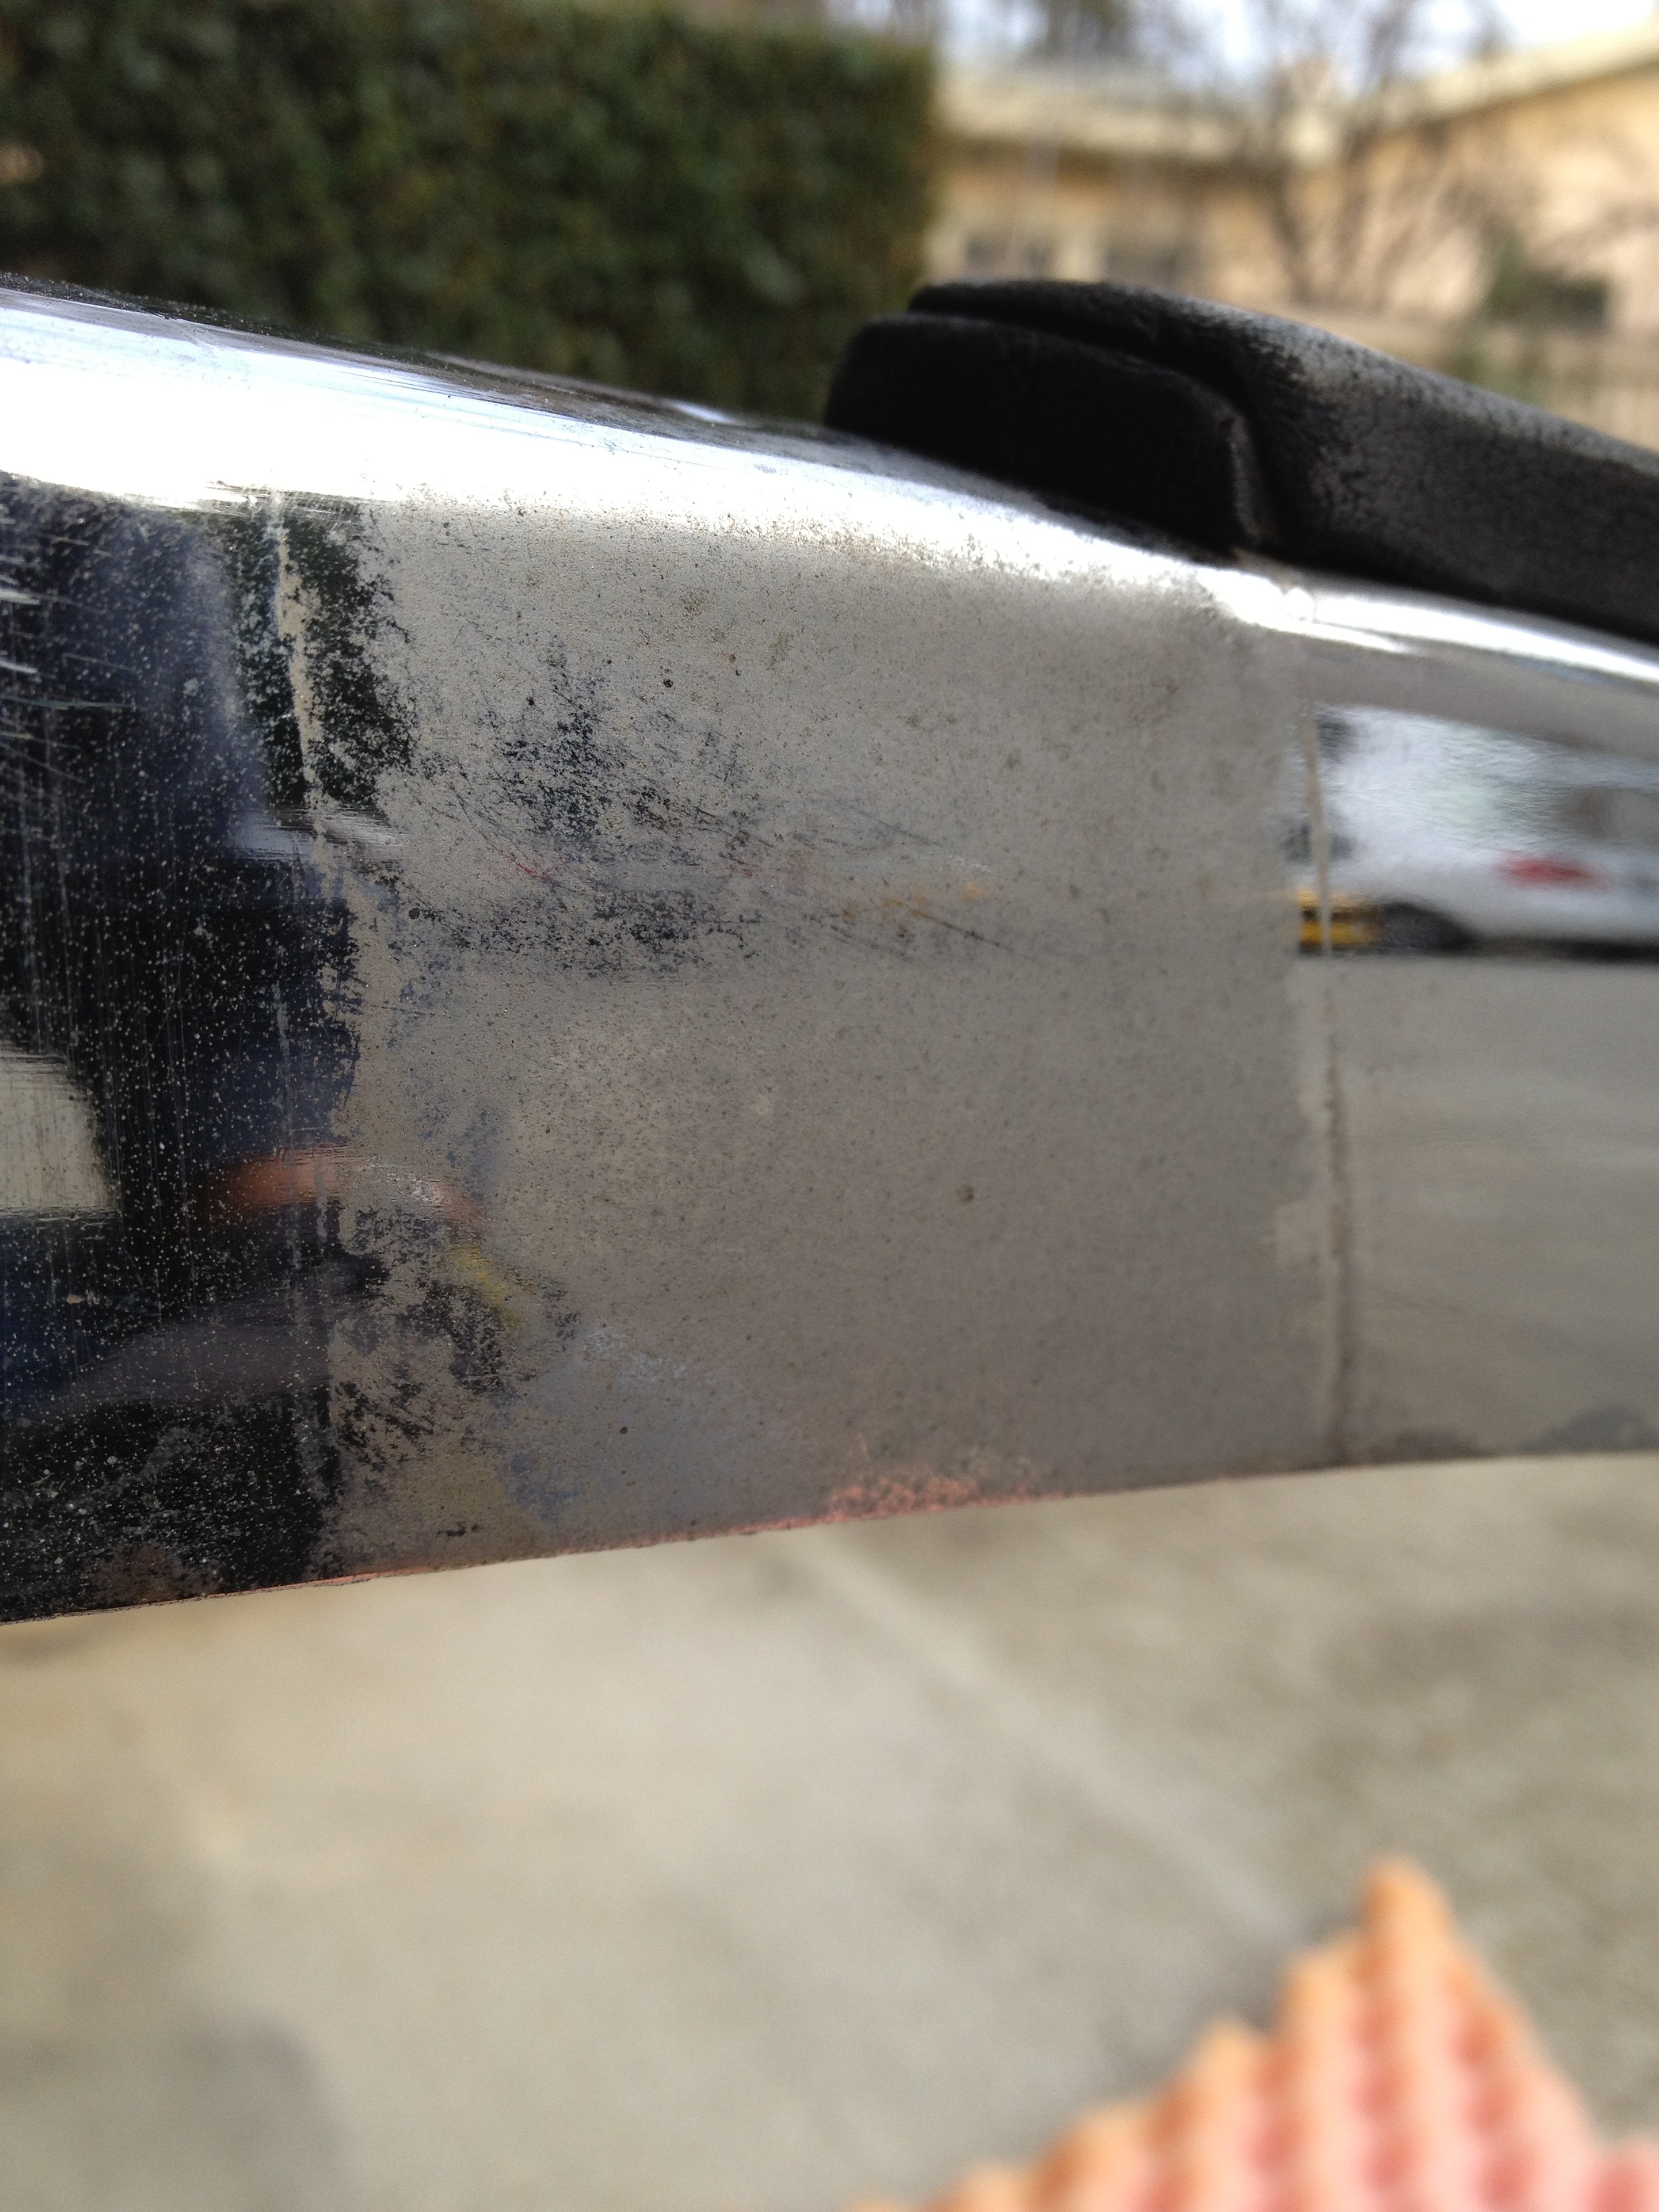
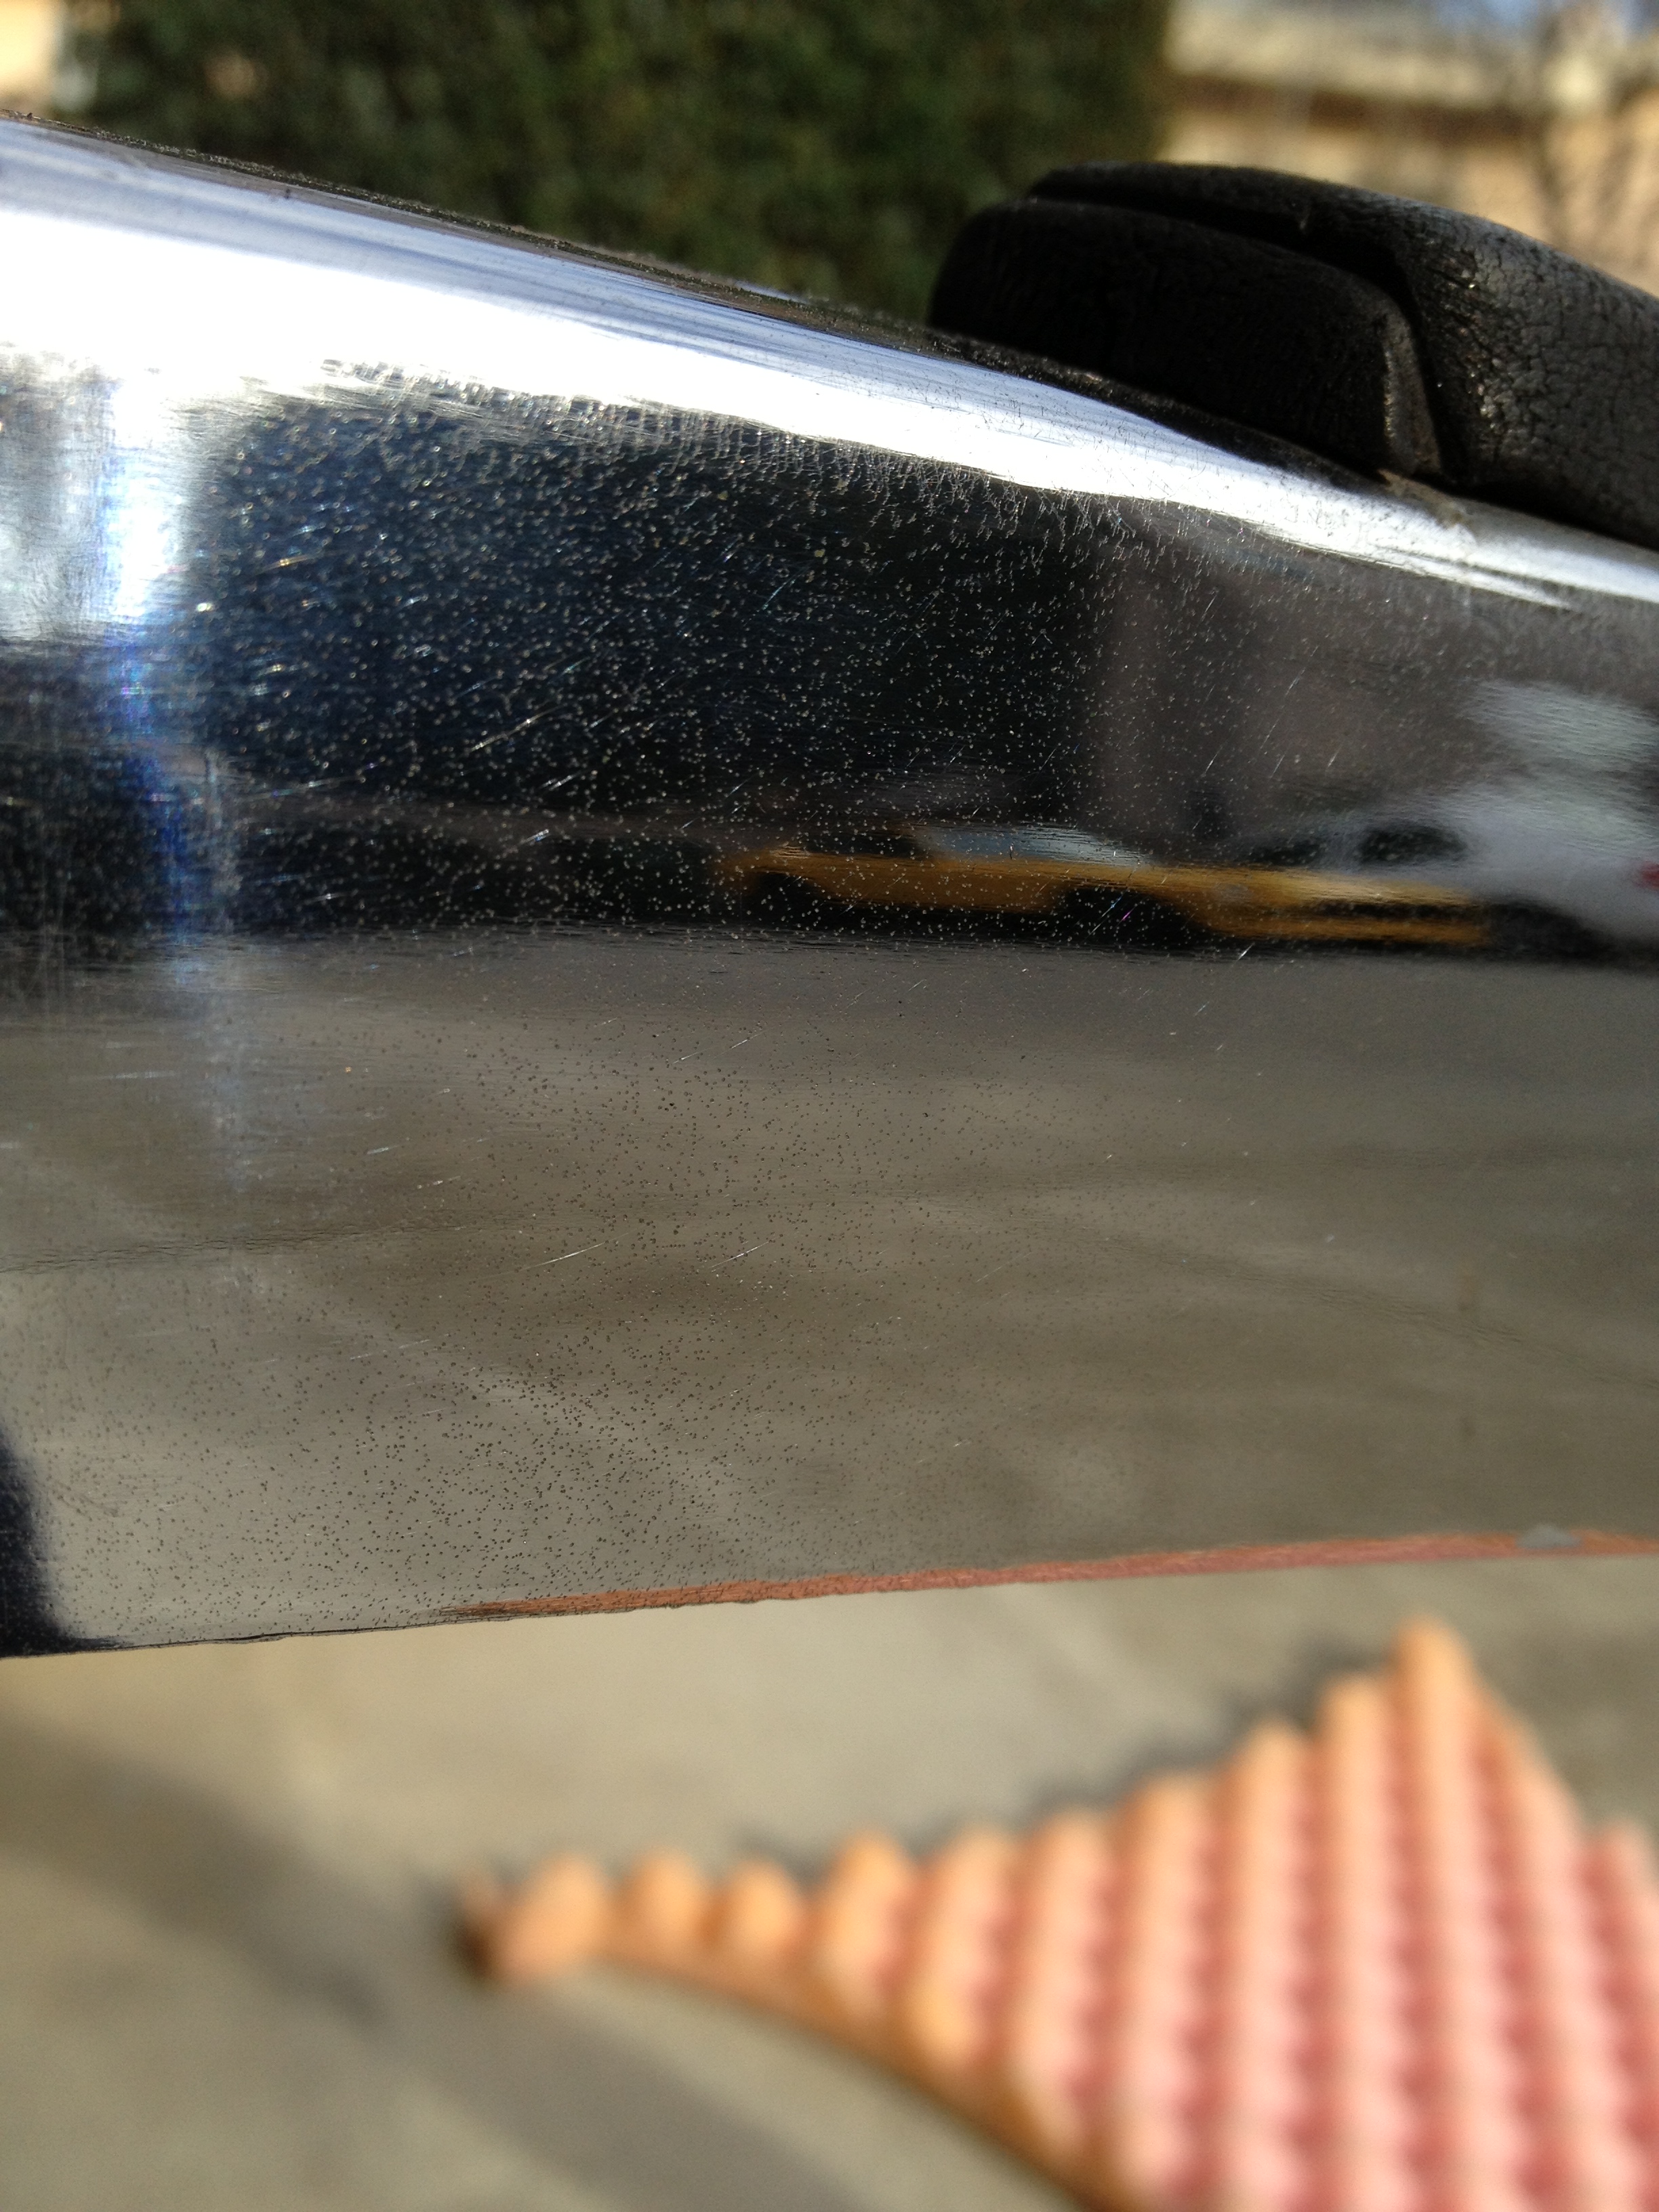
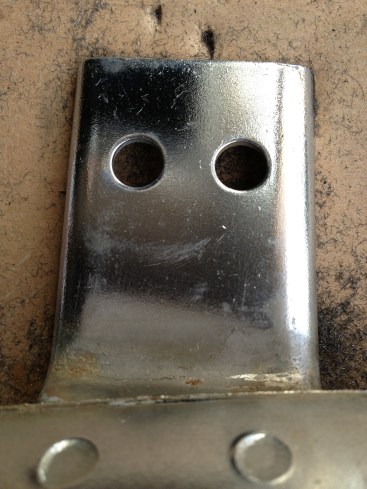
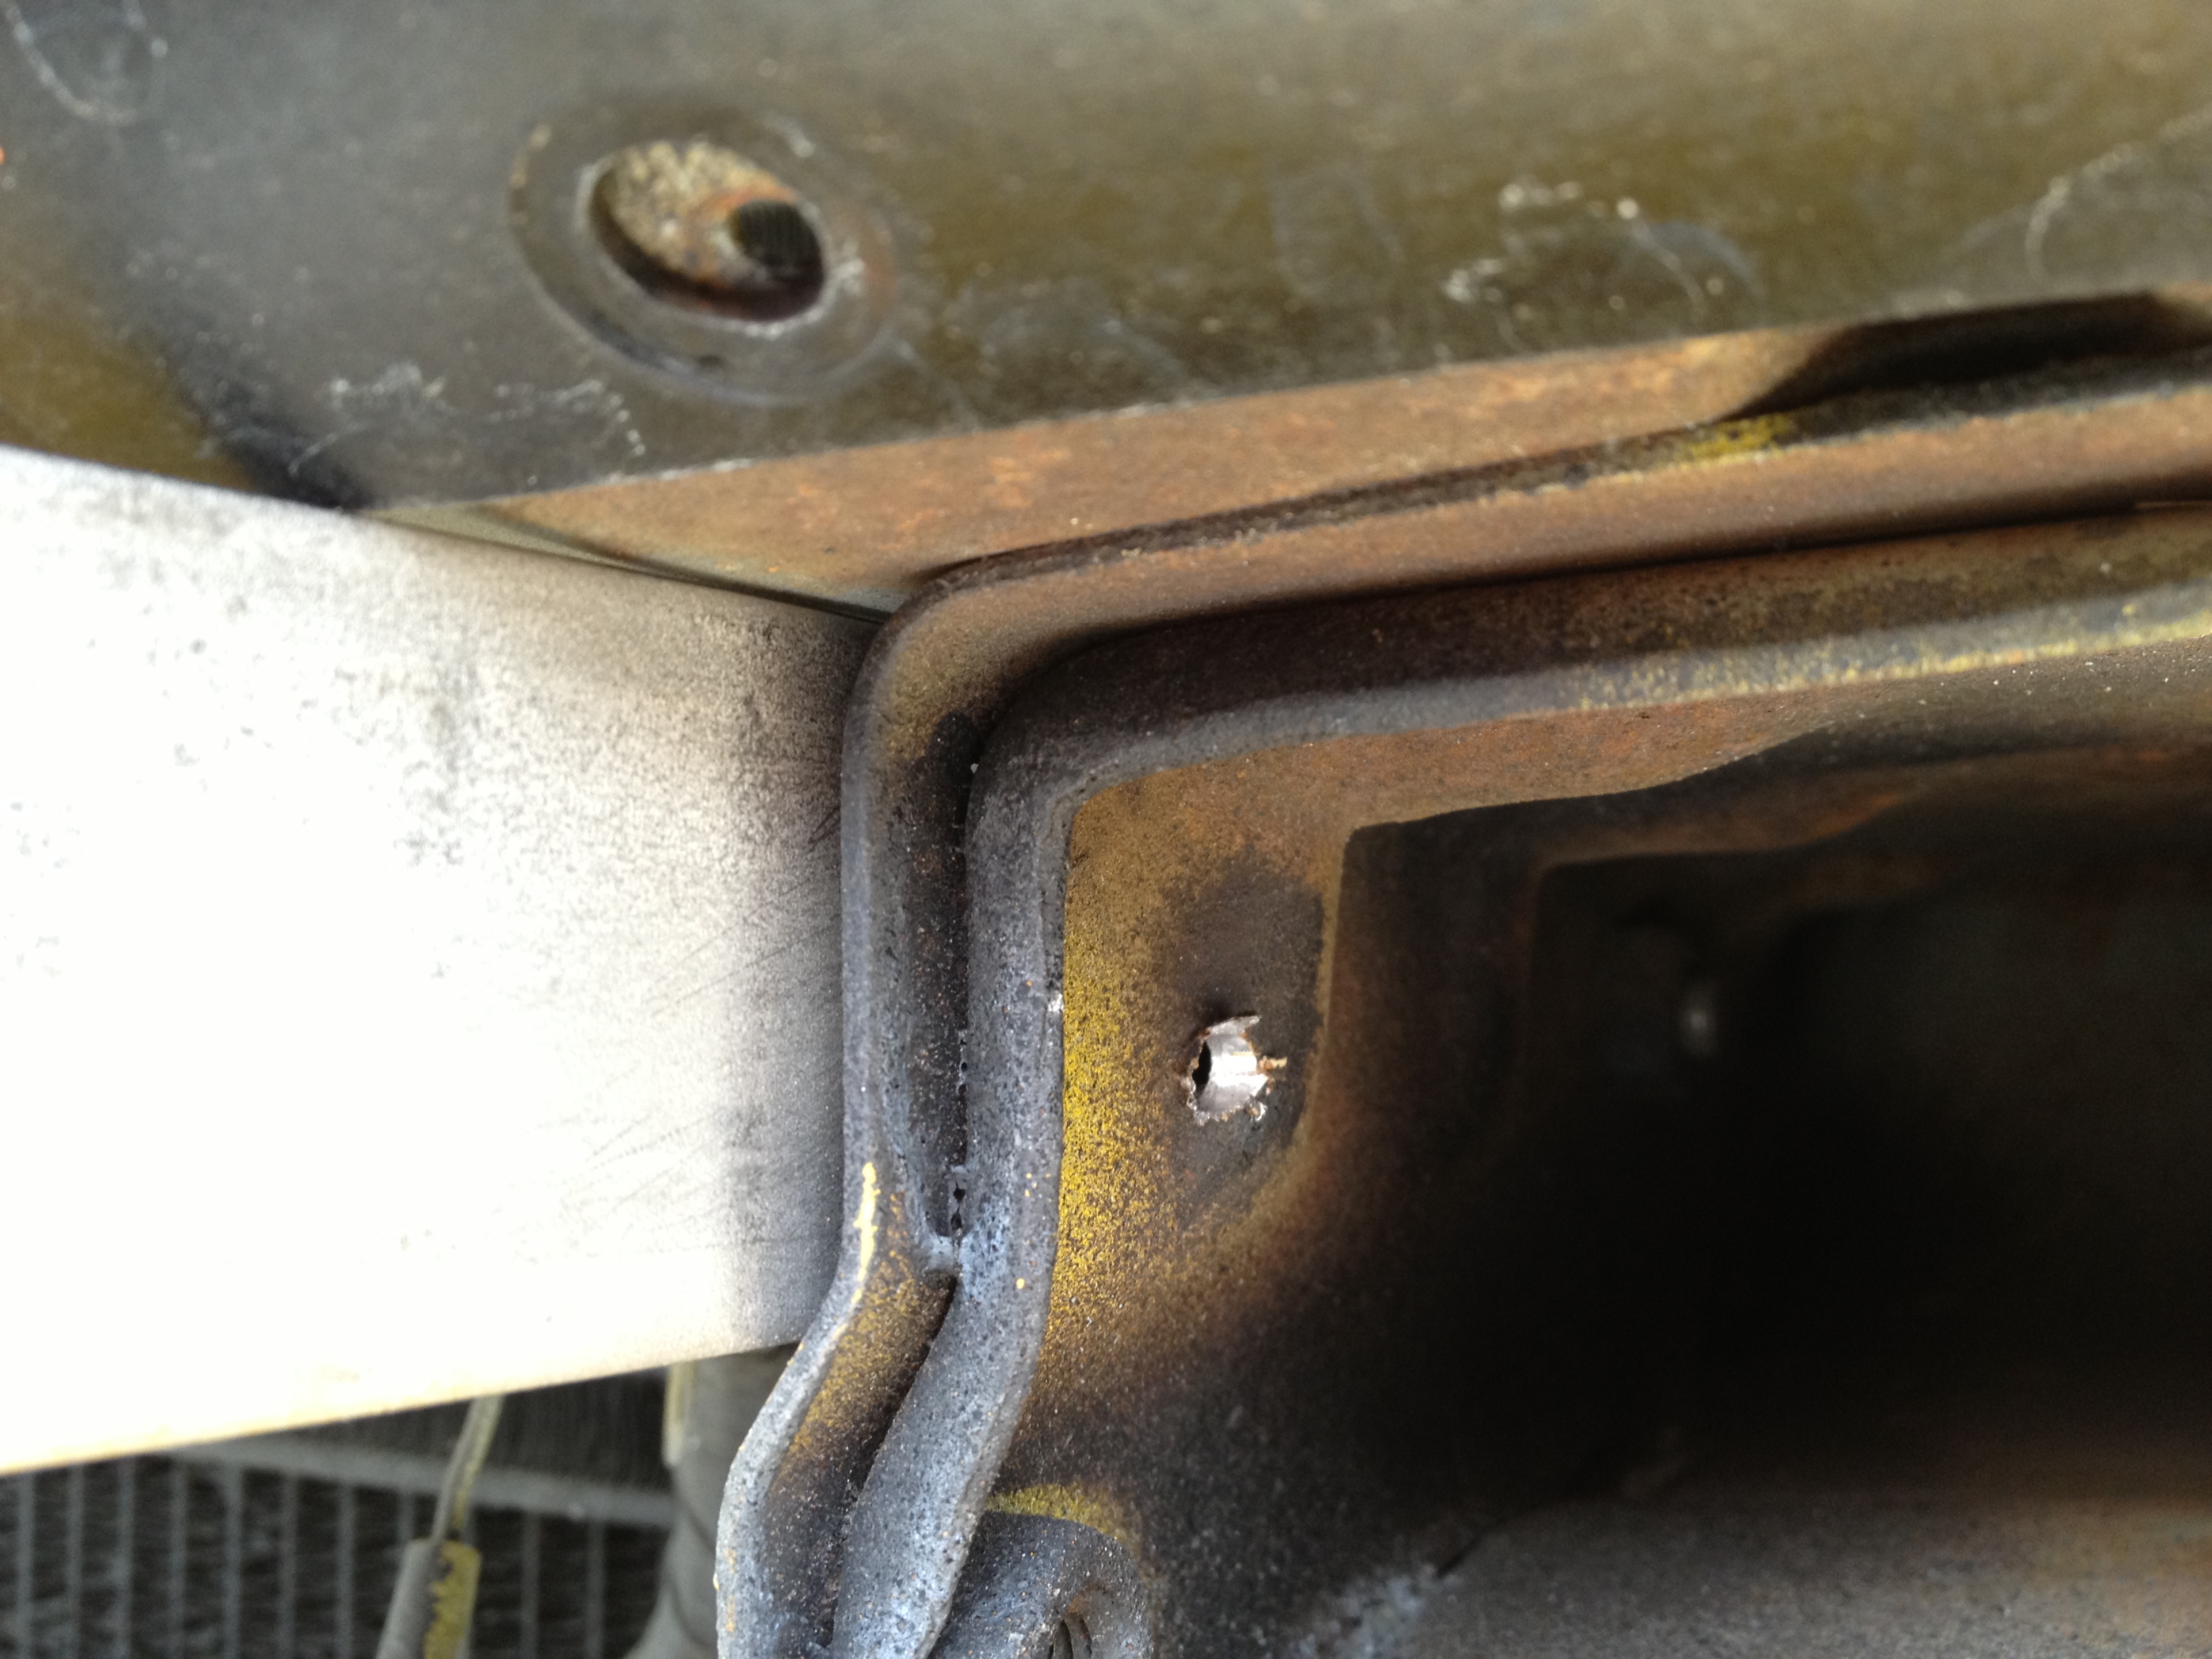
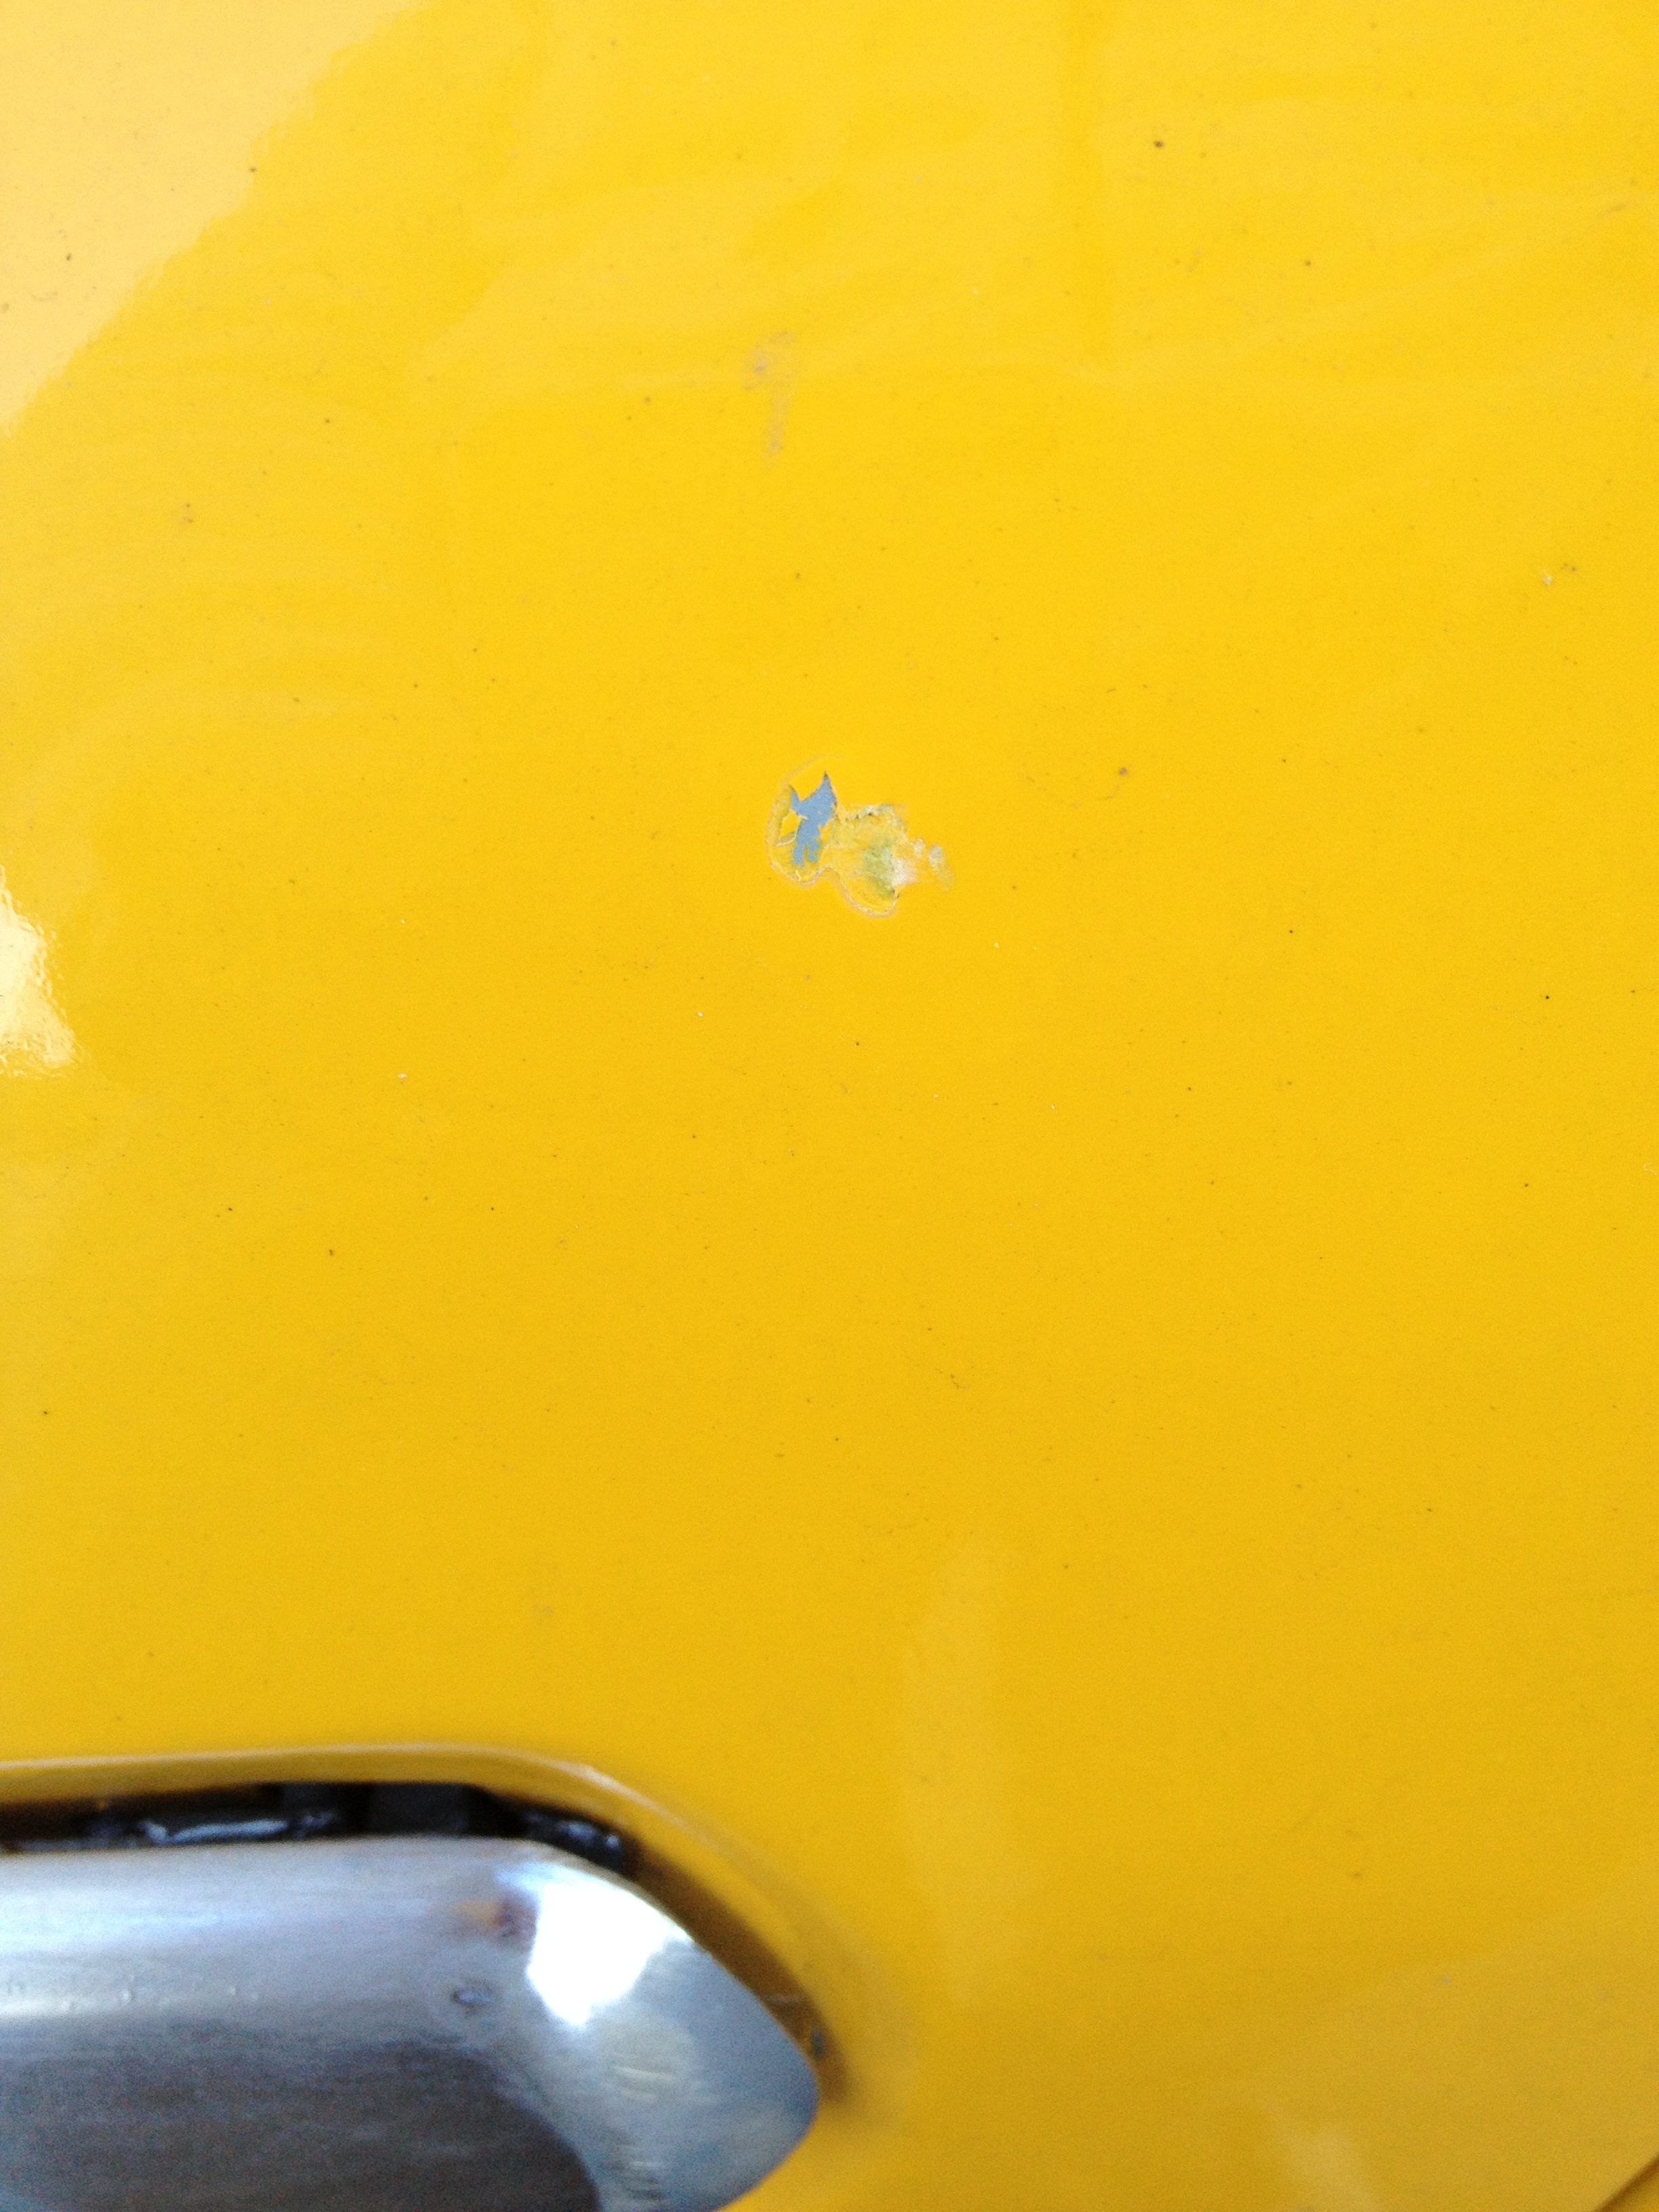
Check out what happened to the rear corners…

IMG_4606 IMG_4604 IMG_4605

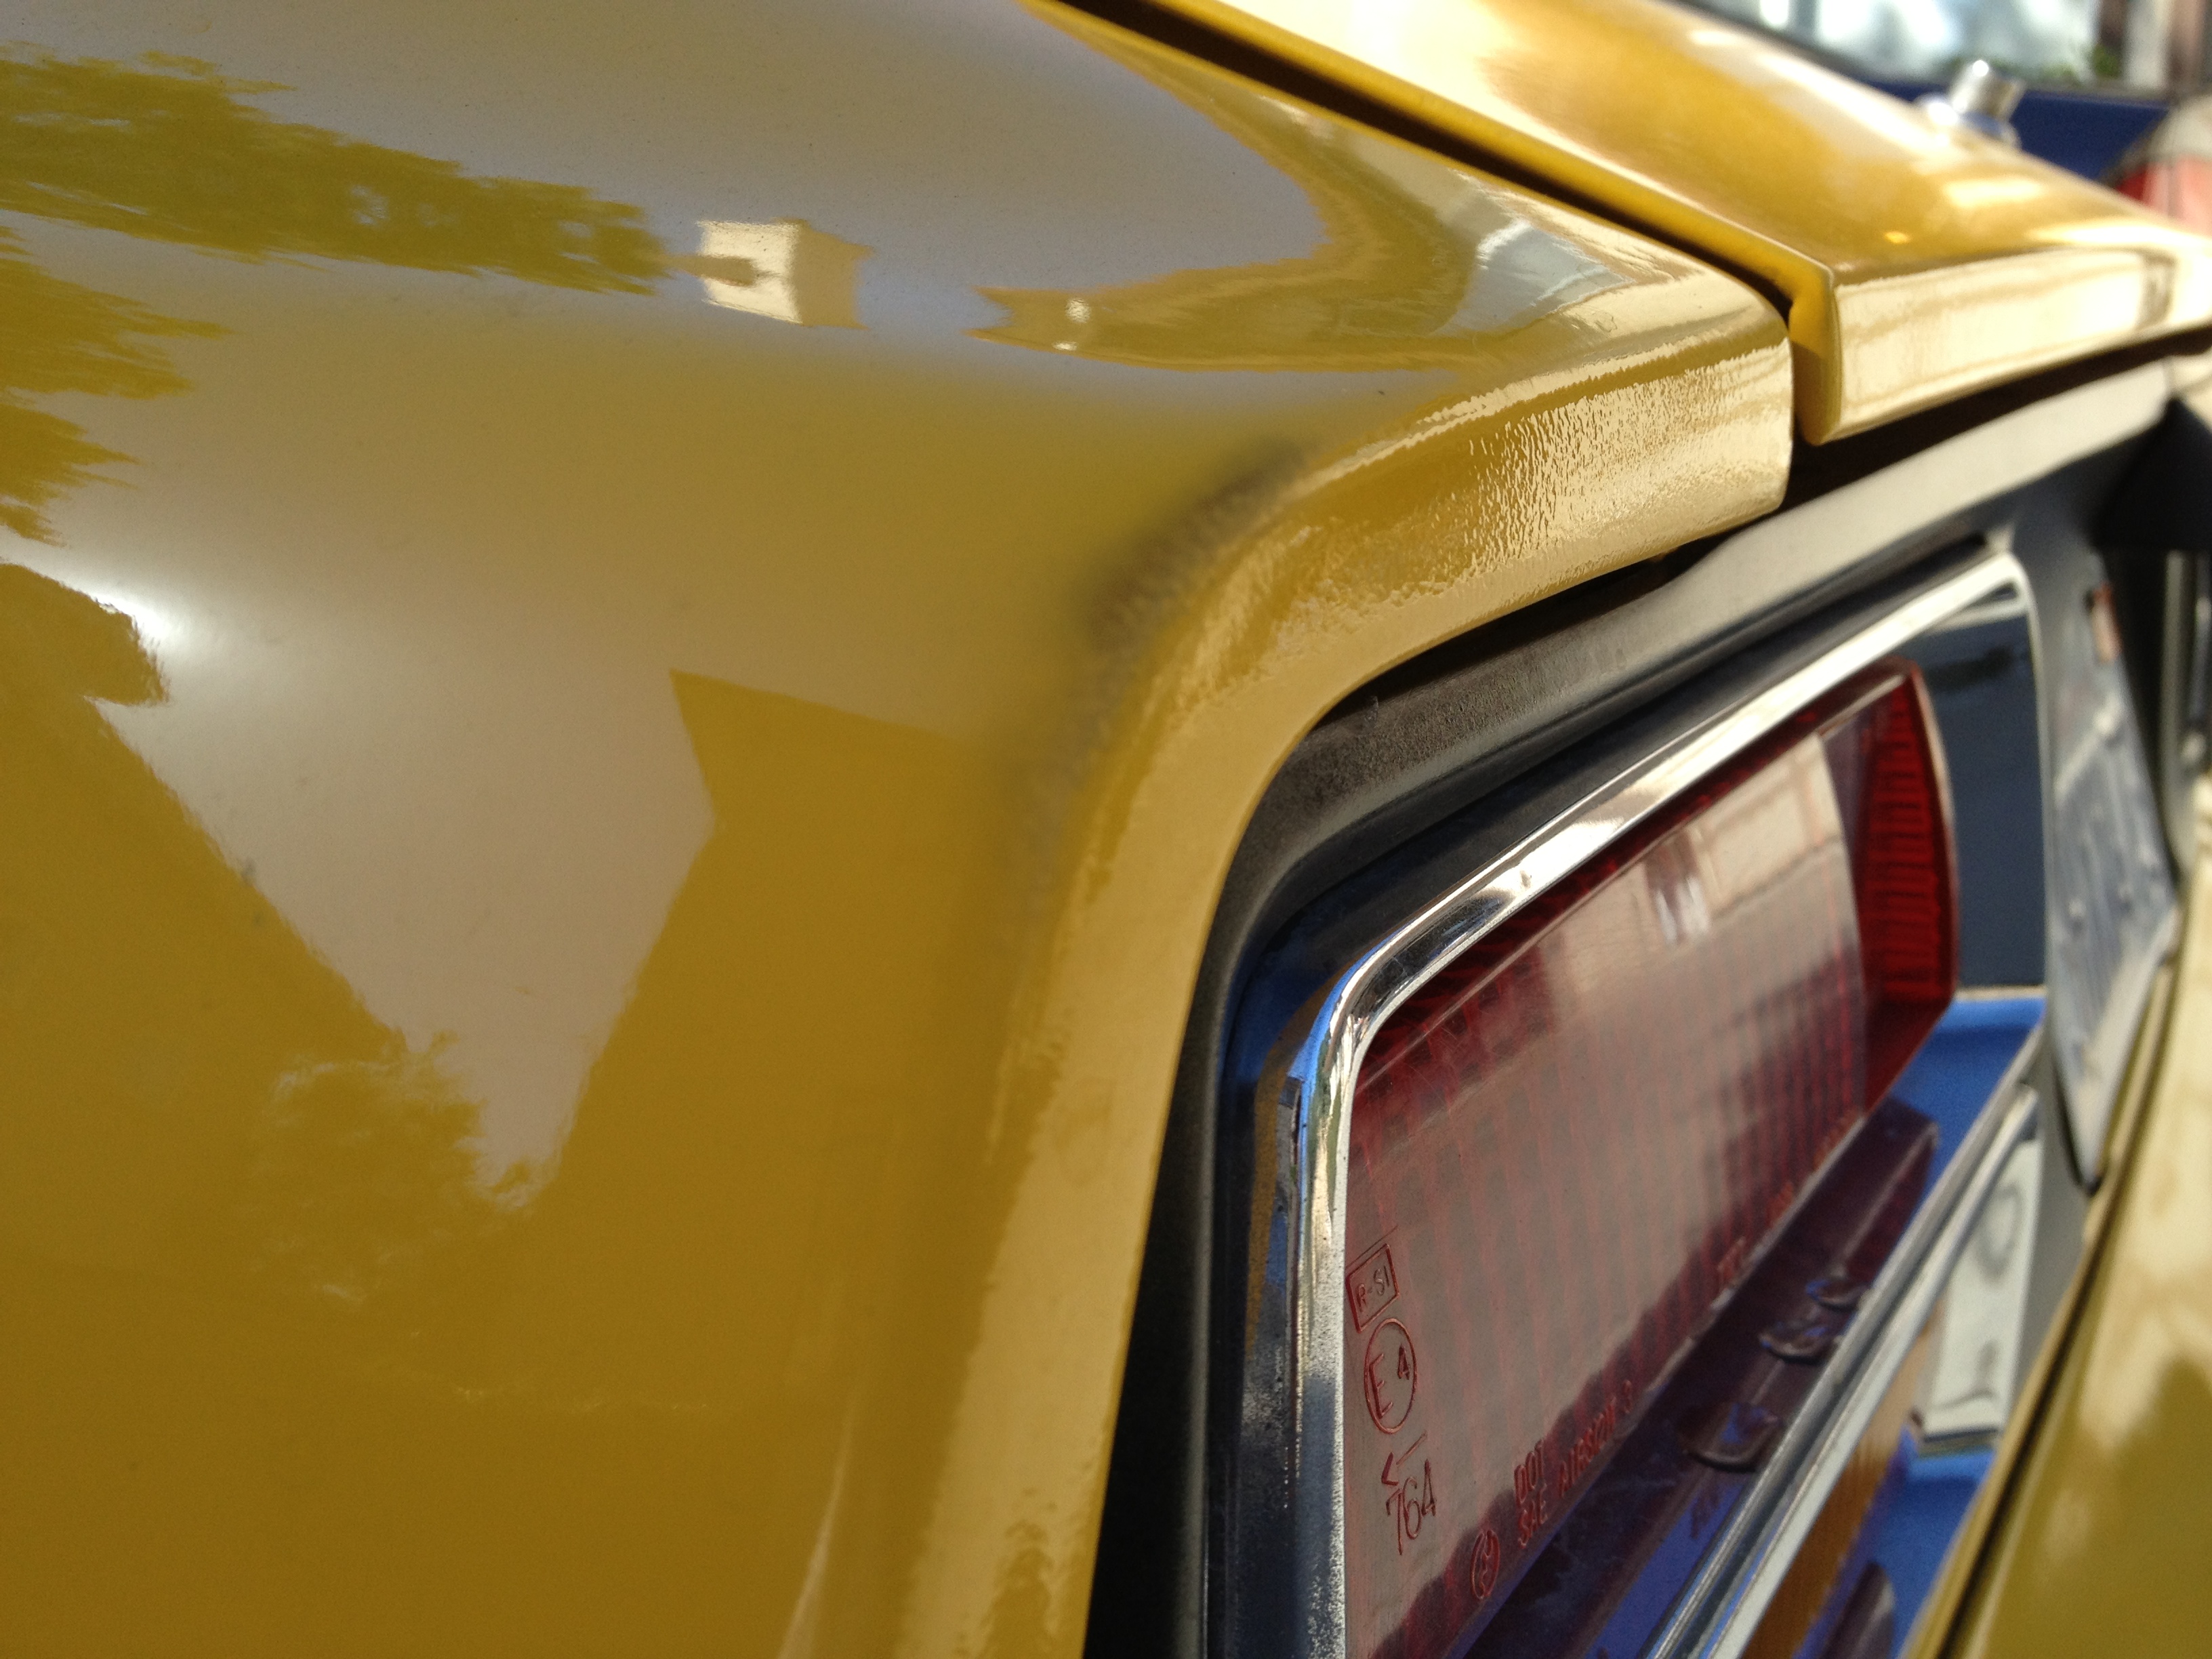
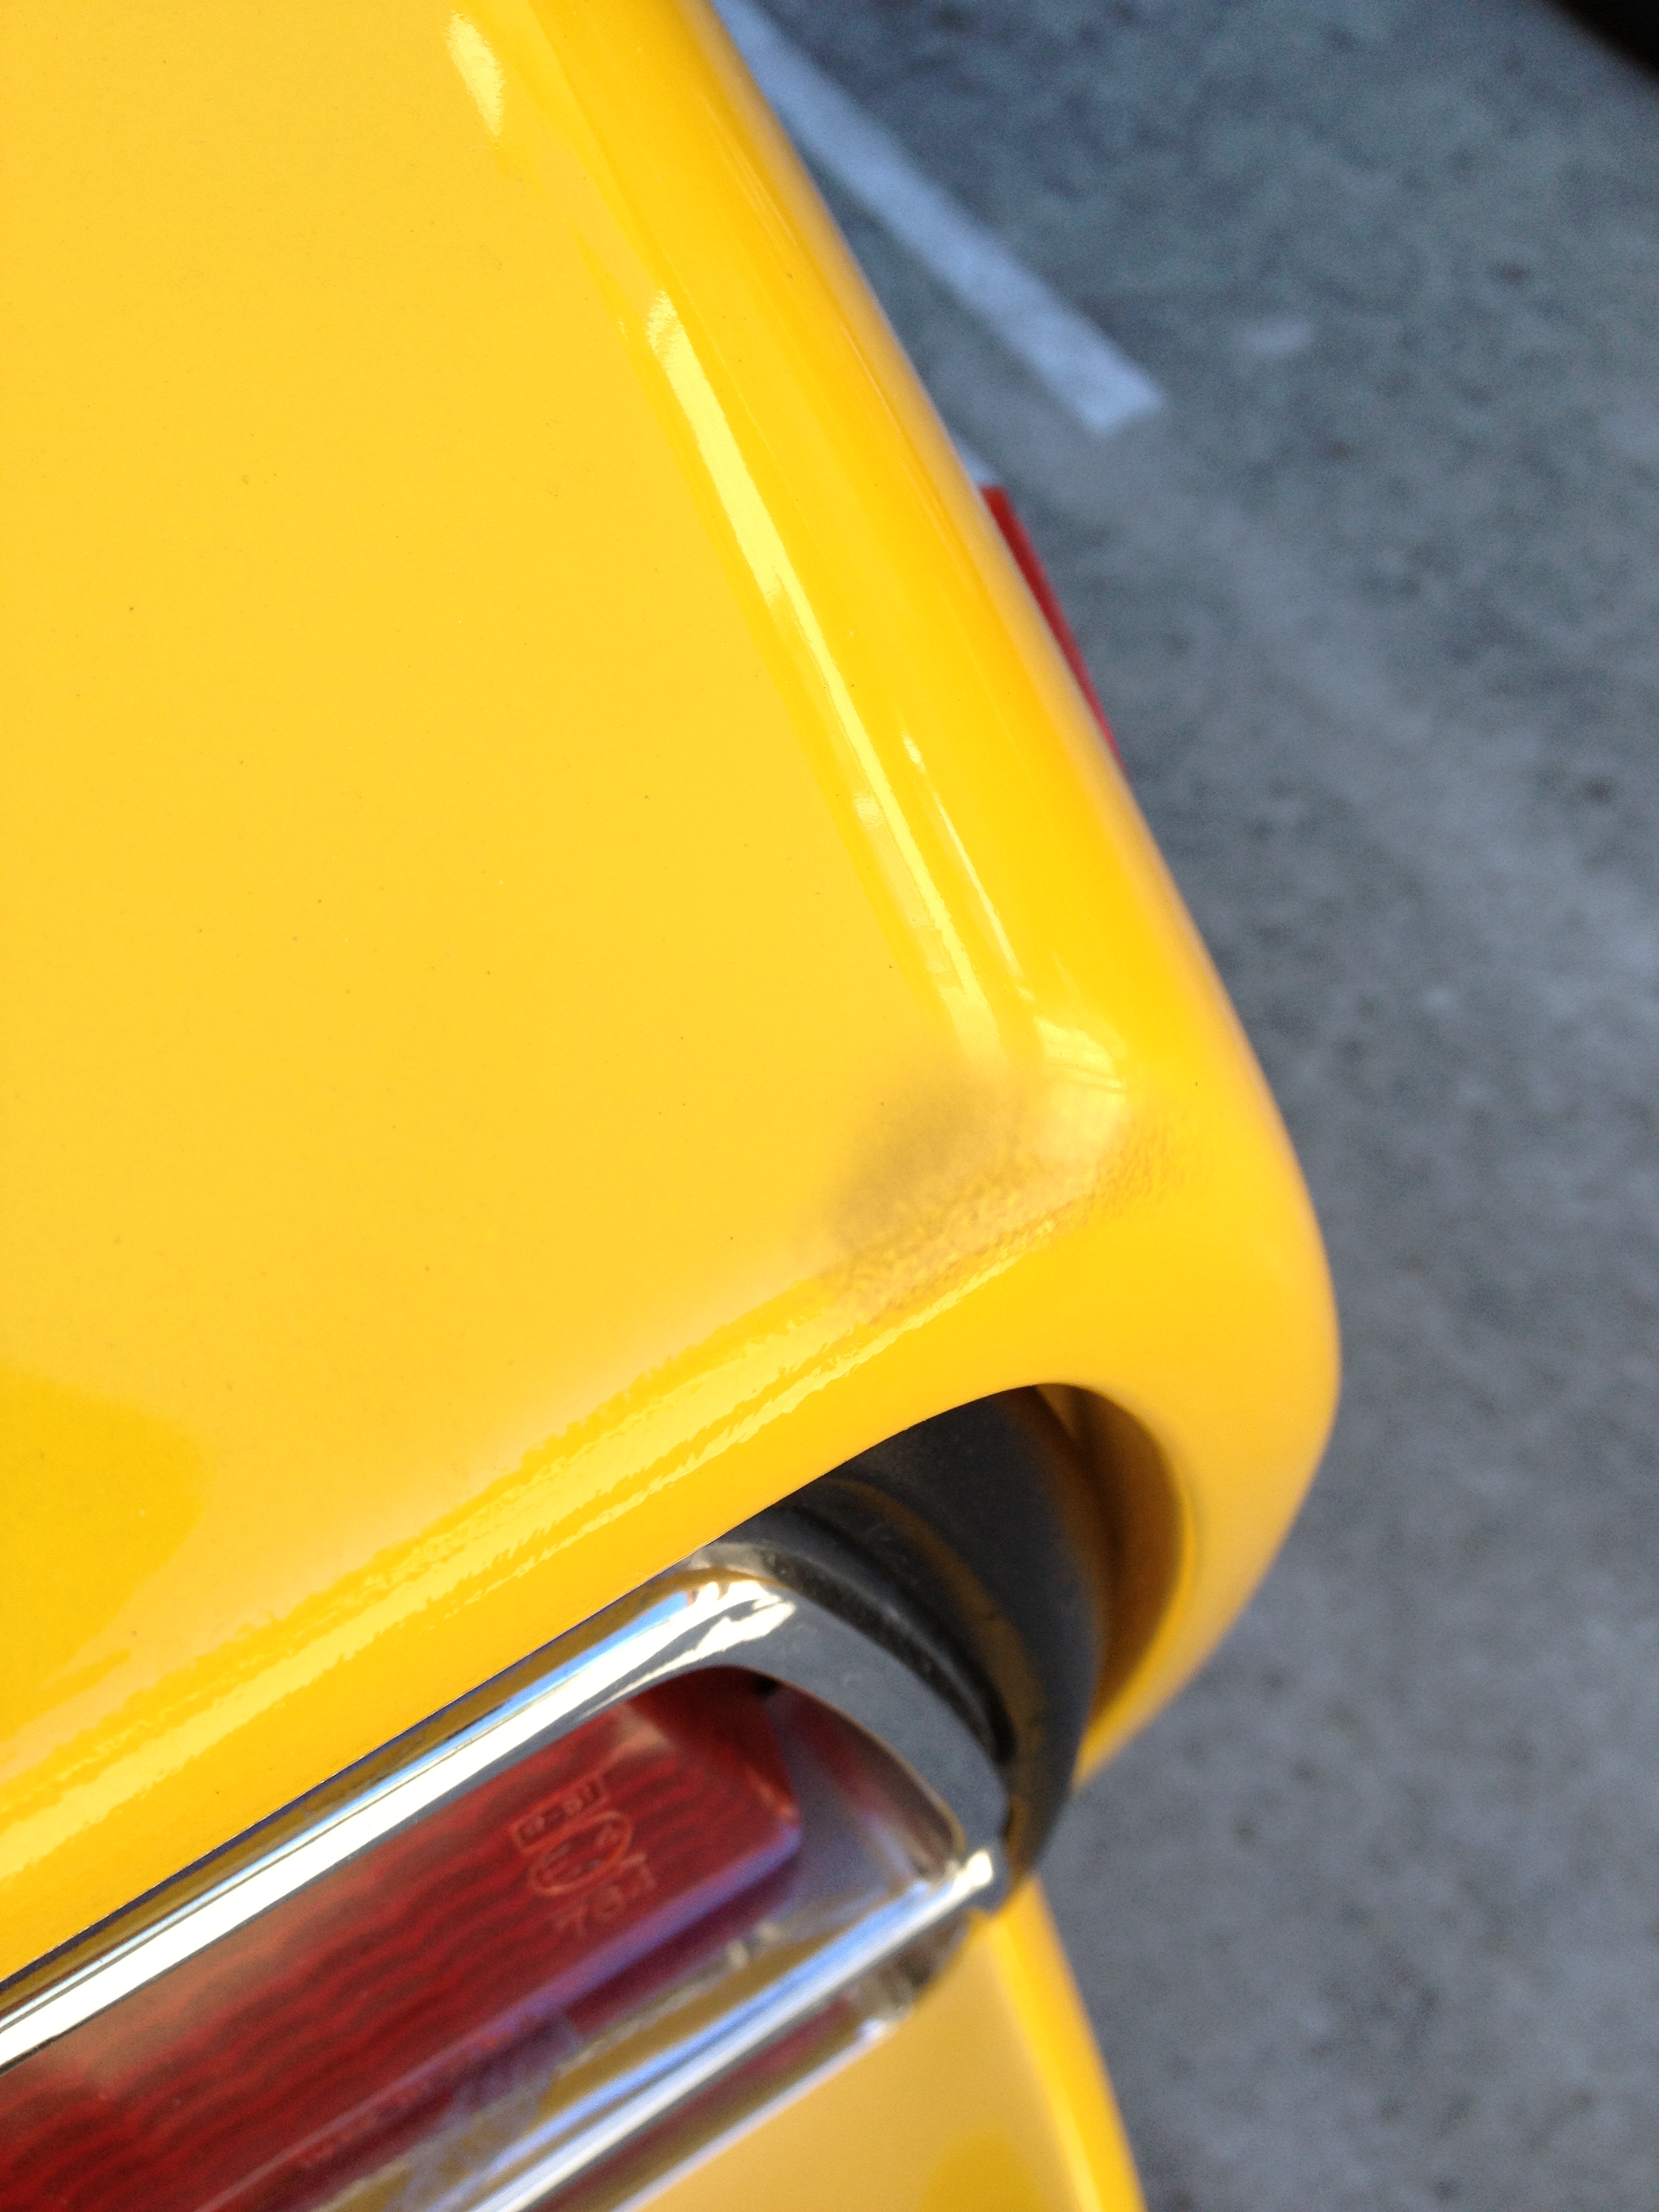
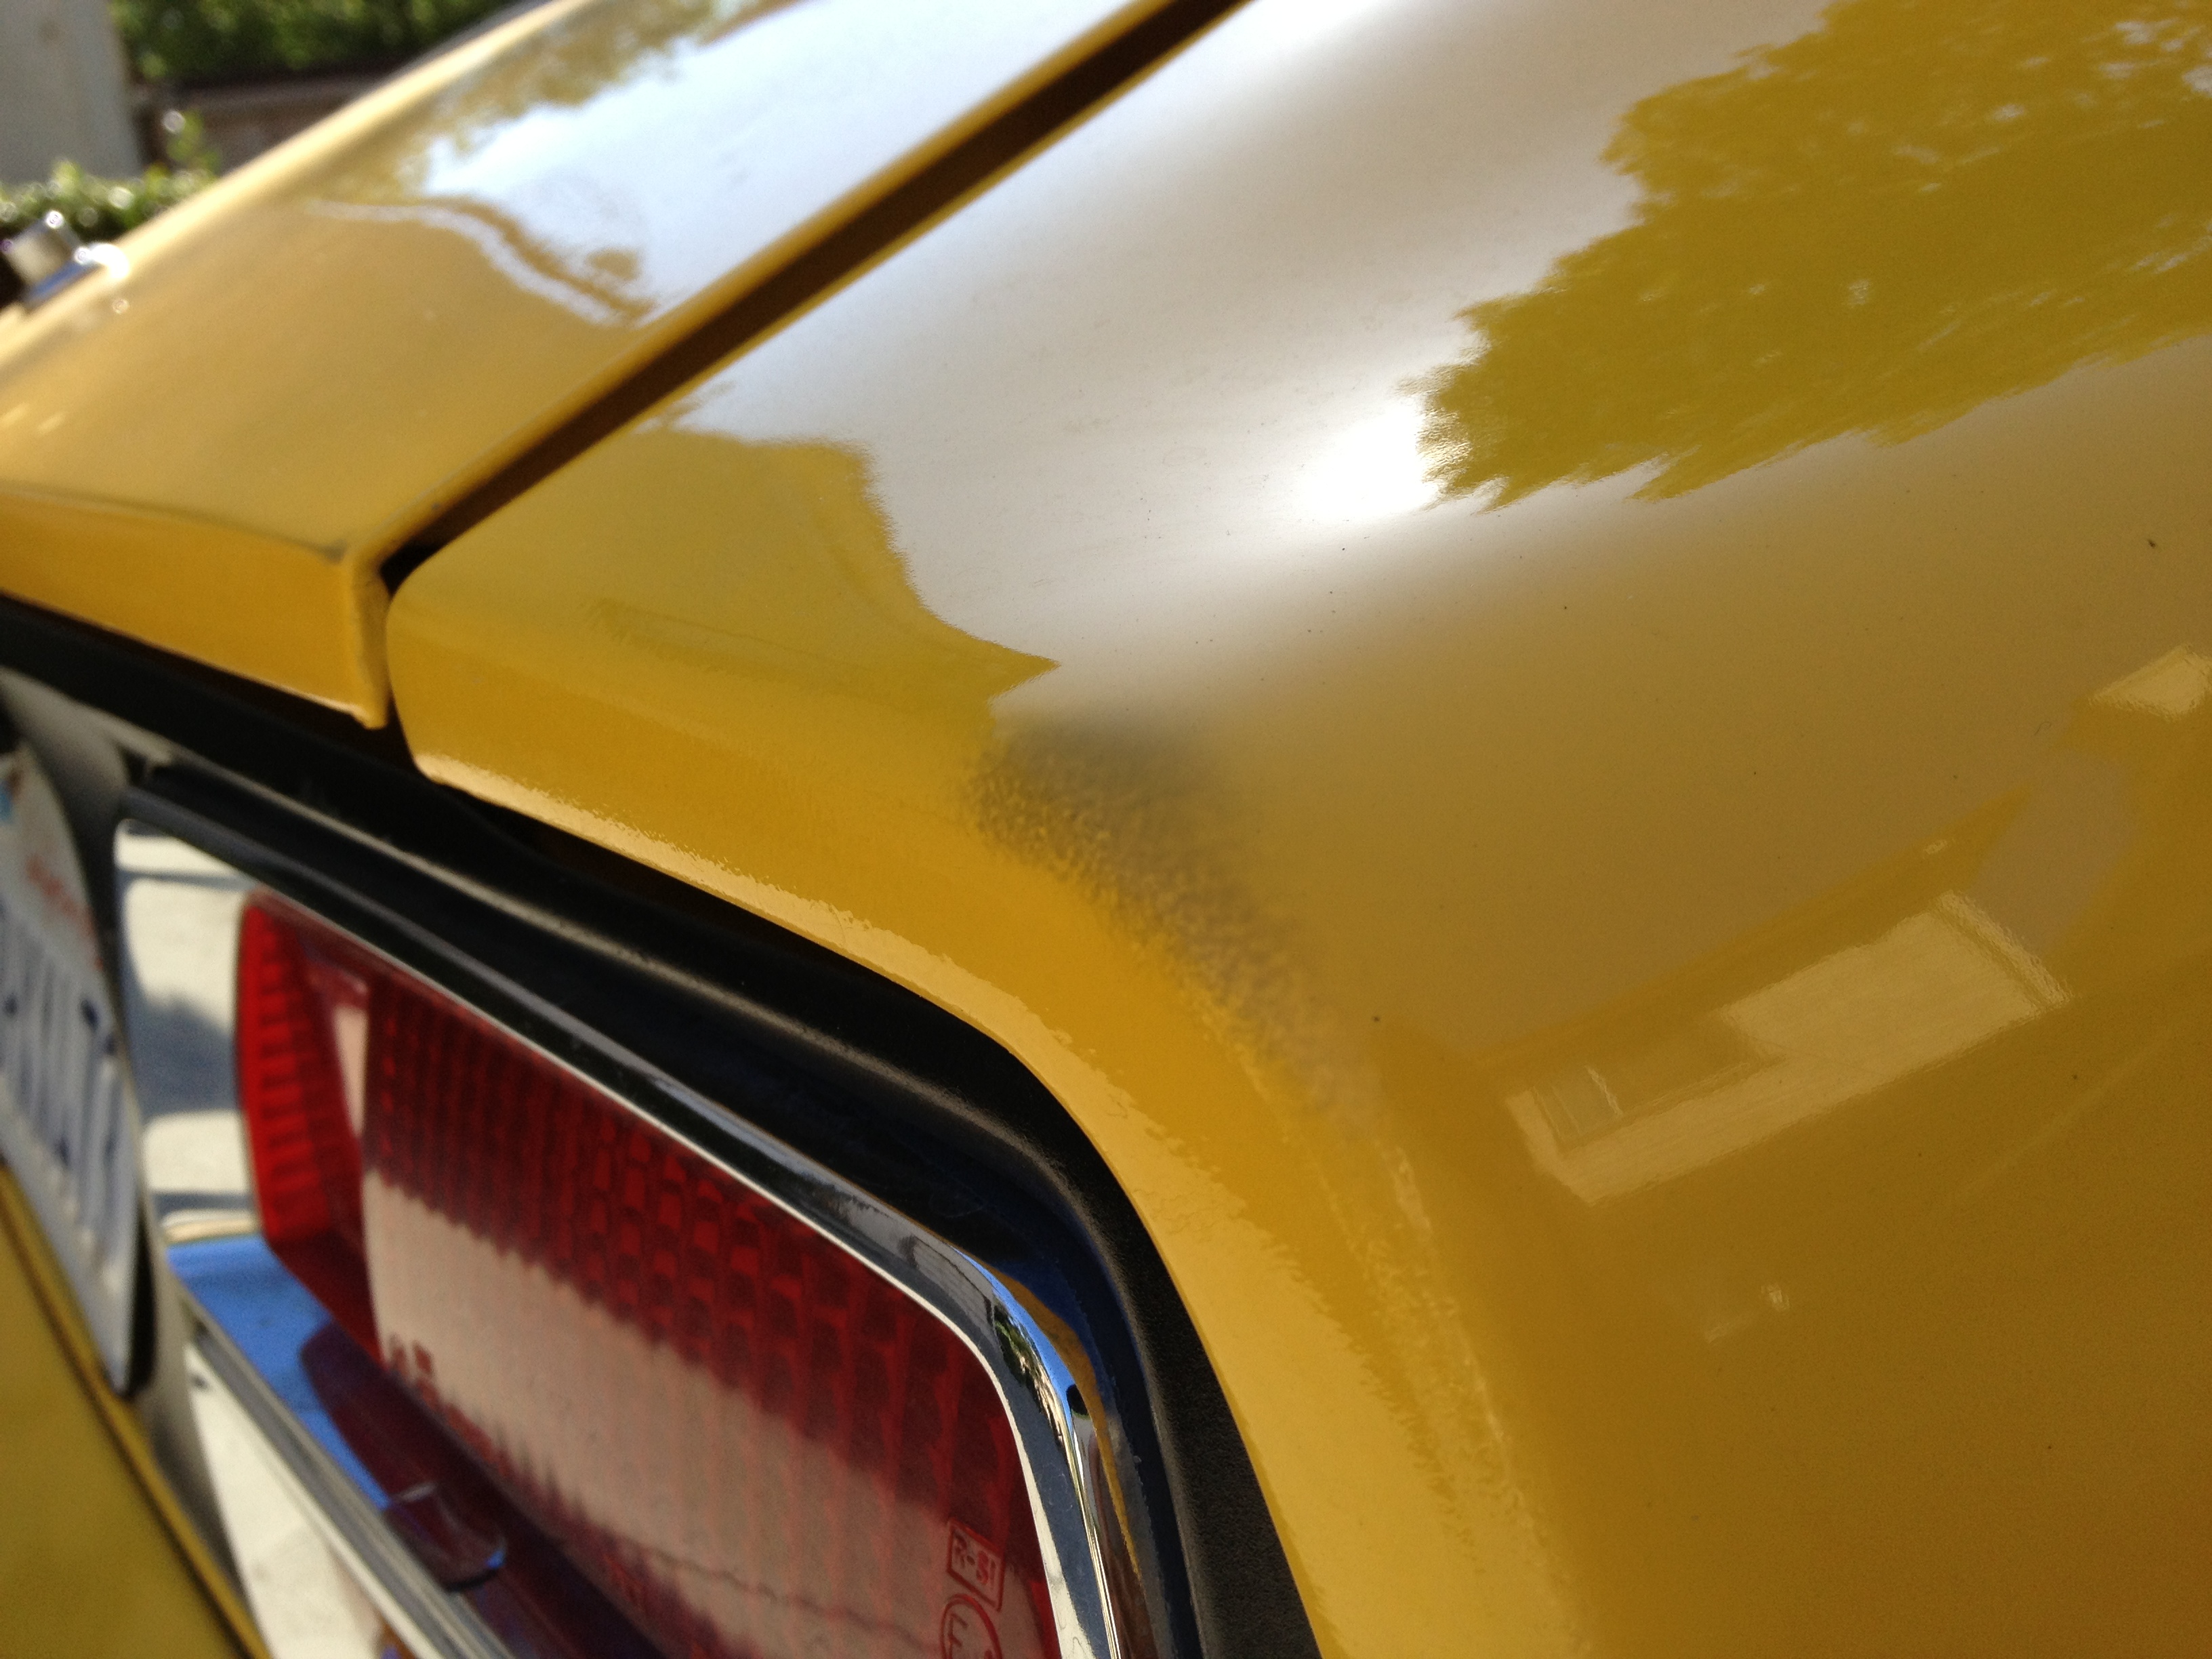
Some black wear / residue formed on the car from the car cover… it buffs out, but I reeeaally don’t like that. Seems really counter productive for a car cover. My guess is that it was windy, and the constant shifting of the cover caused the issue.  For a box that says Five Gold Star Protection Rating.. it’d give it 3 – works in a pinch, but maybe not on your pride n joy.

Record breaking day…

Record breaking day…for compliments!

Today was the 280Z’s day, as we got 3 street comments on it’s dashing good looks.

“Such a beautiful Z man.. what what is that? a 280? bet it’s a 280, huh? yeah it’s got great paint on it too..yeah that’s nice” – mustache-man-on-ape-hanger-bicycle. sigh, only in san jose, right? :]

Heading home, I rolled by a guy in a Corvair… guess who it was?! Mel from Mel’s Vairmart (he worked on our ’63 Corvair). We exchanged a few words at subsequent lights – him liking my ’77, and me commenting on his ’66. Then I mentioned we had a ’63. He looked at me with a “i thought i’d seen you before” smile, “hey then i’m probably sure i know you..”. “Are you Mel!? Yeah yeah you met my brother!” He seems like a character. He rolled behind me, and sent that white top down on the brown – sweet.

IMG_4764[1]

On the leg through downtown, I stopped at light next to a dude in a van; elbow hanging out. His stare was melting through his shades, slowly eyeing the front corner panel and making his way to back. I ducked down so i could see him from the passenger side window, and let out a protective, ‘hey’. Like a ‘hey, get your dirty eyes off’ kinda ‘hey’. “Nice car.” *shutter* I swear that light couldn’t turn green fast enough. I thought for sure any minute he was gonna chloroform the Z, and throw’em in the back of his Westfalia.

Turning 350z Heads

Hahaha quick post – just the other night I pulled up at stop light to make a left, and the 350z to my right (going straight) was checking out the car (hand over chin)… light turns green, and he’s still there eyeballin’. Not till another car zooms by does he realize that he’s been distracted by an old school Datsun Z.

Handle the Door Handle

Sigh – the door handle…

A few weeks ago, I noticed the door handle of the 280z just kinda hanging loose… Still able to open the door, but a loose handle could mean eventual non-working doors, and cross our fingers, maybe prone to brake-ins. If anything else, the tolerances of the Datsun 280z are surprisingly tight in some places, and a loose door handle can actually mean chipped paint! ouch! (you can spot the chip in the lower right).

I took an hour this morning to fix it all up and correct a few things along the way – let’s go!

Daily-Datsun-Door-handle (8)

Oh, here’s what you’ll need to tighten up a 280z door handle:
– 8mm wrench
– philips screw driver
– flat head screw driver
– paperclip or allen wrench (to get the window crank cotter pin out)

Per the S30 service manual, take off the arm rest, window crank, door escutcheon plate, and don’t forget the door lock post (just twist to take that off). Using something flat, gently pry off the door panel.

Daily-Datsun-Door-handle (7)     

Once you have that door panel off, window all the way up, you’ll be able to see the two nuts holding the door handle in. Use that 8mm wrench.

Daily-Datsun-Door-handle (5)Daily-Datsun-Door-handle (3)

In the meantime, I also able to finally glue the vinyl covering and lube up the door lock mechanisms.

Daily-Datsun-Door-handle (6)Daily-Datsun-Door-handle (2)

When put back together – that door couldn’t close sweeter, and the door handle is perfect.

Daily-Datsun-Door-handle (1)

Eh.. now for the reason why I noticed this in the first place was the paint chip caused by the loose door handle…eventually have to get to all these stupid paint chips.

240z Steering wheel on a 280z… while keeping the horn pad

A while back I picked up a 240z steering – I just love that wood-grained look (though it is composite). I did a nice refurbish on the 240z steering wheel shortly there after, but never got around to installing it… till this past weekend!

There isn’t much around the forums in the way of doing a 240z steering wheel on a 280z. Actually, it’s probably because  in terms of the steering wheel itself, there’s no conversion needed – the 240z steering wheel fits the 280z steering gear exactly. The issue I had was really mating a 280z horn button to the 240z steering wheel!

Check out the visual difference between the 240z (left) and 280z (right) horn pads…

Datsun-240Z-OEM-Horn-Pad 74-76 Horn Pad

I wish it were that easy of a swap, but upon removing the 280z steering wheel and comparing it to the 240z’s, the difference was apparent. The contact plate has 3 screws in the 280z, and only 2 screws in the 240z’s.  This different proved to be all the work, thus having to make an adapter to mate the two.

YES, I could have bought a 240z horn pad (avg $40 – $75), but I have a horn pad…and some metal…and a brain. And i like the challenge! :] Let’s go make a 240z-to-280z horn mating plate!

The 240z steering wheel has two screw holes for the horn assembly, while the 280z has three.

DailyDatsun-240z-steering-wheel Daily-Datsun-240z-280z-steering-wheel (9)

Upon disassembling the 280z horn (three screws), you’ll notice the contact plate has rubber washers and plastic guides (so that the contact plate doesn’t connect the horn pad and steering wheel). On the steering wheel, you’ll see that the 280z has a connection spring (12 o’clock). In the 240z steering wheel picture above, it uses a wire instead.

Daily-Datsun-240z-280z-steering-wheel (8)

The horn contact is located here in this pic at 4 o’clock.

Daily-Datsun-240z-280z-steering-wheel (7)

Datsun 240z to 280z steering wheel horn mating plate – design plan:
2 3/4″ diameter
3/4″ dia center hole
1 1/32″ distance between centers for 240z mounting holes
1 25/32″ lengthed iso triangle for 280z mounting holes (you can just trace these from the contact plate)

I didn’t have a compass, but I found a Mother’s polish can did the job.

Daily-Datsun-240z-280z-steering-wheel (5)

I had some time, so here’s PDF of the mating plate design in case anyone else wants to use it. It should be to scale – let me know how it goes!

DailyDatsun-240z-to-280z-hornMatingPlate copy

The NIBBLER! Since i don’t have a band saw (nor the room for one), the Nibbler gets all the attention.

Daily-Datsun-240z-280z-steering-wheel (6)

Daily-Datsun-240z-280z-steering-wheel (4)

Drilled the holes and test mounted the mating plate. Not too shabby. Use drill bits smaller than the screws used in their respective places so they can bite into the metal, make contact, and maintain electrical continuity.

Daily-Datsun-240z-280z-steering-wheel (3)

Here it is assembled on the car. Important to note that the 240z wire SHOULD NOT be hanging outside of the 280z contact plate… yeah, your horn will be ringing all day if you do. It SHOULD be connected to the 280z contact plate on the back side. Don’t add anything to the face of the contact plate because you want to have an even surface to make contact anywhere you press the horn button.

Daily-Datsun-240z-280z-steering-wheel (2)

Since soldering didn’t work on the contact plate, I simply just protected the mating plate (from further contact), bent the contact wire head, and press fit it under the contact plate.

Tada! installed. love it. and it still goes beep-beep.

Daily-Datsun-240z-280z-steering-wheel (1)

Blinker Blinks Again!

Always seems like something’s funky w/ the electrics… first it was the 280z’s headlights, then the wipers.

For a little while, the right turn signal was pretty intermittent. Left worked dandy, but the right… Every time I used the right turn signal, it would blink on and off reeeall slow. Additionally, when the either the parking or headlights were on, the turn signal would just stay on.

Symptom:

No lights on – right signal blink on / off real slow (function correct, speed incorrect)
Parking lights on – right signal blinks on / off real slow, sometimes not at all (function / speed incorrect)
All lights on – right signal blinks on /off real slow (function / speed incorrect)

IMG_4254

Of course, the first step would be to replace the bulb, but that didn’t do anything. Upon replacing, the socket look fairly corroded. But when jiggling the socket wire.. there’s the problem!

Yah! Now i can tell everyone i’m turning Right.

Before / After wiring to housing:

IMG_4255 IMG_4260

Before / after cleaning the socket. A rolled up a scour pad works like magic.

IMG_4259 IMG_4257

Windshield Washer Fluid Reservoir install

Shortly after getting the windshield wipers to work on the 280z, it was only natural that I test the washer fluid. It wasn’t any surprise that after pressing that button, nothing happened – not even the hum of its motor. I thought maybe it was a bad contact like the wipers…and turn signals…and everything else.

But popping the hood revealed:

Daily-Datsun-280z-windshield-washer-reservoir-motor (18)

huh – no windshield washer reservoir AT ALL!

I tussled with a guy on CL wanting $300 (then dropping to $100) for a used one… and then decided to go with a new one from eBay, $52 shipped. Of course it wasn’t OEM for the 280z and required a bit of modification. Here we go!

The Mitsuba Electric model came with a bunch of goodies needed for a full install, but since I already had the jets and T-junctions in place, i just needed the reservoir, motor and hose.

Daily-Datsun-280z-windshield-washer-reservoir-motor (19)

Daily-Datsun-280z-windshield-washer-reservoir-motor (17)

Here’s a pic of the placement. Notice the original washer tank would have slid into the metal bracket. The Mitsuba also has a slot of its own.

Daily-Datsun-280z-windshield-washer-reservoir-motor (1)

So I made a bracket out of some spare metal i had around – measured twice, cut once.

Daily-Datsun-280z-windshield-washer-reservoir-motor (4)

Daily-Datsun-280z-windshield-washer-reservoir-motor (14)

Viola! It tapers so that the narrow end fits in the car slot, and the wider end fits into the washer reservoir.

Daily-Datsun-280z-windshield-washer-reservoir-motor (2)

Bending into shape

Daily-Datsun-280z-windshield-washer-reservoir-motor (3)

And it kinda came out like the drawing!

Daily-Datsun-280z-windshield-washer-reservoir-motor (5)

Test fit on the car chassis. You’ll notice in this pic that the gaps are smaller than above to prevent sliding while in either slots. Side view:

Daily-Datsun-280z-windshield-washer-reservoir-motor (6)

Top view:

Daily-Datsun-280z-windshield-washer-reservoir-motor (13)

Test fit on the bottle. Not too bad here.

Daily-Datsun-280z-windshield-washer-reservoir-motor (7)

Test fit with both in the car.

Daily-Datsun-280z-windshield-washer-reservoir-motor (8)

The 280z has a special connector for the washer motor that doesn’t coincide with the Mitsuba’s. Fortunately, the blue/red wires correspond, and I assumed that the other was the ground.

Daily-Datsun-280z-windshield-washer-reservoir-motor (15)

Quick electric test before making any wiring commitments… haha! We have squirting! This was fun; it was like a mini-water gun.

 Daily-Datsun-280z-windshield-washer-reservoir-motor (9) Daily-Datsun-280z-windshield-washer-reservoir-motor (10)

Hooked up the hose, tucked it alongside the other wires, and it install is completed.

Daily-Datsun-280z-windshield-washer-reservoir-motor (12)

Now when the windshield gets dusty, there’s no more need to hang out the window to wipe it off with a little spit (j/k!).

IMG_4206

Front bumper!

I had some time this weekend to finally put on that front bumper.

I bought a bumper on CL a while back, and while it isn’t in perfect condition (dent in front), it’ll do for now. On with the install! (and lots of pics)
You’ll need:
– bolts that held in the 280z bumper shocks
– nuts that held on the 280z bumper to the shocks
– 14mm socket wrench
– drill w/ a bit between 1/2″ and 3/8″ bit (if you’re going to drill the 2nd hole into the frame)

A few posts ago, I was cleaning up whipping into shape those stainless steel Z bumper brackets in order to put a 240z bumper on a 280z. Now that they’re ready to go, it’s time to fit the bumper.

After some finagling, I figured out how the brackets should go and attached to the car frame. Here’s a diagram:
240zBumperBrackets
Note: the brackets point outward and positioned so that the slots are on the lower half. You can see where the existing hole lines up.

Daily-Datsun-240z-bumper (26)

However, the bumper guards didn’t exactly line up! Ugh – off by an 1/4″ on both sides. So for now, off they go, until I can figure something out (because I do like them!).

Daily-Datsun-240z-bumper (25)

A quick dry fit – not too bad. From the bird’s eye view, you can really see that dent. Eh, we’ll roll with it for now!

Daily-Datsun-240z-bumper (23) Daily-Datsun-240z-bumper (22)

Okay, so the bumper isn’t show room, but I at least want to clean out some rust and polish that chrome up. But first, and little straightening.

Daily-Datsun-240z-bumper (21)

The inside was fairly rusted so i took to it with a drill wire brush attachment, primed with rust enamel and finished it with good ol truck bed lining black. At least it’ll look super clean should anyone take a peek.

Daily-Datsun-240z-bumper (19)  Daily-Datsun-240z-bumper (17) Daily-Datsun-240z-bumper (12)

0000 (quadruple zero) steel wool is the way to go for cleaning up chrome. Anything more coarse will just leave scratches. Here’s what looks to be some oxidation and left over gray paint over-spray from the previous owner. Cleaned up nicely with the 0000 steel wool and polished with Mother’s chrome / mag polish. And now i can see the reflection of the car.

Daily-Datsun-240z-bumper (2) Daily-Datsun-240z-bumper (3)


Another example of cleaning on the license plate tabs.

Daily-Datsun-240z-bumper (9) Daily-Datsun-240z-bumper (8)

Mount and screw with the existing bolts / nuts from the 280z bumper… viola!


Daily-Datsun-240z-bumper (5) Daily-Datsun-240z-bumper (6) Daily-Datsun-240z-bumper (7)

Overall, not too bad of a fitment. The brackets (if i may say once again) are a little less than desirable, so be prepared to modify them to get the right fit. At stock, the brackets are pretty much maxed out, pushing right up against the frame of the car, so I won’t be able to move the bumper back any further. There are additional bolts that help keep the bumper in plain with the ground, and they barely meet up. If you notice from the passenger side picture, the bumper tip and hole into the body don’t quite match up (which could also be in part to the dented bumper). I’ll figure something out, but for now, I’m happy.

Next up will be drilling some holes in the frame for the 2nd slot in the bumper bracket; give it some some extra stability.

Daily-Datsun-240z-bumper (15)

But for now, another 240z bumper has been installed on another 280z, and all is looking good in the Z world.

240z bumper brackets on a 280z

I love the look of the simple, streamlined bumpers of the 240z (and used on 1/2 of the series of 260z’s) over the heavy and thick bumpers of the 280z. Just check those out!

As the mid-70’s emission standards crushed down on the carburetor’d engines of the day and gave way to fuel efficiency (see, not all change is bad), safety standards tightened it’s seat belt and created a war on unsafe aesthetics. Thus, Datsun had to change it’s more or less cosmetically thin bumper for a safe, unwieldy hunk of steel that people today still loathe. Nearly 20lbs of loathing.

If you remember back in March, my brother and I removed the bumpers and increased gas mileage.

Well they’ve been off ever since because the brackets I got from ebay..were less than satisfactory. I’ve already mentioned that correspondence with their maker, v8-240z, was non-existent. But even worse, when I finally got around to test mounting the brackets… the bolts didn’t fit in the holes.

Wait, what? Yep, the original bolts do not fit in ANY of the mangled, burred, half-ass hand-drilled holes. Awesome.

Time to break out that Dremel. The grinding stone attachment worked wonders and allowed me to clean up those unsightly edges to something relatively straight.

Daily-Datsun-240z-bracket-3

You can see the top slot is the one currently being widened / cleaned up. The bottom slot is actually 1/2 cleaned up by me and doesn’t really show the maker’s work in all its wavy glory, but you get the idea.

Daily-Datsun-240z-bracket-1

Had them done in 10 mins. Now to mount…

Arg! Door ding!

arg. paint chip on the 280z door

Yep – got a door ding. sooo unhappy.


Parked in an asian market next to a guy opening his doors of a green Explorer. We wanted to get to his rear passenger side door while i was getting out… he waited. I went into the market. When i left the market, he was still parked next to me. It’s not until i got home that i noticed it.. right above the door handle. Now every morning, this dime-sized shy of a paint chip glares back at me. arg.

Well, better brush up on my painting skills.