Getting Wedding Ready – Part II

So it’s been over at Pacific Auto Body & Paint getting the full treatment. Rick has been a great fellow to work with, and keeping both the car’s looks and my pocket change budget in mind. For the time it’s been over there, the 280z has gone through some great personal treatment. Let’s take a look…

Pacific Auto Body & Paint - shop front

After driving it down the shop, he went right away at it with a sanding wheel! WWRRrrrll!

280z-sanded-2

Next, the guide coat. The guide coat is a light spray of color done all over. This helps him make sure no spots are missed! From here, it gets “blocked”. Blocking is a sanding technique of which i don’t know much about, but i know it’s important to get those surfaces even, smooth and consistent.

280z-paint-guide coat - 1

280z-paint-guide coat - 2

280z-paint-guide coat - 3

And then the sealer. Even with just the sealer, you can see the lines really popping w/ all the reflections from the overhead lights. And this is all BEFORE primer!

280z-paint- sealer - 1

280z-paint- sealer - 2

280z-paint- sealer - 3

If you’ll notice in the next picture, we decided to take of the cowl (just above the engine bay) and decided to do it right. He’s gonna black out the inside, and paint in/out of the cowl.

280z-paint- sealer - 4

HAPPY 35th BIRTHDAY!


YES! In April of 1977, this 280z rolled off the manufacturing line and on to the docks, headed for the Bay Area. Though his 35th birthday would’ve been more appropriate to celebrate last month, I wanted to post it along with his birthday gift – a new paint job.

Datsun 280z front valance removed - front

We’ve decided to take the 280z over to Rick at Pacific Auto and Paint, located on Santa Clara St in downtown San Jose. In the initial scoping for paint, Rick was very enthusiastic and very friendly about getting the car in and handling the job (more importantly, complete the work before the wedding!).

So a short post before a separate painting post, but here’s a few pics to wet the appetite – bon appetit!

Can you figure out what’s missing from this picture?

Datsun 280z - no side molding

Removed the rivets with a 1/8″ drill bit.. all the rivet heads were piling up!

Datsun 280z - rivet removal

The ‘Z’ side emblem removed.

Datsun 280z - side vent emblem removed

door locks were actually quite easy

Datsun 280z door lock removed

I’ve used quite a few “easy-out” screw removers, but Grabit is awesome. Many of the front valance screws were rusted tight, and the heads got striped while taking them out with a drill / screwdriver. Grabit is a bit with a drill bit on one end and the extractor on the other. A set of 3 sized bits, it was worth every $.

GrabIt - works

And it made quick work on getting the front valance off.

Datsun 280z front valance removed

The ‘Datsun 280z’ comes off, along with the rear hatch lock.

Datsun 280z - rear badge removed

And thus i’m left with a bin of parts. OFF TO THE PAINTER!

280z parts bin


Getting Wedding Ready – Part I

OH yeah. It’s on.

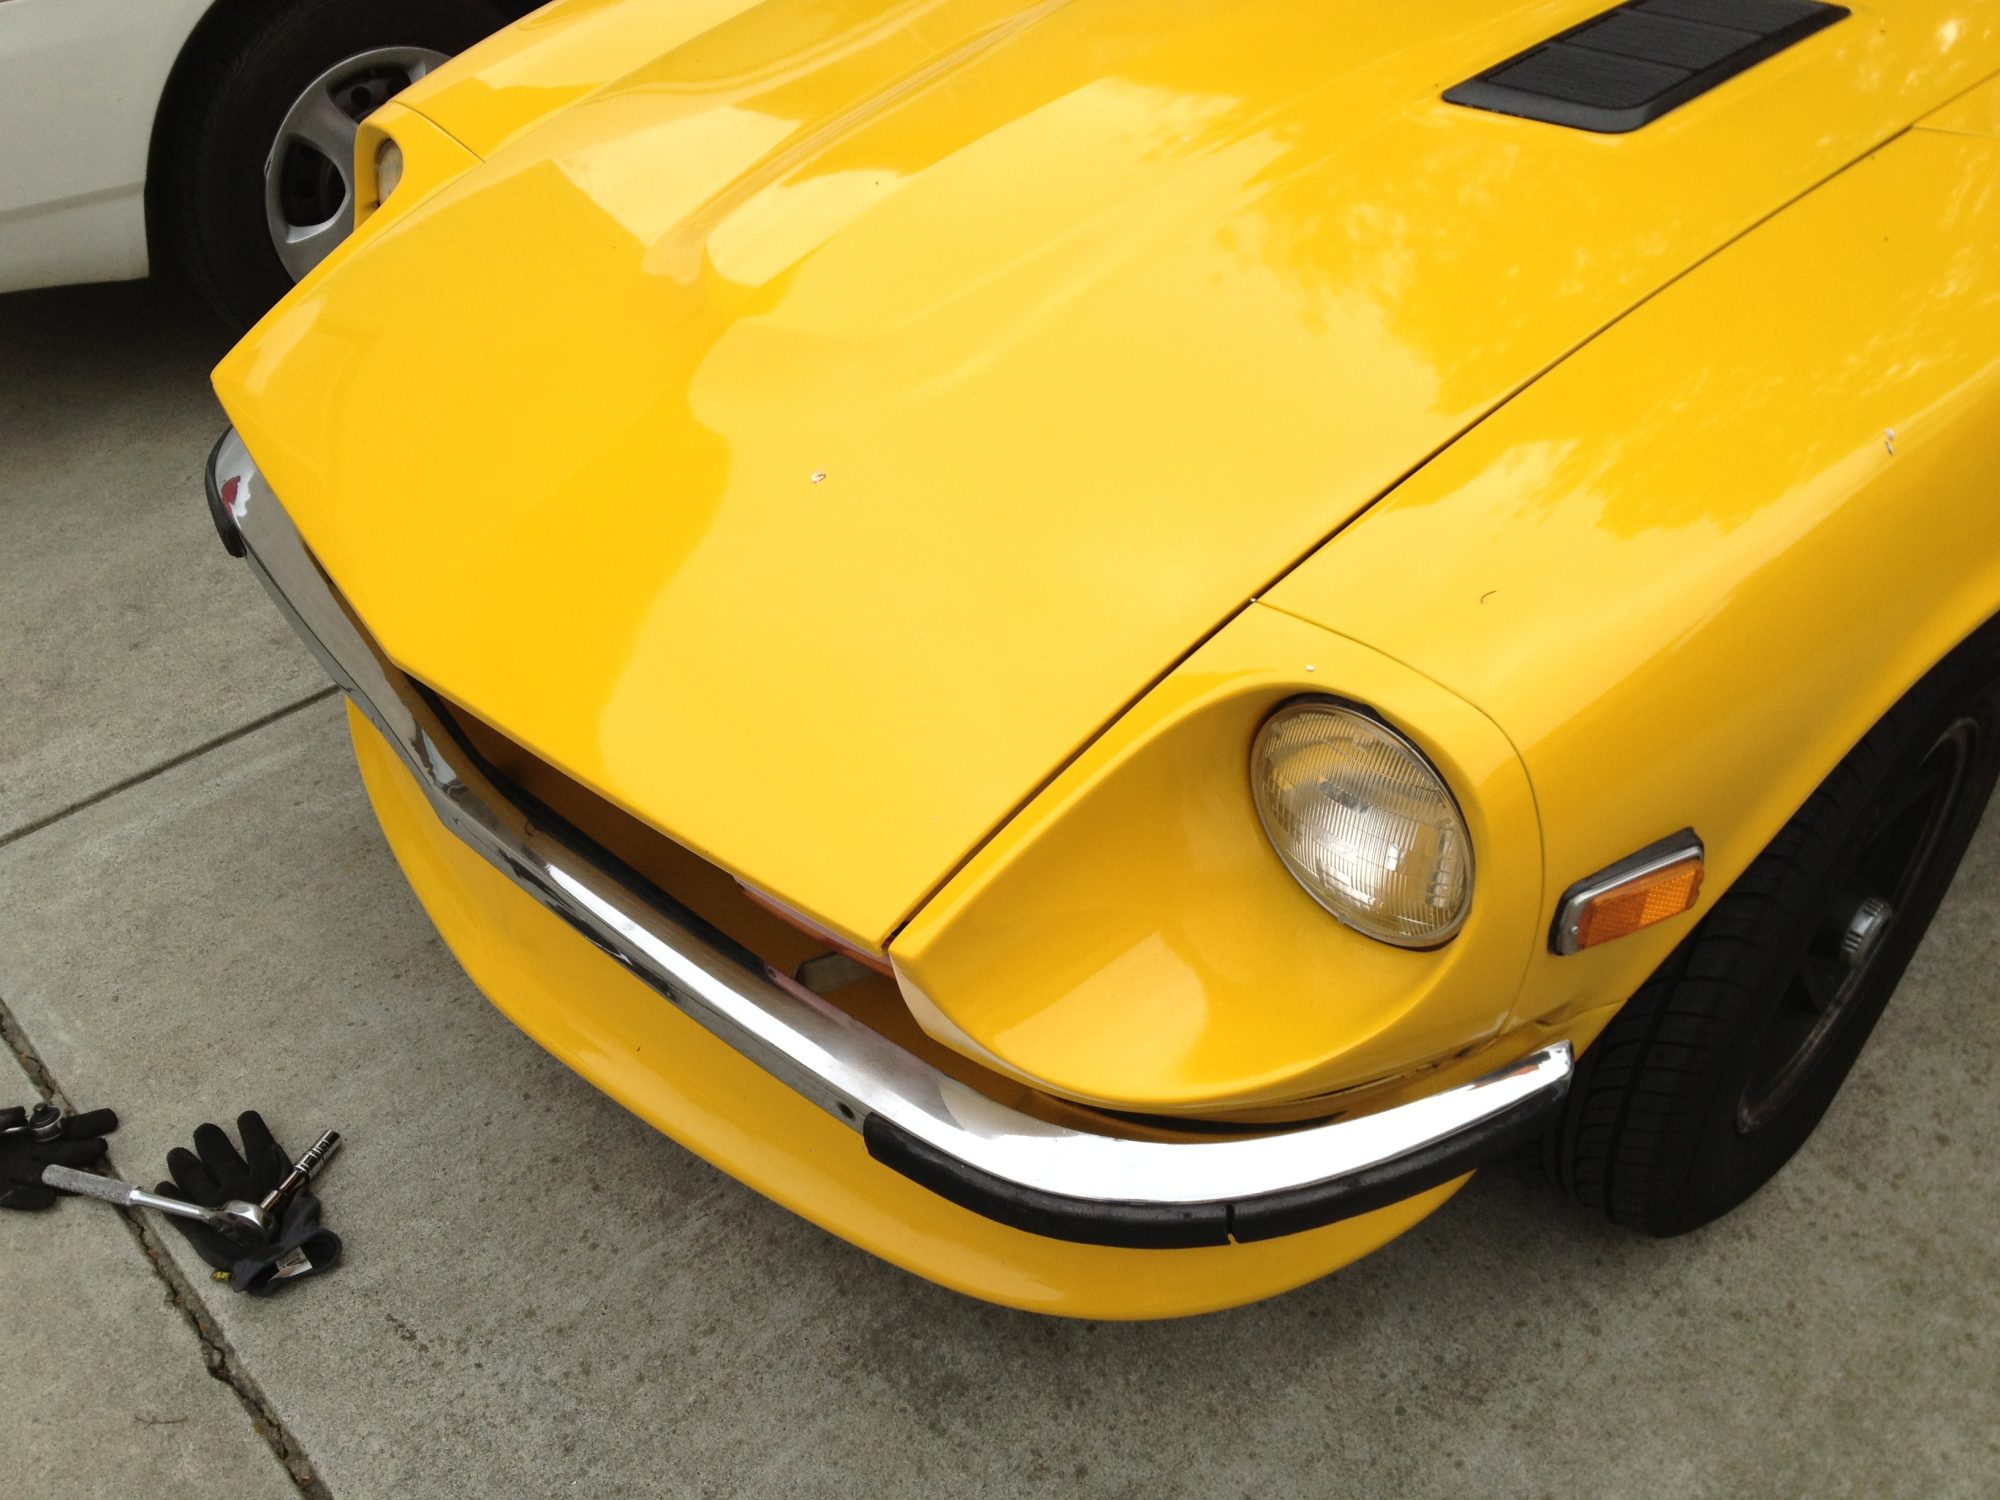
Time is ticking, and the Z is on it’s way to being our wedding car! Yes, I convinced my beautiful, sensible minded fiancee to use the 280Z as our chariot. The only catch: it has be 100% ready. For my wedding, is there anything else it would be? :]

Since that day (about a month ago) i’ve been planning, scoping, and wrenching on the 280z to get it ready for game day. With little over three weeks away, it seems like it’s got a great distance before it gets to 100%.

This morning, it was back to the seats.

Last time, I had just recovered the seat backs leaving the seat bottoms to be finished.

Datsun 280z seat

There are three small screws that hold in the cover plate to the adjustment mechanism. Behold! the underside uses that same straw-like padding as seen in the seat backing.

Datsun 280z seat - cover plate screw Datsun 280z seat - underside

Seat adjustment mechanism

Datsun 280z seat -adjustment mechanism

I was blocked by these stubborn screws holding down the chair adjustment spring fixture. Even with WD-40, corded drill with PH-3 (big) bit, and some taps from a hammer – those tough screws were NOT coming out.

Datsun 280z seat - spring mechanism

So I got a little clever and cut the old vinyl to slide it out from the seat spring fixture. This method will prove VERY useful when putting the new cover on.

Datsun 280z seat - working around frozen screws

Undoing the chair slider…

Datsun 280z seat - seat slider

The original seat foams are from Toyo. A quick part search on google for ‘PM690M9’ reveals nothing – surprise.

Datsun 280z seat - seat foam

Minor surface rust in the seat spring; only a little clean up required.

Datsun 280z seat - spring seat frame

Tada! No one’s going to see this part anyways…

Datsun 280z seat - resprayed

After a quick test fit of the new seat cover, I thought there was a bit too much play in the cover and the seat foam. So i decided to use some extra foam i’d been saving just for this purpose. Though pink open celled foam like this isn’t ideal (as it WILL eventually disintegrate), it should last several years before collapsing out, by that time, i’ll just get new foams entirely. Here, i cut a pattern for the seat bolster because the seat cover is a touch wider than the tapering original seat shape.

Datsun 280z seat - extra foam pattern

Datsun 280z seat - extra foam applied

I also decided to replace the straw-like padding on the bottom between the seat foam and the seat spring. My first thought was it was just a protective layer between metal and foam.. but the other day when working on the driver seat (which had this material and burlap…), i realized it’s other responsibility… absorb any excess moisture. oh well.

Datsun 280z seat - spring pad cut Datsun 280z seat - spring pad replaced

The new seat covers use a string to cinch the cover to the frame. I decided to re-use  the hog tie re-bars (as well as the string) to make sure the covers sit firmly in place.

Datsun 280z seat - seat re-bar inserted

Here, you can see where i cut the new seat cover to fit in between the bolts that hold the spring assembly. I pulled the string out from that portion of the seat cover, cut, slid the cover through the opening between the bolts, and then fished the string back through. First thing i thought of was that this solution would be something my dad or grandfather would think up of. Worked like a charm, and best of all I can move forward.

Datsun 280z seat - seat cover fix

Looking pretty full in there – now just to pull down that mid-section to give it contour…

Datsun 280z seat - seat complete topside

Seat completed, hog tied tight.

Datsun 280z seat - seat complete underside

Perfect. The seat bottom is extra cushy, and it’s got great shape. I lightly sanded down the bolts, sprayed the seat back bracket with bed liner for a nice rough texture, and cleaned / sprayed the slider lever.

Datsun 280z seat - seat complete side

Datsun 280z seat - seat completed

Datsun 280z: Gutted

Yesterday I started to tear down the 280z.
In about 2.5 hrs, I had the car just about 80% done before it can go to the painter.

Carpet: out.
Seats: gone.
Passenger door: stripped.
Center console: removed.
Passenger side door trim / seal: off.

Just need to remove the driver side door / trim, all the lights, and most importantly the windows…
And I need to make more room in the garage to store all this.

We’ll let the pics do the talking.
280z interior - gutted

280z interior - door

with the door paneling off, i was able to grease up the sticky door locks. NO MORE CRAWLING THROUGH THE BACK HATCH TO UNLOCK THE DOORS! :]

280z door lock mechanism

Like a well worn couch, it’s amazing what you’ll find after 35yrs…

280z interior - found pen

… a nasty 400W amp under the driver seat (that’s probably 400W PMP (max rating) haha, so more like 100W).

280z interior - amp

And i’m now $0.39 richer. Oldest coin here though is 1983 (the quarter).

280z interior - coins

Spotted: 280zx Turbo

This morning was a blast: vinyl seats cooked my back, A/C DEFINITELY needs a recharge, and…. I spotted a red 280zx Turbo :]

Saw this guy down the street so i decided to take the long way to work.

The guy threw out a hang 10 when he noticed me in his rear view.

Cooked it between a slow Celica and even slooower Grand Prix to holler out a few “hoots”. Should’ve screamed, ‘DailyDatsun.com’ instead :]

Red 280zx Turbo

280z paint scheme mock up

Fender Telecaster - Butterscotch Blonde

Well, it’s no secret, the car’s going to (needs to, really) be painted!

Luckily, there’s a great independent paint shop called Pacific Body and Paint that’s local. I got a chance to talk with the owner Ric, and had a lot of great things to say about the 280z – i could tell he was getting genuinely excited to work on the project! He took me onto his garage floor to show me some of his work; talked a bit about his methods and what my expectations were as we circled a early 70’s camaro freshly painted blue w/ white stripes.

I’m looking at painting the car in a 920 Gold Poly, an original 240z color. Interesting thing about this color, are the countless remarks on forums say the original Gold Poly (920) paint you see today is different than when it originally came out (perhaps due to age) – that it used to look more yellow-brownish.
Regardless, this car is going to be painted in a yellowish-orange; very similar to the Butterscotch Blonde you see on classic Fender Telecasters – so whatever that ends up being… 411 Sunburst Yellow?

Just to make sure i’ll like what i’m doing, I’ve photoshop’d a pic of my car not only with paint, but also included the MSA Type 1 non-ducted Air Dam, as well as the ZG flares – both of which are on their way. :] Originally my thought was to have the front air dam painted (which is why the car hasn’t been painted yet…waiting on the part to come in), but I’ve decided to leave the front air dam black to match the flares, and I’ll even keep the lower rocker panel / bottom length of the car black. Seriously, now we’re

talkin’!


Datsun 280z Butterscotch Blonde - DailyDatsun.com


280z Carpet!

Pulled the trigger on some new carpet!

Motorsport Auto (MSA) has 280z molded carpet on sale right now for $240!
They’re manufactured by AAC, and right off the bat they look and feel great.
This kit includes the passenger area, area under the seat, and the rear trunk area (no shock towers or wheel wells). This is fine because i don’t like having carpeted towers / wells.
The carpet is a short, cut-pile carpet with sewn edges (where needed), and a very nice thickness. It even includes some carpet padding in most areas (again, where needed).

Since carpet pics on their site / internet are seriously lacking, here’s some for viewing pleasure, and a look at things to come.

MSA 280z carpet

Check out the sewn edges and ~1/4″ thick carpet pad.

MSA 280z carpet - carpet pad close up

Note the padding goes around most of the areas of carpet, even up over the center console / transmission housing area.

MSA 280z carpet - carpet pad close up 2

Passenger carpet piece

MSA 280z carpet - passenger area

Close up of the foot pad

MSA 280z carpet - foot pad close up

Carpet piece for under the seats

MSA 280z carpet - area under the seat

Carpet piece for the behind the seats, up over the luggage bar, and throughout the trunk deck. The 280z is going to look great with the new carpet!

MSA 280z carpet - back and trunk area

Got A/C?

Did an oil change on the 280z this weekend.
5 quarts of Mobil 10w30 and the car is purring.
This is a bit of an experiment because I’m using slightly thinner oil (i used 10w40 last time). Hopefully all the gaskets and seals will hold up, otherwise, it’ll help show where there needs to be re-done.

What’s missing from this picture?

280z AC belt - missing

While i was under car, i noticed a pulley without a belt… then another pulley… and another!
Hmmm i don’t know why i didn’t see that before – though i DID always wonder why the AC never got cold nor did i feel the engine power reduce a touch when turned on.

For those looking: Datsun 280z AC Cold Compressor takes a 11/16″ x 36.5″ belt.

280z AC belt - TR22358

I had to lower the adjustment pulley all the way down before i could get the belt on.
Tighten to a 1/2″ deflection, and we’re ready for summer! Now i wonder how cold the AC actually gets…

280z AC belt - installed

Work: Datsun Nissan 280zx 2+2

I love parking next to other Z cars where ever we go. The older the wider the smile.

Pounced into the parking lot at work this morning and briefly parked next to a great late 70’s (?) Nissan / Datsun 280zx… 2+2!
A quick peek in the back showed two bent 2″+ pipes… possible future exhaust?!

Work’s parking lot certainly has it’s newer 350Z and 370z cars, but it’s the first time i’ve seen this guy around. 2+2’s are growning on me.

datsun 280z 280zx meet

Though late 70’s Z cars went to more angular design, they still kept the flavor of the original design. I’m really digging the louvers.. probably keeps the back cooler in the summer.

datsun 280z 280zx meet - rear

Hood match up – both rocking black vents.

datsun 280z 280zx meet - hood

And got the same wheels! Iron Cross!

Nissan Datsun 280zx 2+2 wheel

A little extra in the back for the 2+2.

Nissan Datsun 280zx 2+2 rear quarter

Looks like a very well cared for example of a Datsun Nissan 280zx 2+2.

Nissan Datsun 280zx 2+2 - blue

Both Seat Backs Covered: 50% done

Finally got around to covering the other seat back on the 280z this past weekend – Kris was down to help me out.

After taking off the old ’77 280z basketweave seat covers we found something interesting…

77 280z original drivers seat - open

the driver side is padded! an additional layer of foam covers the hairy jute-like seat cushion.

Here’s Kris setting the hog rings, getting them in place. Again, honestly, you don’t to worry about getting hog ring pliers – we used them for a whole two seconds for a job that could’ve been done using regular pliers.

280z drivers seat - re-cover

Stretching a seat cover can be difficult work. It was a fairly warm day, so we were working with optimal conditions. Really, it’s the seat pattern that was just a touch too short for the liking.

280z drivers seat - stretching 1  280z drivers seat - stretching 2

But pulling, stretching and team work prevailed. Tucked and pierced the n0n-barred flap under the barred flap, just like last time.

And installed!

280z seat backs - installed

Now to get those seat bottoms done and the 280z will start to look good.