Let there be light!

Finally, 3 weeks later, headlights! No more slogging through the night w/ hazard lights on! No more hearing it from the wife! No more.. ok ok, what did i fix? I was able to install the new[er] 280z combo switch fairly swiftly (seeing as i’ve done it countless times before). This one, purchased from eBay, came in decent shape, and the cam switches that turn on/off the parking lights and headlights are solid. Solid. Turn on the headlights, though… nothing. Back to the voltmeter. Measured again between the terminals on the combo switch – 12.5v… but when i turn it on, it goes to zero volts. huh! a ground issue? I again make my way down the chain toward the fuse panel, then the other way toward the battery. ah ha! doh.. the fusible link looked good, but upon serious inspection (meaning trying to pull it off):

Daily Datsun - fusible link

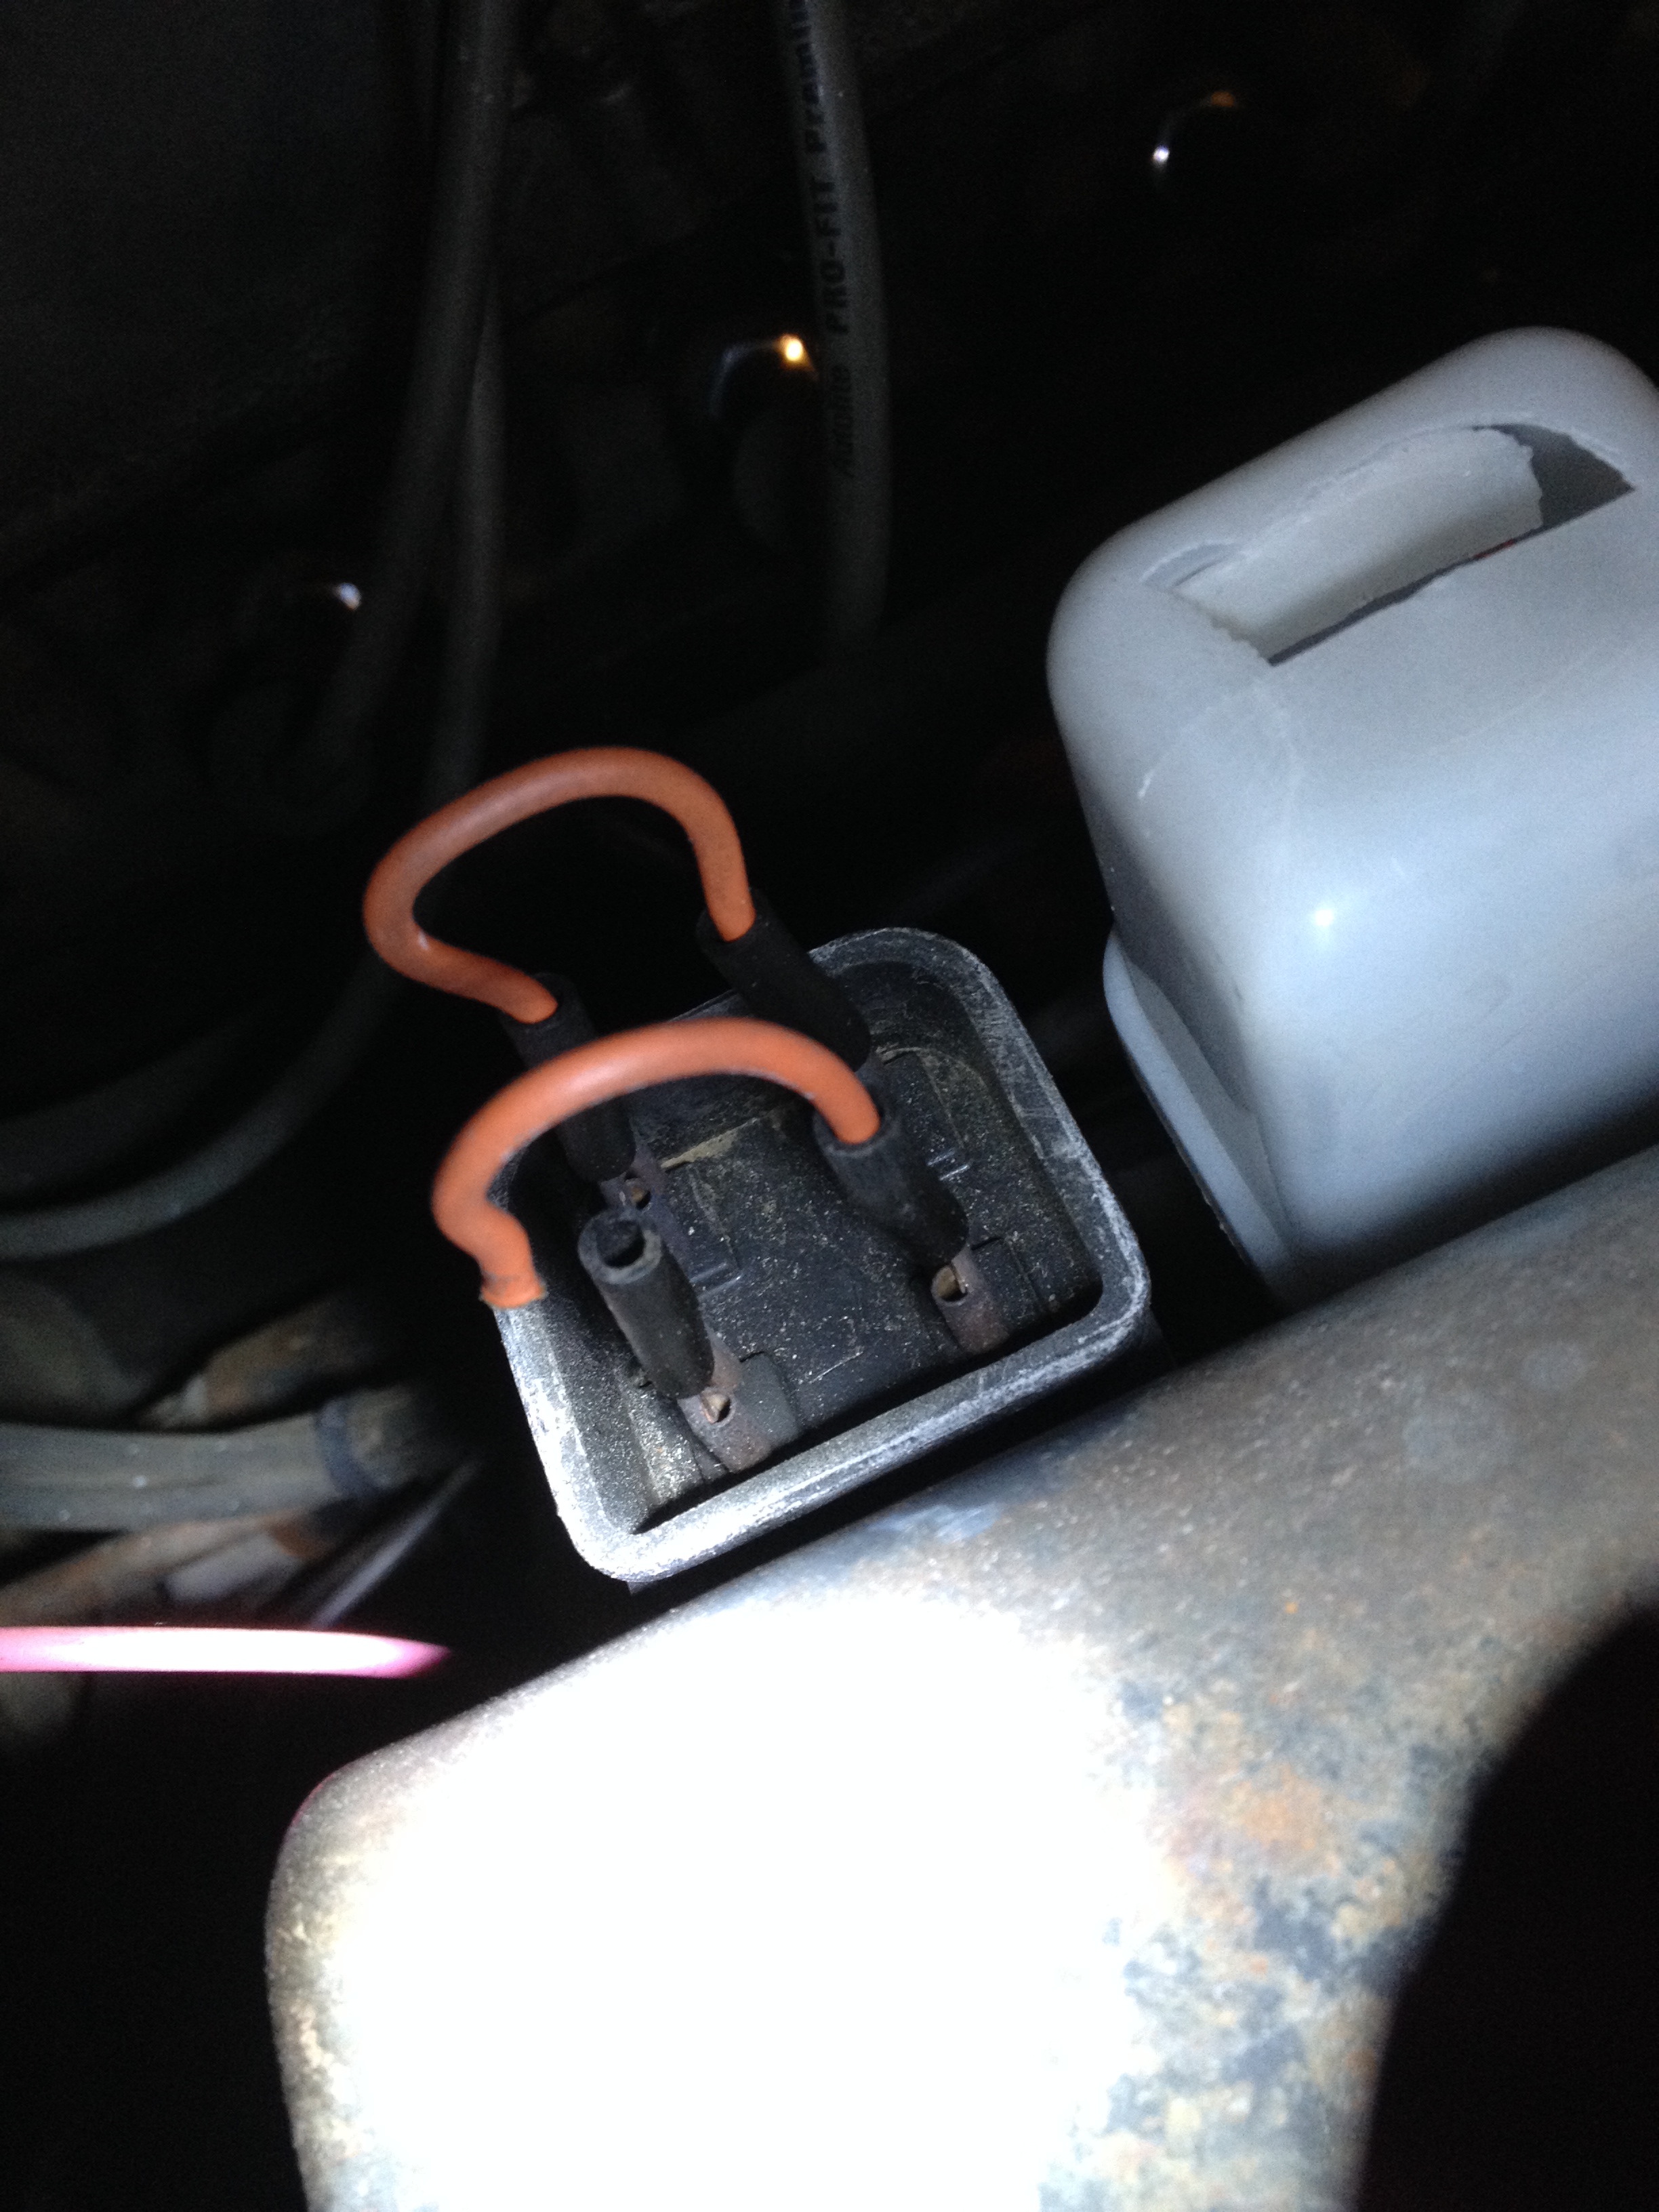
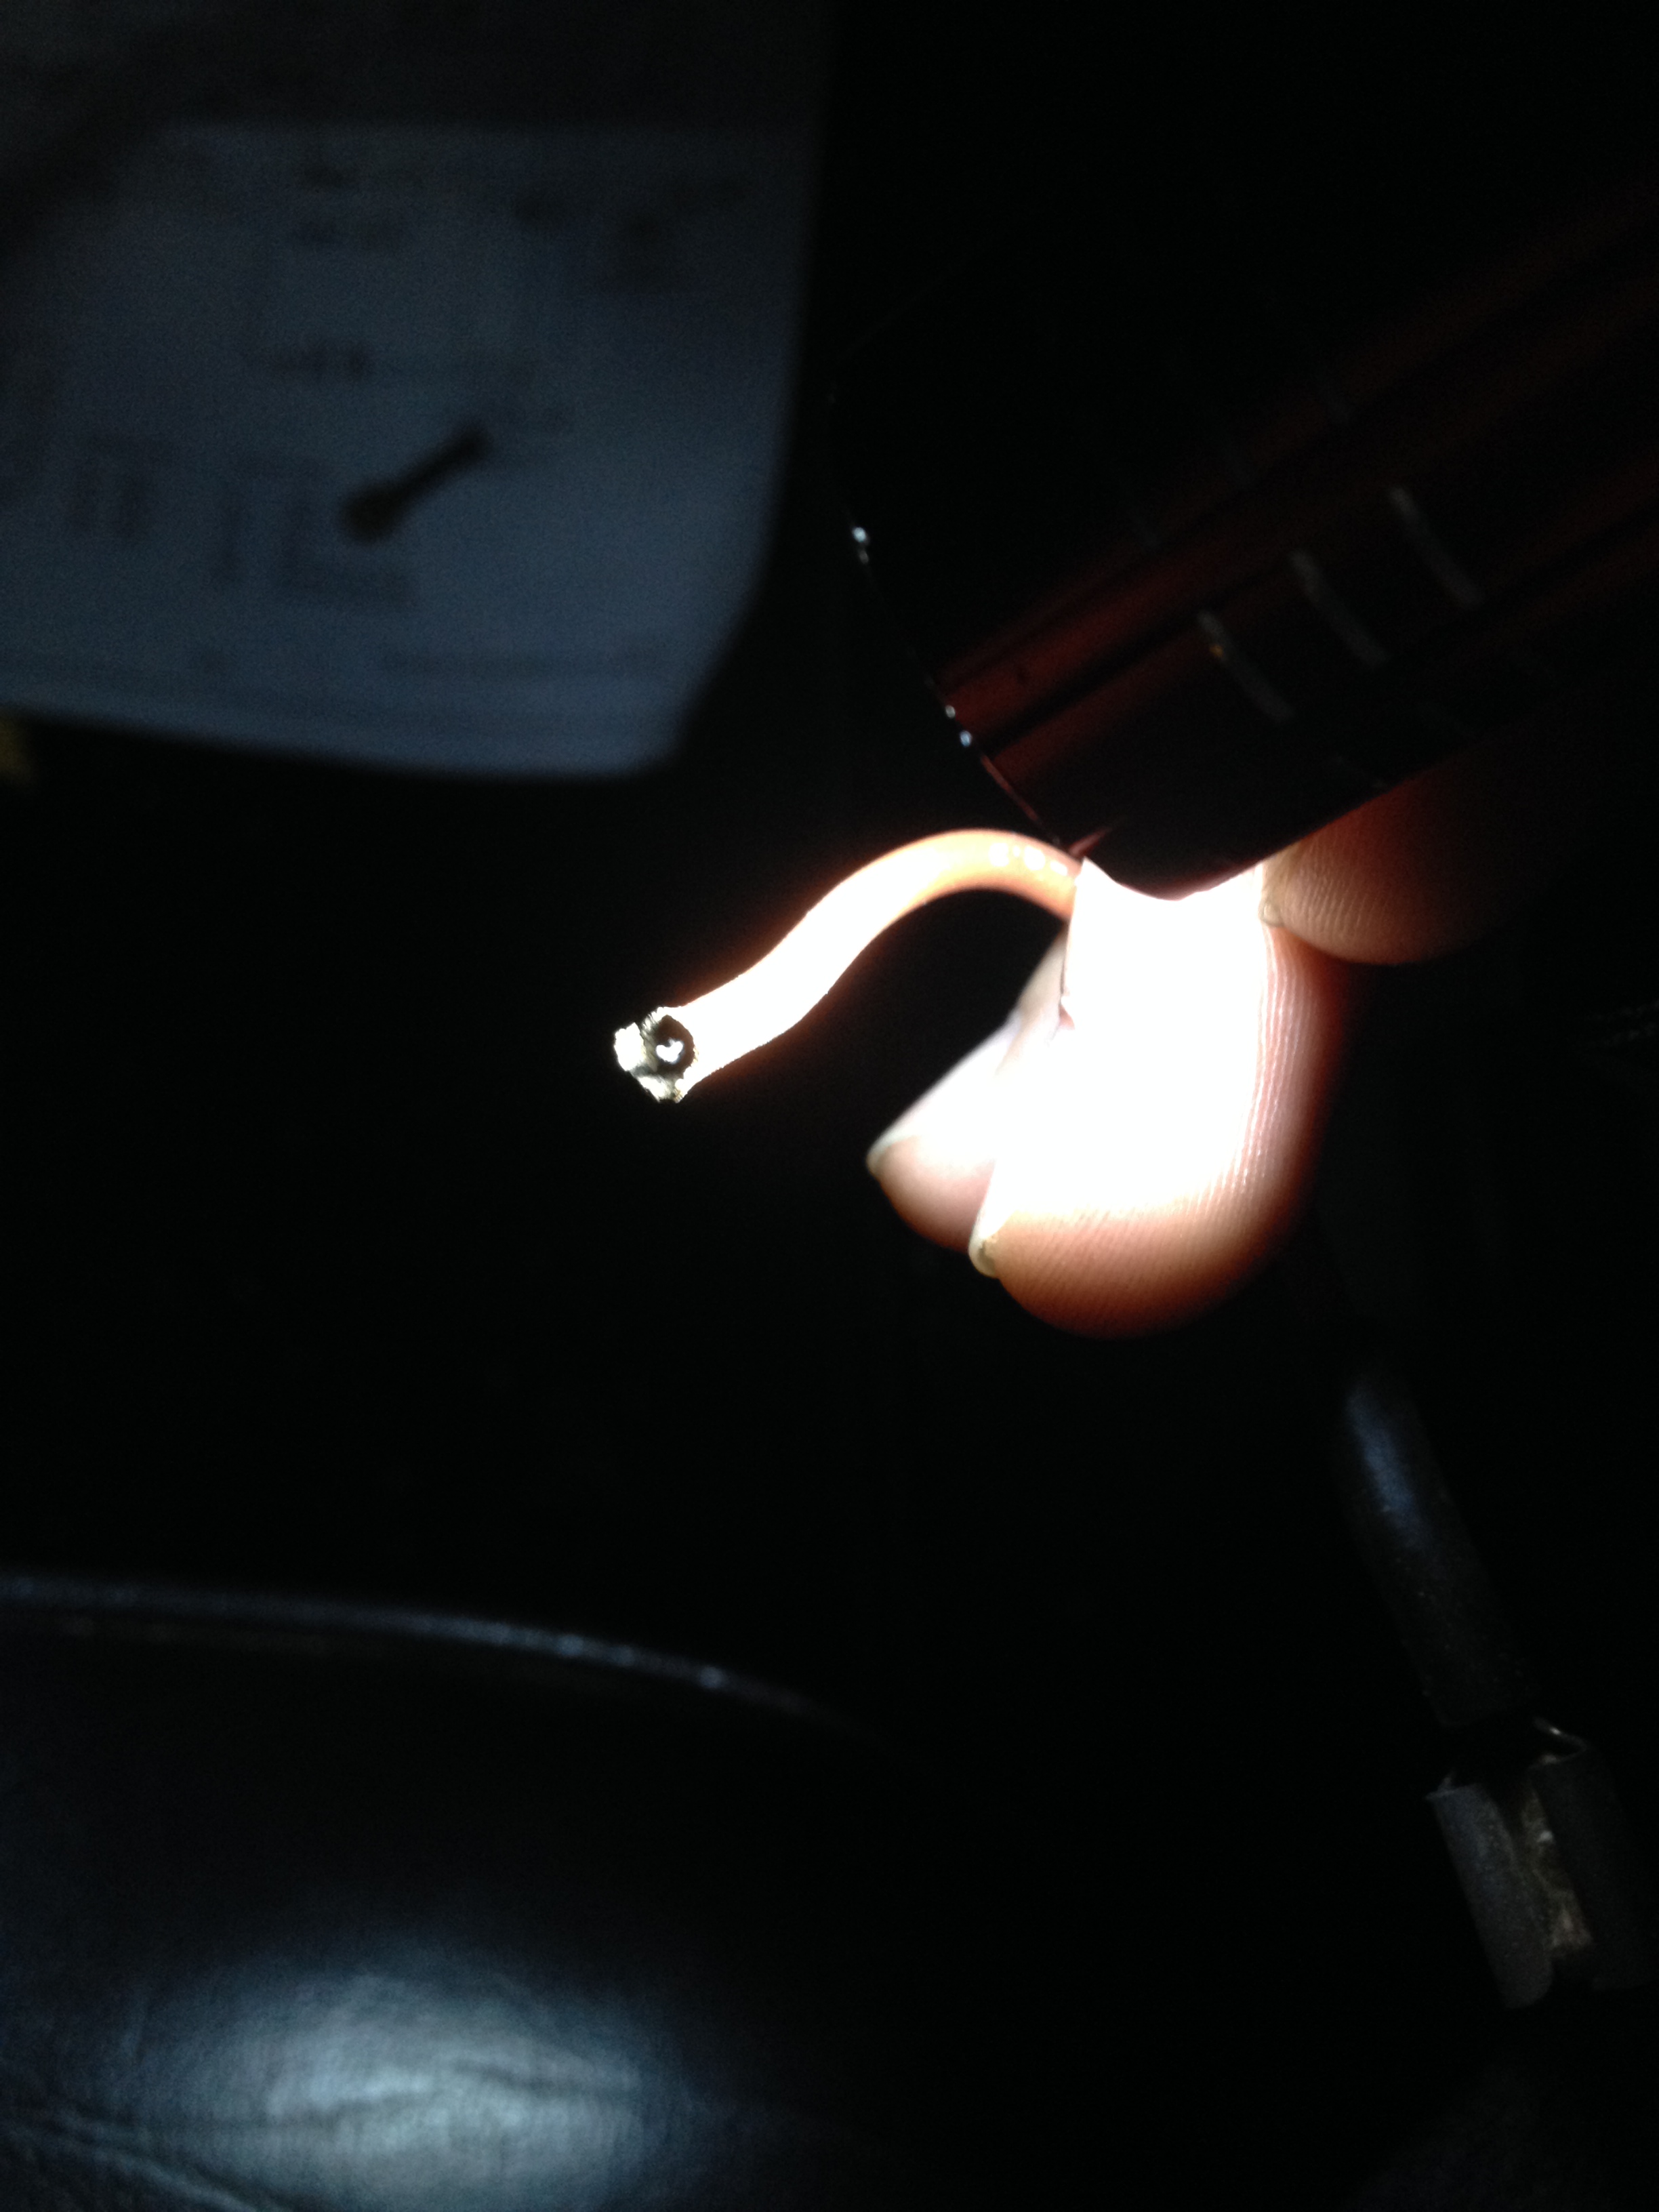
wtf – seriously? i measured the voltage across it, and it was good! good i tell you! but probably because it was hanging by a thread, which will read voltage, but not have the capacity to hold upwards of 50A of headlight power. Just for reference, the headlights fusible link is on the bottom left (when looking into the engine bay from the passenger side).

Daily Datsun - fusible link

Until my replacement 280z fusible links can come in from Motorsport Auto’s (MSA) Z store, I just trimmed, and reattached the link – and…viola!

Daily Datsun - headlights on

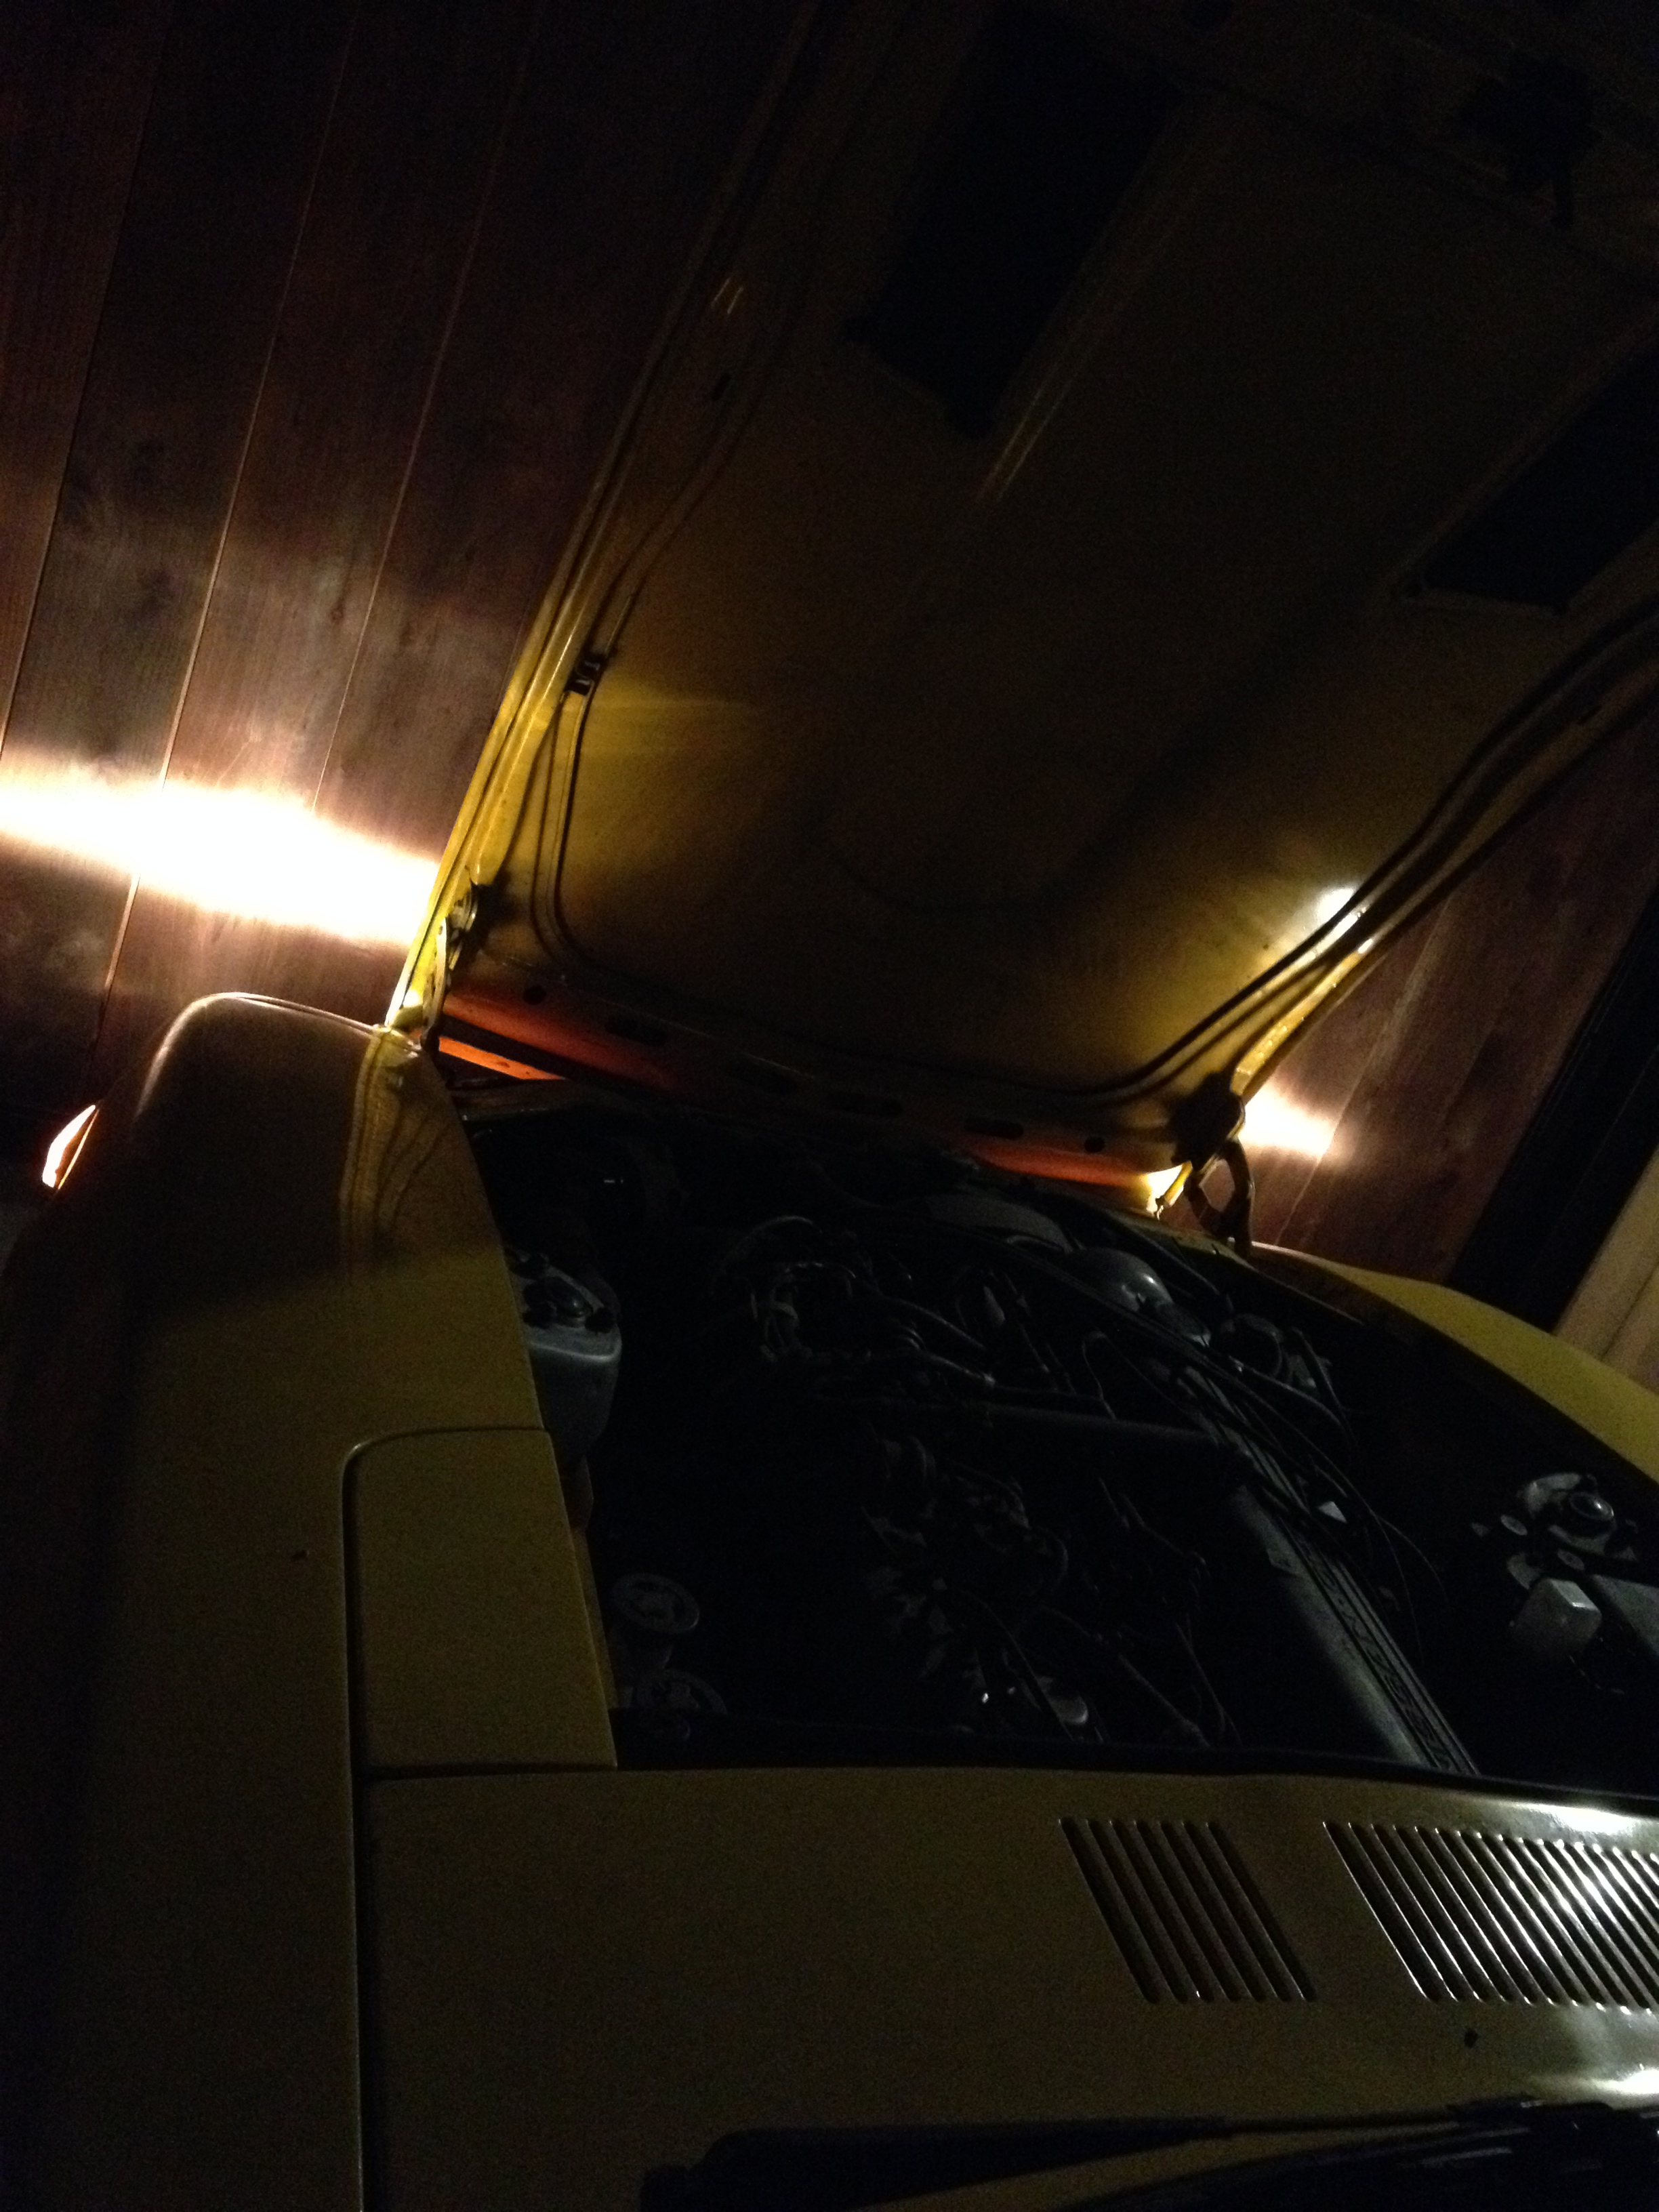
and wouldn’t you know.. highs AND low beams work! huzzah!   And that’s not all. Interestingly enough there’s a bit of discrepancy in the 280z’s fusible link layout! You’ll notice on MSA’s fusible link product page, they note the use of the black fusible link (80A) for the headlights, and on AtlanticZ.ca’s site, they note that a red/brown fusible link (50A) should be used; with black being used for the alternator / ignition. See below:

MSA’s diagram:

Motorsport Auto's Z fusible link diagram

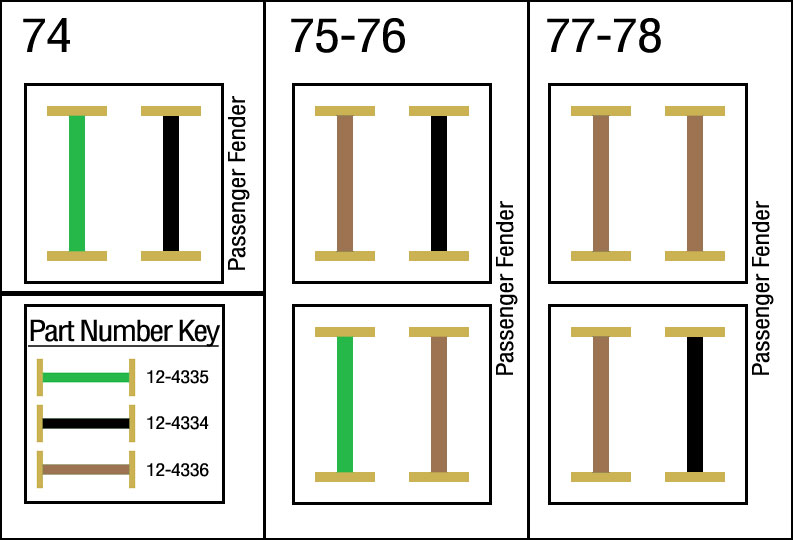
Atlantic Z’s diagram:

Atlantic Z's fusible link layout for 1977 280z

So who’s right? It would make sense that if any circuit out of the four has to have the highest rated fuse, it would be the alternator and ignition circuit. Datsun Field Service Manual (FSM) says…. huh. it doesn’t. yeah, pg BE-6 doesn’t know which one goes where. A few google searches later, you’ll notice that most images will show that Atlantic Z has it correct, the black fusible link is for the Alternator / Ignition Relay. This additional wiring diagram from CarPartsManual.com shows it clearly (even though for a ’74-’76).

Datsun-Z-engine-bay-wiring-diagram

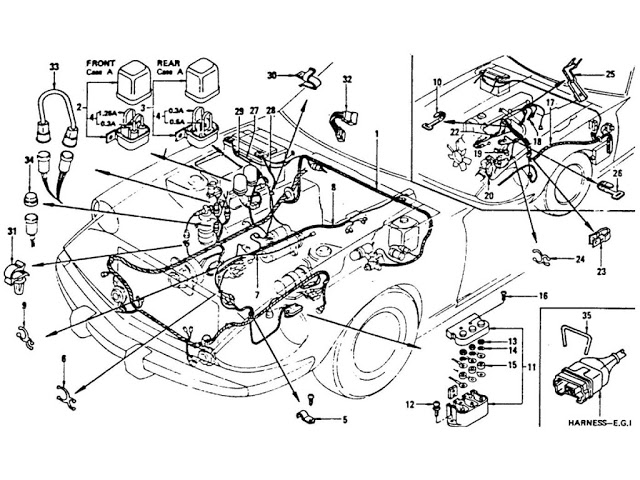
Other supporting images show the same layout (not in favor of MSA’s diagram)…

I really like ZCurves’ solution for using the blade styled (read: more accessible / cost effective) fuses.

Yet another: http://www.atlanticz.ca/zclub/techtips/fusiblelinks/correct_fusible_links3.jpg

I guess we’ll be contacting MSA to find out what the real setup should be!

ok. time to move on to real stuff: suspension!  

Review: Motorsport Auto (MSA) Floor Mats

Swiftly got a package in from Motorsport Auto (MSA) – my new floor mats!

With summer ending and rain just around the corner, it’s always been on my mind to get some floor mats since putting in the carpet kit. Question was, which one?

Could go with a logo’d version, a $50 – $70 ebay one-size-fits-most specials, or even one those Weathertech versions you always see ads for in car magazines. Since the MSA floor mats weren’t that much more, I decided to go with simple. And coming from them, it’ll probably have the best fit. Check them out:

Pros:
1) Great solid looped carpet top
2) Very well stitched binding all the way around
3) Excellent fit, perfectly sized

While the above images show otherwise, the actual color matches quite well with their molded carpet kit. It’s nice when things match. The carpets feel solid and we’ll see how well they last through the rain.

Cons:
1) No heel pad on the driver’s side. So that heel pad that’s on the carpet kit.. covered…and i’m going to wear a hole in these.
2) No clear markings on which side was which. Yeah yeah, they’re only floor mats, but actually it took me a few trys to figure out which one was which. It’s odd there’s an undulating side that runs along the transmission tunnel which is straight… sorry, maybe i’m nit-picking.
3) Foam backing…can’t wait to see how these hold up after a year as it’s been my experience that this type of foam doesn’t last too long. Especially in such a high traffic, elements exposed area. It seems to work for non-slip against the carpet floor, but let’s see how long the foam backings last before making any more comments. I would have thought they used rubber backings.

Other than that, I’m currently satisfied with the floor mats, but the upcoming rain should prove it’s real worth.

280z Carpet!

Pulled the trigger on some new carpet!

Motorsport Auto (MSA) has 280z molded carpet on sale right now for $240!
They’re manufactured by AAC, and right off the bat they look and feel great.
This kit includes the passenger area, area under the seat, and the rear trunk area (no shock towers or wheel wells). This is fine because i don’t like having carpeted towers / wells.
The carpet is a short, cut-pile carpet with sewn edges (where needed), and a very nice thickness. It even includes some carpet padding in most areas (again, where needed).

Since carpet pics on their site / internet are seriously lacking, here’s some for viewing pleasure, and a look at things to come.

MSA 280z carpet

Check out the sewn edges and ~1/4″ thick carpet pad.

MSA 280z carpet - carpet pad close up

Note the padding goes around most of the areas of carpet, even up over the center console / transmission housing area.

MSA 280z carpet - carpet pad close up 2

Passenger carpet piece

MSA 280z carpet - passenger area

Close up of the foot pad

MSA 280z carpet - foot pad close up

Carpet piece for under the seats

MSA 280z carpet - area under the seat

Carpet piece for the behind the seats, up over the luggage bar, and throughout the trunk deck. The 280z is going to look great with the new carpet!

MSA 280z carpet - back and trunk area

Battery tray!

This is the battery compartment – definitely has seen better days! Rusted wall (the most rust on the body), old tray, and just check out that orange bungee strap holding it place! So part of thursday’s daily datsun restoration also included taking care of the battery compartment mess. Let’s pop this battery out and see what we’ve got!

These progression shots show the battery area from original to prep’ed. Supposedly Z cars are notorious for having major rust around that battery area – this 280z isn’t an exception. Not the best job of scraping and sanding down the rough patches as i would have liked, but it’ll do for now. Someday i’ll be painting the whole engine bay.

Got the battery kit from Motorsport Auto – pretty good. Came with battery tray, tray mat, battery frame, and necessary bolts. The complete kit was only $50, and will replace the bungee cord nicely. My only compliant would be the sizing of the battery frame (as seen below); it’s just too big and not fit for a modern battery.