280z Body Side Molding – Inserting the rubber molding

Finally found some time to start inserting the 280z body side molding!

Last time I riveted the 280z side molding channels onto the body. Now it’s all about inserting the rubber molding. I ordered the 5/8″ rubber molding from CustomAutoTrim.com, and it came to my door in decent time. The size, perfect. The installation? Prepare to take some time to insert the rubber molding. It took a good 30mins to put on just one rubber molding!

280z rubber molding - Daily Datsun

What you’ll need to install:
1) 5/8″ Vinyl / Rubber molding (see previous post about 280z body side molding for sizes)
2) Razor
3) Something thin / plastic like a spatula or a guitar pick
4) Tape measure

First, making sure it’s sized correctly! Last time, I ordered in the incorrect one… This one from CustomAutoTrim – perfect.

280z rubber molding fit - Daily Datsun

“Measure twice, cut once” – no no, measure three times. Whenever my mom was showing us how to cook, she’d always say, ‘you can always add, but you can’t take away’. The methodology is still true here, but reversed – you can always take away, but you can’t add. So measure w/ a little excess, you can always trim the molding later. And since I ordered 16ft of molding, I should have some excess…but only for trimming, not enough to complete another channel if i completely screw up.

The vinyl / rubber molding is a tight fit, and getting in that channel can take some time. Here i’m using a guitar pick to help feed the vinyl / rubber molding into the 280z body side molding channel.

280z rubber molding install- Daily Datsun


Another technique i found to work really well in getting the molding on was to bend the molding like the picture below. This actually allowed me to use the molding itself to help press fit it into the channel.

Inserting 280z rubber molding - Daily Datsun

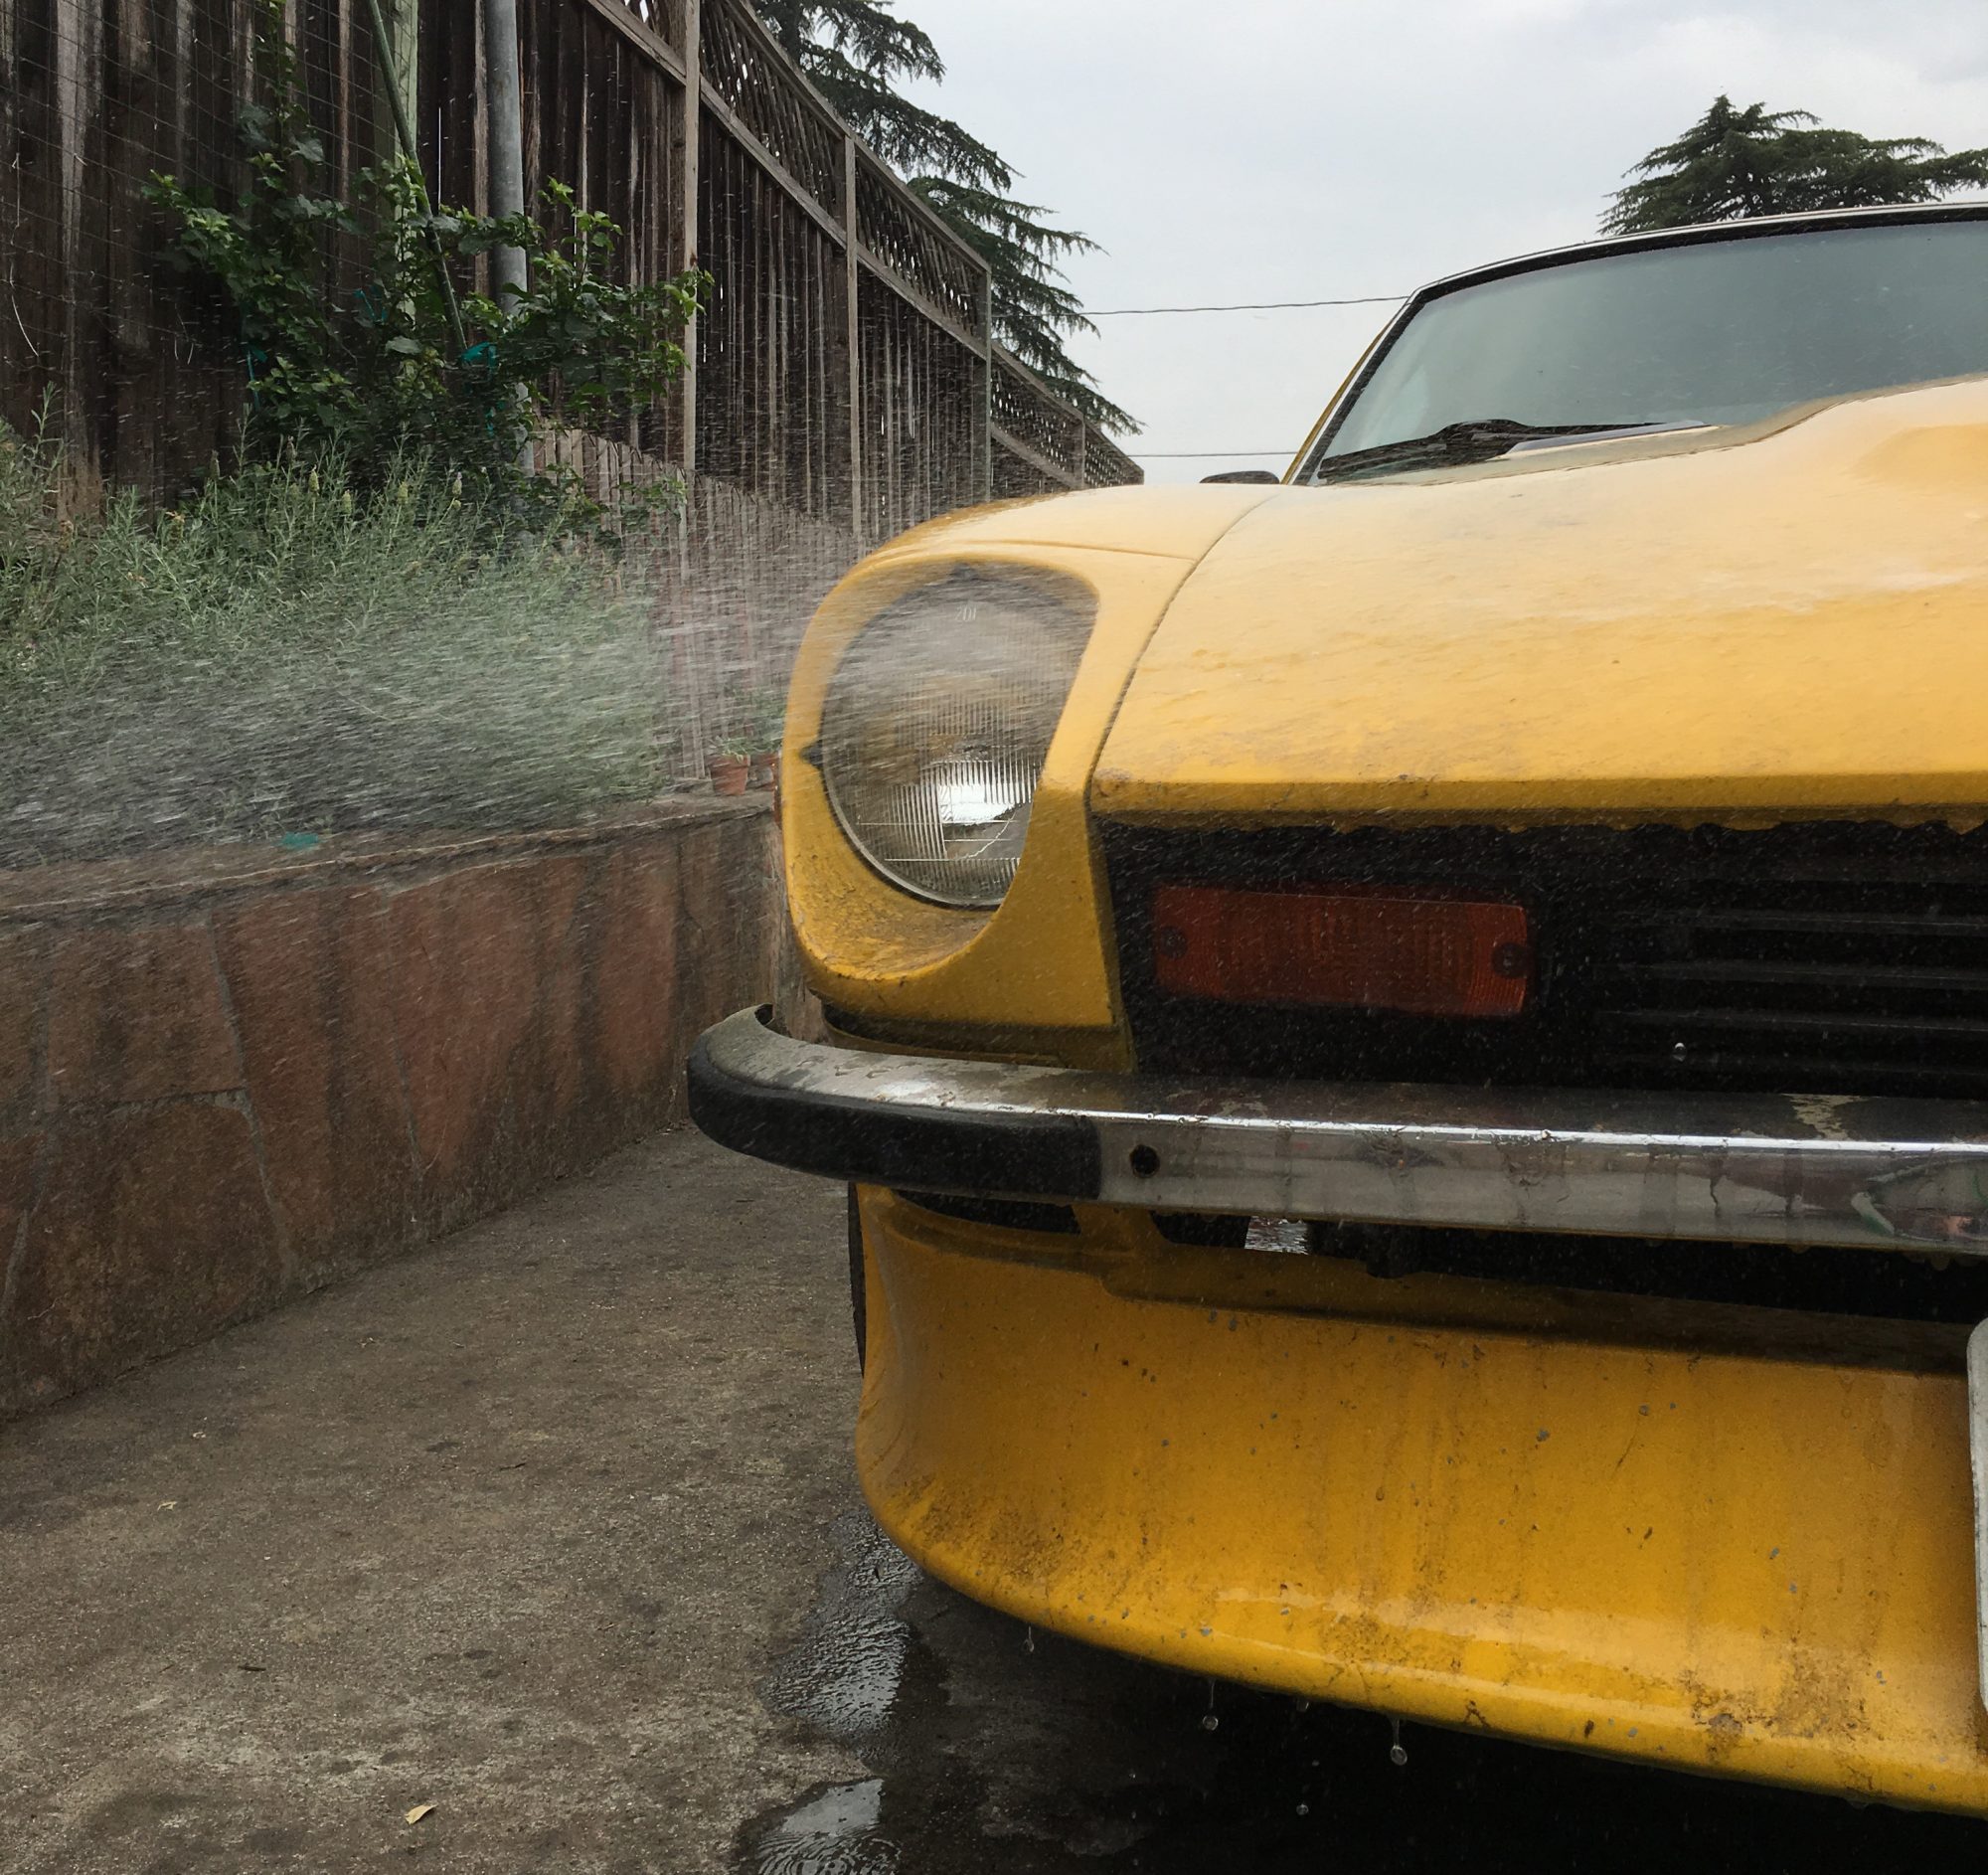
At the end, i was only left w/ a 1/4″ excess.  A razor helped create a clean edge to butt up against the molding darts ends. Don’t mind the dirty car… after giving a nice wash and wax last sunday, i parked it in lot that ended up getting “cleaned”… meaning leaf blowers. ugh.

Trimming 280z rubber molding - Daily Datsun


280z side molding completed! It’s a super clean installation that takes some time / effort, but really completes the period look.

Finished 280z rubber molding - Daily Datsun

Body Side Molding – Rubber Molding

My last post was about putting on the aluminum side molding channels with rivets, so now it’s time to pop in the rubber molding. However… it looks like the molding I purchased is NOT the right one.

Unfortunately, I ordered the incorrect rubber molding from BlackDragonAuto.com. I must have missed that the ‘Body Side Molding’ section was for a 280zx (1979-83), and just looked at the description for part# 97-650 “Adhesive Molding-Black, 16ft roll, cut to fit 280”. Oh well, we’ll try to get that returned if possible.

Adhesive molding from BlackDragonAuto catalog

So I did a little research this morning, and found the CORRECT rubber molding is actually hard to find (neither MSA nor BlackDragonAuto sell it). The proper rubber molding for the 280z can be found at CustomAutoTrim.com. 

[Update, 9/12/24: CustomAutoTrim no longer sells this type of rubber moulding (hence the broken link), but have updated their stock to a slightly different shaped (round) albeit more flexible vinyl insert] updated link


Rubber molding for the 280z from CustomAutoTrim.com

This is the correct version because it locks into the side molding “stick” or channel, rather than be affixed by adhesive. CustomAutoTrim also sells the ends of the side molding channels, however the “bullet” and “chisel” ends used on the 280z seem to be discontinued at the time of this post.

If you’re looking for side molding for your 280z you’ll need (at least) the following lengths:

front fender: 23″ per side
door: 32 3/8″ per side
rear fender: 37 1/2″ per side

Total:  185.75″ = 15.48 ft = 16ft (since they sell by the foot) @ $2.25/ft = $36

(Lengths serve as a guide only. Measure your Z for rubber moulding lengths)

[update, 9/12/24: prices haven’t changed that much! Price above was back in 2012. As of this writing it’s available in 7.5ft sections for $24 ($3.20/ft). Not bad!]

Side Molding / Door bumpers

Since re-assembling the 280z prior to the wedding, there’s still remains a few items to be added to the car – yesterday morning, I tackled the side molding (or if you’d like to call them, door bumpers).

These come in 6 trim pieces, each piece having 4 parts: two ends (one pointed, one squared), the side molding rail, and the rubber molding itself. They’re held on to the 280z’s body panels by simple rivets; unfortunately, putting them on initially wasn’t as simple as I had thought!

The information out there on rivet specs for attaching the side molding is scarce. But hopefully with this post, it’ll be a lot easier for someone else to tackle the easy-once-you-have-the-right-info task. Let’s take a look:

Here’s what I used:
Arrow RL100 rivet gun – pick up at Home Depot or Amazon
1/8″ – 1/2″ (3mm-12mm) rivets – you can get an assortment of rivets on Amazon cheap, or you can make life easier and just purchase the rivet tool and rivets in one kit!
A little nut or spark-plug screw head – this will be used to help distance the rivet tool from the rivet head
Painter’s tape – if you don’t have a spare hand to help you, Amazon
#0 and #0000 Steel wool – to clean up the aluminum molding, Amazon

Since the side molding is all metal (save the rubber part), the chromed steel ends and aluminum rail can easily cleaned up with #0 and #0000 steel wool. The ends can be pulled off for further cleaning (there can be lots of dirt underneath). Additionally, Mother’s Aluminum and Mag polish can be used to restore them to a clean shine.

Cleaning the side moulding

Steel wool does the job very well!

Cleaning the side moulding

If you don’t have a spare hand, painter’s tape works well holding up the side molding as you put in the rivets. That way it doesn’t swing on you, and you don’t scratch up that Z car’s paint!

Holding the side moulding with tape

Through some trial / error, I figured out that you need to use the right rivets in order to have a tight hold:
Type – Use the aluminum ones. Since the steel ones are NOT stainless, nor galvanized, they’ll eventually rust on you. Use the aluminum ones.
Ends –  Diameter: 1/8″ (3mm), Grip: 1/4″ (6mm) or 1/2″ (12mm)
Middles – Diamter 1/8″ (3mm),  Grip: 1/8″ (3mm) or 1/4″ (6mm)

Note that for the Ends because they’re thicker, you have to use either the 1/4″ (6mm) or the 1/2″ (12mm). Because the middle portions are thinner, you can use 1/8″ (3mm) or 1/4″ (6mm).

Because the rivet tool head is too large to fit into the channel of the Z’s side molding rail, you need to use a spacer (something to extend the rivet tool head without losing the grip on the rivet stem). I used the head off a spark plug, and it worked great. You can probably also use a small nut. Find something that has a hole large enough to fit the stem, but not too large that the rivet head pulls through. Be careful not to use a spacer too tall, otherwise the tool won’t be able to grab the rivet stem. This trick will allow you to get that rivet head flush against the side molding channel, and set it snug ‘n tight!

Diagram of the side moulding rivet setup

Side molding up on the 280z.

280z side moulding is on

280z side moulding is on

Tomorrow, i’ll cut the side molding rubber to length and pop them in.